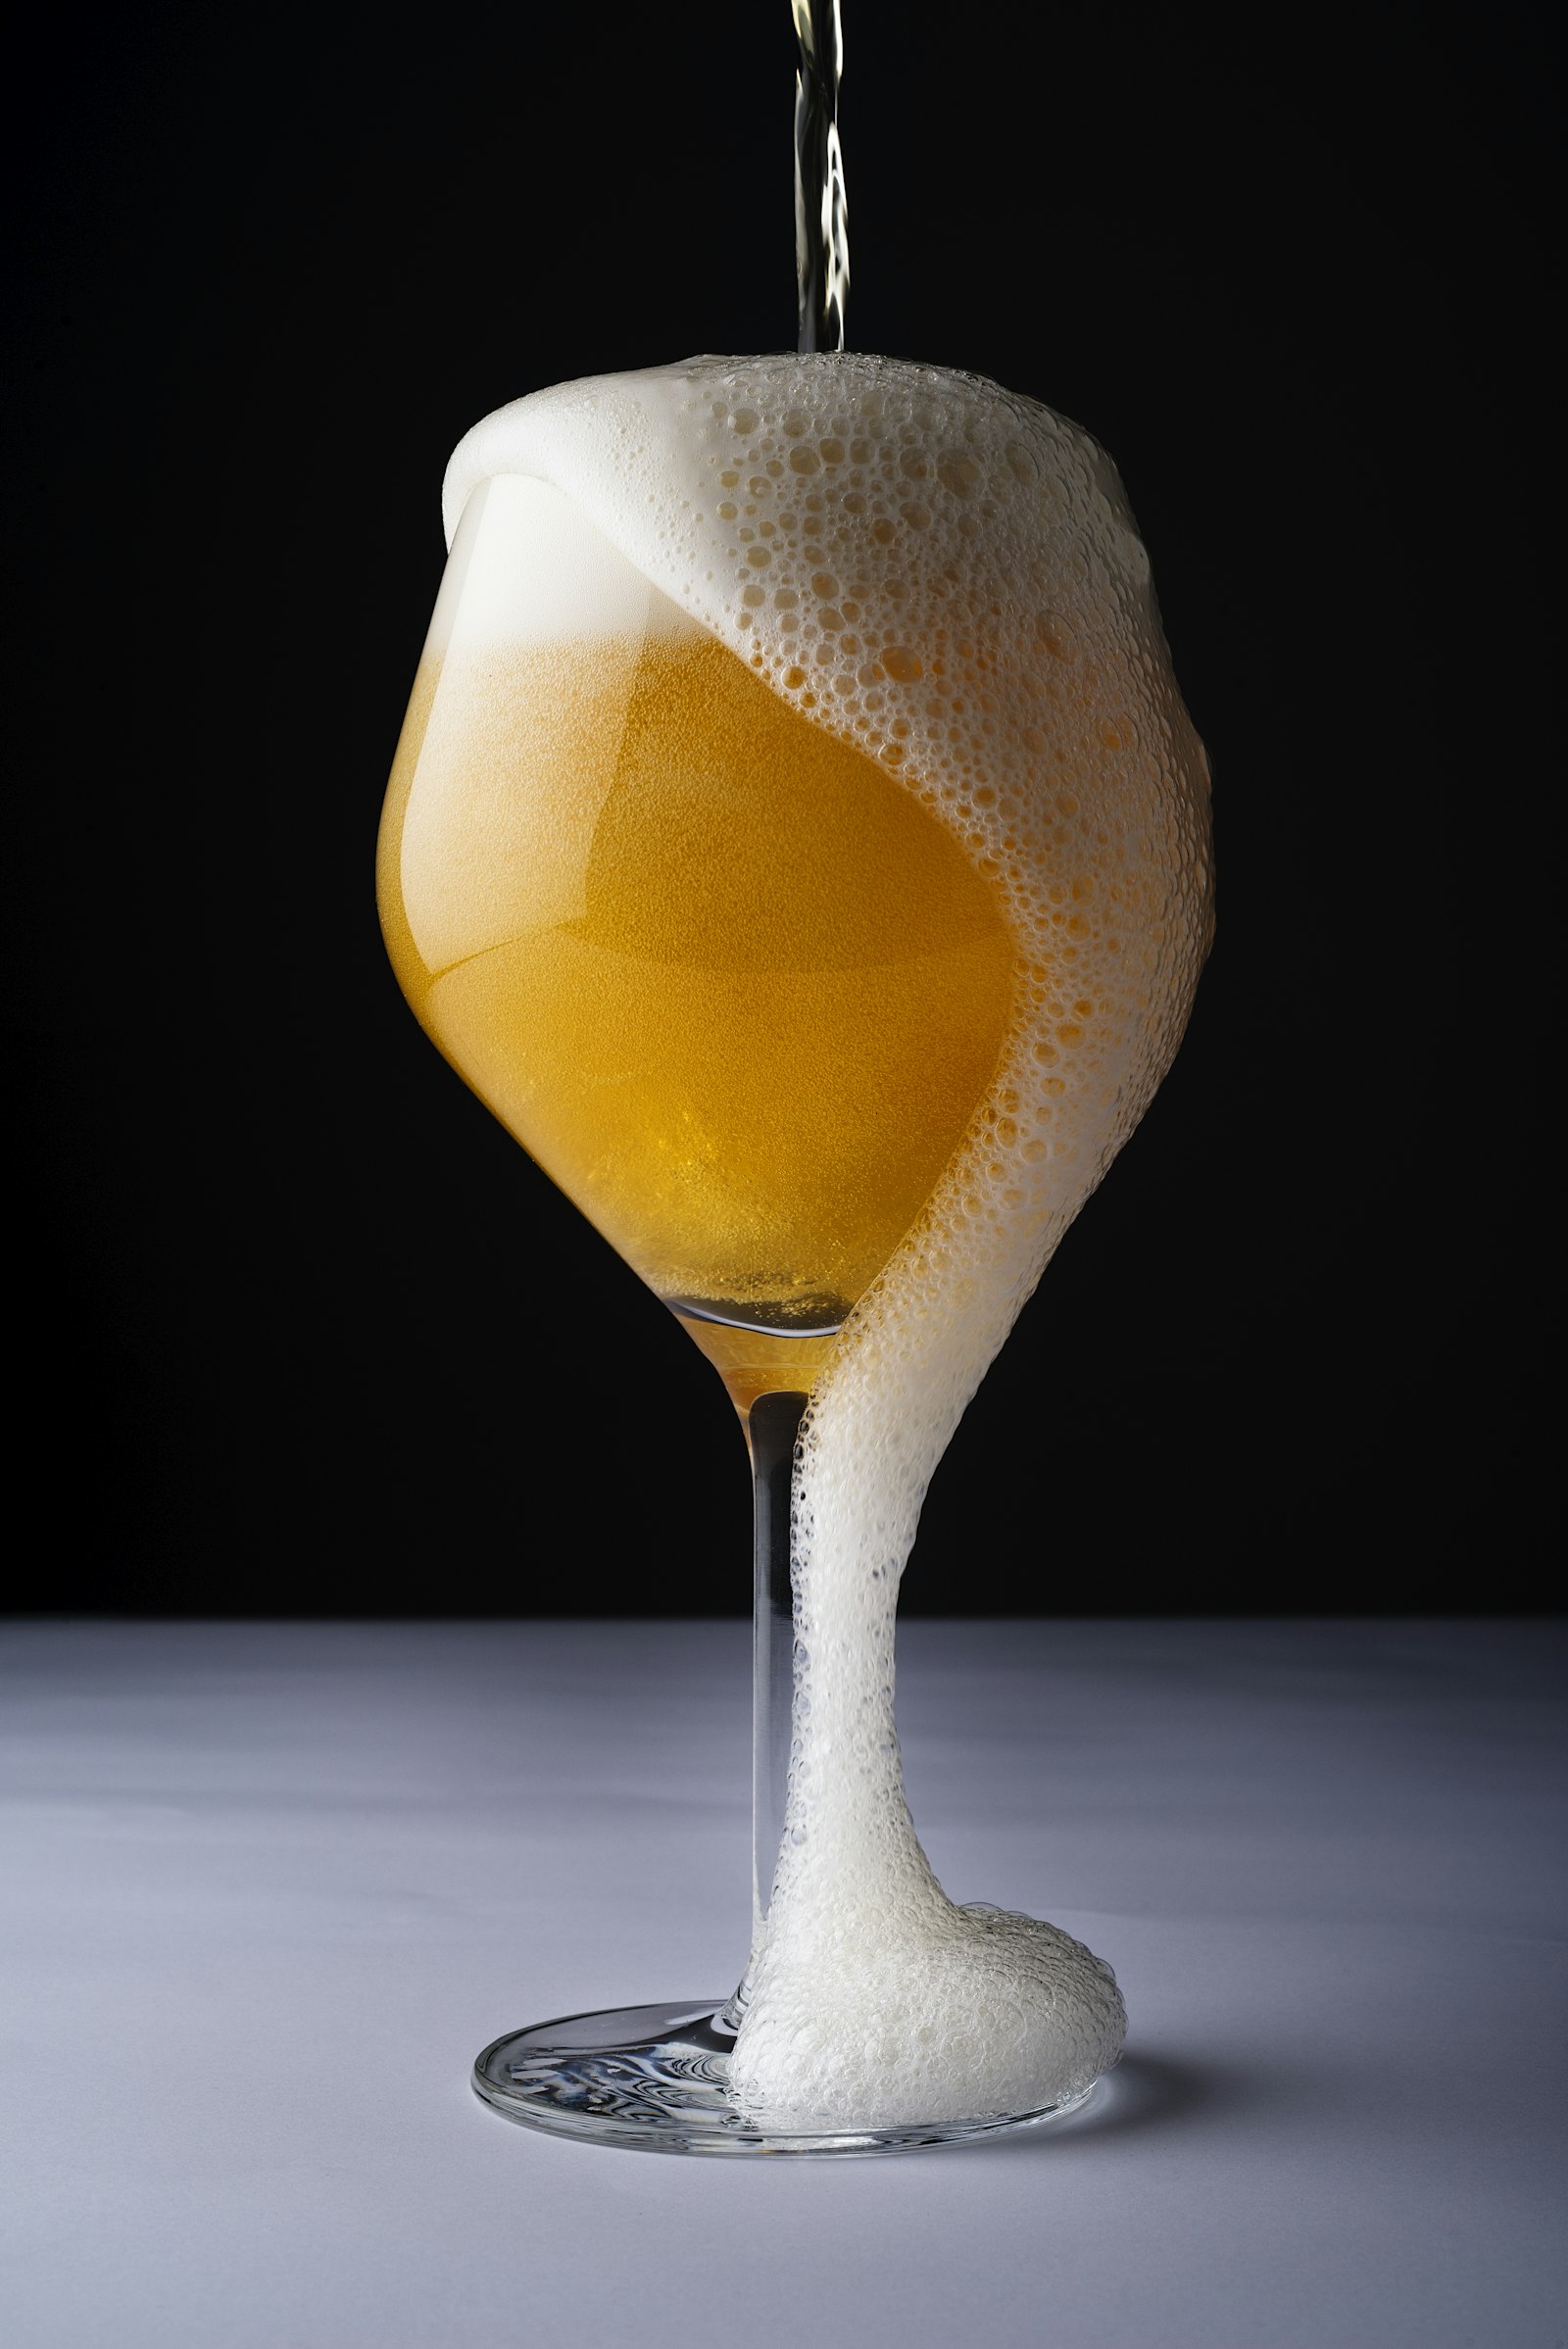
How to brew New Zealand Pilsner beer at home is a question more homebrewers are asking as the distinctive tropical and wine-like aromatics of New Zealand hops become increasingly available worldwide. This is a lager, which means it rewards patience — expect a timeline of six to eight weeks from grain to glass — but the process itself is straightforward enough for any brewer who has made a pale ale. The challenge is not complexity; it’s discipline: lager fermentation demands temperature control, and the hop character that defines this style is volatile enough to punish rough handling.
This guide covers everything you need: target specifications, a complete grain bill, hop schedule, yeast options, and a step-by-step process for producing a crisp, aromatic New Zealand Pilsner at home. For the full history and style background, visit What is New Zealand Pilsner Beer? →. When your batch is ready, find out what to pour it alongside in our New Zealand Pilsner Food Pairing Guide →.
Target Specifications
| Parameter | Target |
|---|---|
| Original Gravity | 1.050–1.056 |
| Final Gravity | 1.008–1.012 |
| ABV | 4.8–5.5% |
| IBU | 25–40 |
| SRM | 2–4 (pale straw to light gold) |
| Carbonation | 2.4–2.6 volumes CO₂ |
| Batch size | 20 liters (5.3 US gallons) |
| Timeline | 6–8 weeks grain to glass |
Ingredients
Grain Bill
- Pilsner malt — 4.2 kg (9.3 lb): The backbone of the beer. A quality Continental or New Zealand Pilsner malt (Weyermann, Gladfield, or Barrett Burston) will contribute a clean, lightly sweet base with a subtle cracker note. Gladfield’s New Zealand Pilsner Malt is the most geographically appropriate choice and worth seeking out for an authentic expression. This is the workhorse — 85–90% of your grist.
- Vienna malt — 0.5 kg (1.1 lb): A small addition of Vienna adds a gentle warmth and rounds the malt body without introducing color that would obscure the beer’s pale gold appearance. Optional, but recommended.
- Acidulated malt — 0.1 kg (3.5 oz): Used at 2% of the grist to assist mash pH adjustment and contribute a clean brightness to the finished beer. Skip this if you’re adjusting mash pH with lactic acid or phosphoric acid instead.
Total grain: approximately 4.8 kg (10.6 lb)
Sourcing note: Gladfield Malting (Canterbury, New Zealand) produces excellent base malts specifically suited to this style and ships internationally. Weyermann Pilsner Malt is a reliable European alternative.
Hops
Choose a primary NZ hop variety that defines your beer’s character — then choose a supporting variety or stick with one throughout:
- Nelson Sauvin hops — 15 g (0.5 oz) at 60 minutes: Bittering addition. Contributes approximately 20–22 IBUs. Nelson Sauvin’s thiol compounds survive the boil less than its aroma compounds, making it a solid bittering hop here while reserving fresh hop character for later additions.
- Motueka hops — 20 g (0.7 oz) at 15 minutes: Flavor addition. Motueka’s lime and lemongrass character holds well in the late boil, building the tropical flavor bridge between bitterness and aroma.
- Nelson Sauvin hops — 25 g (0.9 oz) at 0 minutes (flameout/whirlpool): Aroma addition. Add at flameout and whirlpool at 80°C (176°F) for 10–15 minutes. This is where the wine-like, gooseberry, and passionfruit aromatics develop. Handle gently — aggressive whirlpool temperatures will drive off volatile thiols.
- Riwaka hops — 30 g (1.1 oz) dry hop: Add dry hops during cold conditioning at 2°C (35°F) for 3–5 days. Riwaka contributes fresh lime zest and citrus brightness to the finished beer. Dry hopping a lager cold rather than warm preserves delicate aromatic compounds and avoids yeast activity that can scrub aromatics.
Total IBU: approximately 28–32. Adjust bittering addition if using higher-alpha varieties.
Yeast
Choose one of the following — not both:
Option A: Wyeast 2124 Bohemian Lager — A versatile, clean-fermenting lager strain that produces the crisp, neutral base this style demands. Ferments well at 9–13°C (48–56°F). Flocculation is medium; expect good clarity with cold conditioning. The most widely available option and an excellent match for New Zealand Pilsner’s clean lager character.
Option B: Fermentis Saflager W-34/70 — The dry lager yeast standard. Highly reliable, ships worldwide, and produces very clean fermentations when held at 10–12°C (50–54°F). Slightly more sulfurous during active fermentation than liquid strains, but this blows off cleanly during lagering. Use two sachets (2 × 11.5 g / 0.4 oz each) for a 20-liter (5.3-gallon) batch without a starter.
Temperature sensitivity note: Both strains will produce off-flavors (particularly acetaldehyde and diacetyl) if fermentation temperature rises above 14°C (57°F). Temperature control is non-negotiable for lager production.
Equipment
Beyond a standard homebrewing setup, New Zealand Pilsner requires:
- Temperature-controlled fermentation chamber : A dedicated fridge with an external temperature controller is the minimum requirement. Lager fermentation at 10–12°C (50–54°F) cannot be achieved reliably in a warm room. This is the single most important piece of equipment for this style.
- External temperature controller : A Johnson Controls or Inkbird controller connected to your fermentation fridge allows precise temperature management across fermentation, diacetyl rest, and lagering phases.
- Hop spider or fine mesh bag : For managing the hop additions, particularly the whirlpool addition, without blocking your kettle valve.
- Inline plate chiller or immersion chiller : Rapid wort chilling to lager pitching temperature (8–10°C / 46–50°F) is important. An inline plate chiller connected to a reservoir of ice water is most efficient.
How to Brew New Zealand Pilsner Beer: The Process Step by Step
Step 1 — Water preparation: Target a moderately soft water profile. Aim for approximately 50–75 ppm sulfate (to enhance hop dryness), 50–75 ppm chloride (for malt roundness), and low bicarbonate (under 50 ppm) to avoid alkalinity muddying the hop character. Add brewing salts (gypsum and calcium chloride) to RO water or a soft source to build your profile. Treat your sparge water separately to the same mineral profile.
Step 2 — Mash: Mash at 65°C (149°F) for 60 minutes. This temperature favors fermentability — you want a moderately dry, clean body that lets the hops dominate. A higher mash temperature (68°C / 154°F) will produce a fuller body at the cost of some dryness. Target mash pH of 5.2–5.4. Check with a calibrated pH meter after 10 minutes. Add acidulated malt or a few milliliters of lactic acid (food-grade, diluted) to reach target if needed. Mash thickness: approximately 3 liters per kg (1.4–1.5 quarts per pound).
Step 3 — Lauter and sparge: Vorlauf (recirculate) until the runoff runs clear, typically 5–10 minutes. Sparge with water at 76°C (169°F) to collect approximately 26 liters (6.9 US gallons) of pre-boil wort, targeting a pre-boil gravity of around 1.042–1.045. The most common failure here is sparging too hot (above 78°C / 172°F), which can extract harsh tannins — keep your sparge water temperature disciplined.
Step 4 — Boil: Boil for 60 minutes. Add bittering hops (Nelson Sauvin 15 g / 0.5 oz) at the start of the boil. Add Irish moss or Whirlfloc at 15 minutes for clarity. Add Motueka flavor hops at 15 minutes. At flameout, cool to 80°C (176°F), then add the whirlpool Nelson Sauvin addition (25 g / 0.9 oz). Hold at 80°C (176°F) for 10–15 minutes before chilling — this temperature extracts aroma and oil while minimizing additional isomerization compared to full boil temperatures. Note that some IBU contribution still occurs at whirlpool temperatures, so account for this in your total IBU calculation. Ensure a vigorous, rolling boil with the kettle uncovered or well-vented — Pilsner malt contains higher levels of DMS precursors (SMM) than other base malts, and a covered or sluggish boil risks a cooked-corn character in the finished beer.
Step 5 — Chill and pitch: Chill to 8–10°C (46–50°F) as rapidly as possible. Transfer to your sanitized fermenter, aerate or oxygenate well (lager yeast requires oxygen for a healthy fermentation), and pitch a well-prepared starter of liquid yeast or two sachets of Saflager W-34/70. Under-pitching lager yeast is a primary cause of off-flavors — pitch rates for lager should be approximately double those for ales.
Step 6 — Primary fermentation: Ferment at 10–12°C (50–54°F) for 10–14 days. Fermentation will be slower and less visually dramatic than ale fermentation — this is normal. Do not rush. When the gravity reaches within 2–3 points of target (approximately 1.011–1.014), raise the temperature to 18°C (64°F) for a 48-hour diacetyl rest. This allows the yeast to reabsorb diacetyl precursors, which at lager temperatures would otherwise linger as a butterscotch off-flavor.
Step 7 — Dry hopping and cold conditioning: After the diacetyl rest, crash the temperature to 2°C (35°F). Once the yeast has flocculated (24–48 hours), add your Riwaka dry hops (30 g / 1.1 oz) directly to the cold fermenter. Cold dry hopping preserves the delicate citrus and lime thiols in Riwaka. Contact time: 3–5 days. Do not warm the beer during dry hopping. After dry hop contact, crash for a further 7–14 days for clarity before packaging.
Step 8 — Packaging: Package at 2°C (35°F) to minimize oxygen pickup. Target carbonation: 2.4–2.6 volumes CO₂. If force carbonating in a keg, set to approximately 12 psi (0.8 bar) at 2°C (35°F) and allow 5–7 days for full carbonation. If bottle conditioning, prime with approximately 5–6 g/L (0.7 oz/US gallon) of corn sugar — use a priming calculator to confirm based on your beer’s current CO₂ level. Do not exceed 6 g/L (0.8 oz/US gallon) without testing bottle pressure.
Recipe Summary
| Item | Metric | US |
|---|---|---|
| Pilsner malt | 4.2 kg | 9.3 lb |
| Vienna malt | 0.5 kg | 1.1 lb |
| Acidulated malt | 0.1 kg | 3.5 oz |
| Nelson Sauvin (60 min) | 15 g | 0.5 oz |
| Motueka (15 min) | 20 g | 0.7 oz |
| Nelson Sauvin (whirlpool) | 25 g | 0.9 oz |
| Riwaka (dry hop) | 30 g | 1.1 oz |
| Mash temperature | 65°C | 149°F |
| Mash duration | 60 min | 60 min |
| Boil duration | 60 min | 60 min |
| Whirlpool temp | 80°C | 176°F |
| Fermentation temp | 10–12°C | 50–54°F |
| Diacetyl rest | 18°C / 48 hrs | 64°F / 48 hrs |
| Cold conditioning | 2°C / 7–14 days | 35°F / 7–14 days |
| Batch size | 20 liters | 5.3 US gallons |
| OG | 1.050–1.056 | — |
| FG | 1.008–1.012 | — |
| ABV | 4.8–5.5% | — |
| IBU | 25–40 | — |
Troubleshooting
Butterscotch or buttery flavor (diacetyl): The most common lager problem. Caused by insufficient diacetyl rest or rushing cold conditioning before the yeast has cleaned up fermentation byproducts. Solution: extend the diacetyl rest to 72 hours at 18°C (64°F) and ensure the beer does not go into cold conditioning until gravity has fully reached terminal.
Flat or muted hop aroma: Volatile thiol compounds in Nelson Sauvin and Riwaka are easily lost. Check your whirlpool temperature (do not exceed 85°C / 185°F), ensure dry hopping occurred cold, and minimize oxygen exposure throughout packaging. If force carbonating, ensure adequate contact time before serving.
Haze in the finished beer: Some chill haze is normal and will clear during cold conditioning. If haze persists at serving temperature, extend cold conditioning time, or add a small dose of gelatin finings (1 g/5L / 0.1 oz/US gallon) at 2°C (35°F). Haze from dry hopping in warm conditions (hop creep) can be avoided by keeping dry hop temperatures cold.
Sulfur aroma: Common with W-34/70 during active fermentation — hydrogen sulfide is a normal yeast byproduct in lager fermentation that dissipates during cold conditioning. Ensure adequate lagering time and do not rush to package. If persistent sulfur aroma remains after adequate conditioning, ensure the beer has had sufficient lagering time and adequate CO₂ venting during conditioning. Note that elevated water sulfate (above 100–150 ppm) separately affects the perceived sharpness of hop bitterness and is a different issue from yeast-derived sulfur aroma.
Under-attenuation (beer too sweet, too high final gravity): Most commonly caused by under-pitching, poor yeast health, or fermentation temperature that was too low during primary. Ensure pitch rate is correct, use a fresh yeast starter for liquid strains, and confirm fermentation temperature is consistently 10–12°C (50–54°F) rather than cooler.
Harsh bitterness: Usually caused by over-hopping the bittering addition or sparging too hot (tannin extraction). Check your IBU calculations and mash/sparge temperatures. Harsh bitterness can also result from hop material sitting in the finished beer too long — a hop spider or bag during the boil and careful whirlpool separation helps.
Variations to Try
Nelson Sauvin Single-Hop Pilsner: Use Nelson Sauvin for every hop addition — bittering, flavor, whirlpool, and dry hop. This isolates the white wine and tropical fruit thiols of a single variety and is an excellent exercise in understanding what Nelson Sauvin actually tastes like. Increase total hop volume by 20% to compensate for the lower alpha on some Nelson Sauvin crops.
Summer Session NZ Pilsner: Reduce the grain bill to target an OG of 1.040 and ABV of approximately 3.8%. Use Motueka as your primary hop variety throughout for a lighter, lime-forward, highly drinkable warm-weather version. Reduce bittering addition proportionally.
Pacific Double Pilsner: Scale the recipe up to OG 1.065 and double the late-boil and dry hop additions. The result is a stronger, intensely aromatic beer that pushes the style’s aromatic boundaries while retaining the lager clean base. Extend lagering time to 4–6 weeks for full conditioning at the higher gravity.
NZ Hop Comparison Batch: Split a single batch into two fermenters post-boil and dry hop each half with a different New Zealand variety — Riwaka in one, Nelson Sauvin in the other. A side-by-side tasting is one of the most instructive exercises a homebrewer can do to understand how different NZ cultivars express themselves.
Kellerbier-Style NZ Pilsner: Skip the clarification steps entirely — no finings, shorter cold conditioning, serve slightly hazy and unfiltered with some residual yeast. The result is a rounded, fuller-bodied version with a more complex yeast character layered beneath the New Zealand hop aromatics.
New Zealand Pilsner rewards the patient brewer. Give the fermentation the cold temperature it needs, give the lagering the time it deserves, and the hops will do the rest — delivering aromatics that no other brewing tradition on earth can replicate quite the same way.
Explore more: – What is New Zealand Pilsner Beer? The Complete Style Guide → – New Zealand Pilsner Beer Food Pairing Guide →
Brew Cartographer explores the history, geography, and craft of rare and forgotten beer styles. Subscribe to our newsletter for new expeditions every week.