How to brew doburoku beer at home is a question that carries a certain edge: until 2003, even brewing it in Japan was illegal. Outside Japan, however, homebrewers are free to make this ancient unfiltered rice ferment — and it is more approachable than you might expect. The core challenge is sourcing or making koji, the enzyme-producing mold that does the work of converting rice starches to fermentable sugars. Once you have koji in hand, the rest of the process is simpler than all-grain barley brewing. Grain to glass takes approximately 2–3 weeks for a fresh, lightly fermented version; 4–6 weeks for a more developed, higher-alcohol result.
This guide covers everything you need to brew doburoku at home: target specifications, sourcing koji, step-by-step process, troubleshooting, and variations. For background on the style’s history and character, see What is Doburoku Beer? →. For serving and pairing ideas, see the Doburoku Food Pairing Guide →.
Target Specifications
| Parameter | Target |
|---|---|
| Original Gravity | 1.065–1.080 |
| Final Gravity | 1.015–1.030 (highly variable; residual rice solids affect readings) |
| ABV | 8–12% |
| IBU | 0 (no hops) |
| SRM | 2–4 (white to pale cream) |
| Carbonation | 0.5–1.5 volumes CO₂ (natural, from active fermentation) |
| Batch size | 4 liters (1.1 US gallons) — small batch recommended for first attempt |
| Timeline | 2–3 weeks (fresh style); 4–6 weeks (more developed) |
Note: Gravity readings are unreliable in doburoku due to suspended rice solids. ABV is better estimated by taste and fermentation time.
Ingredients
Grain / Rice
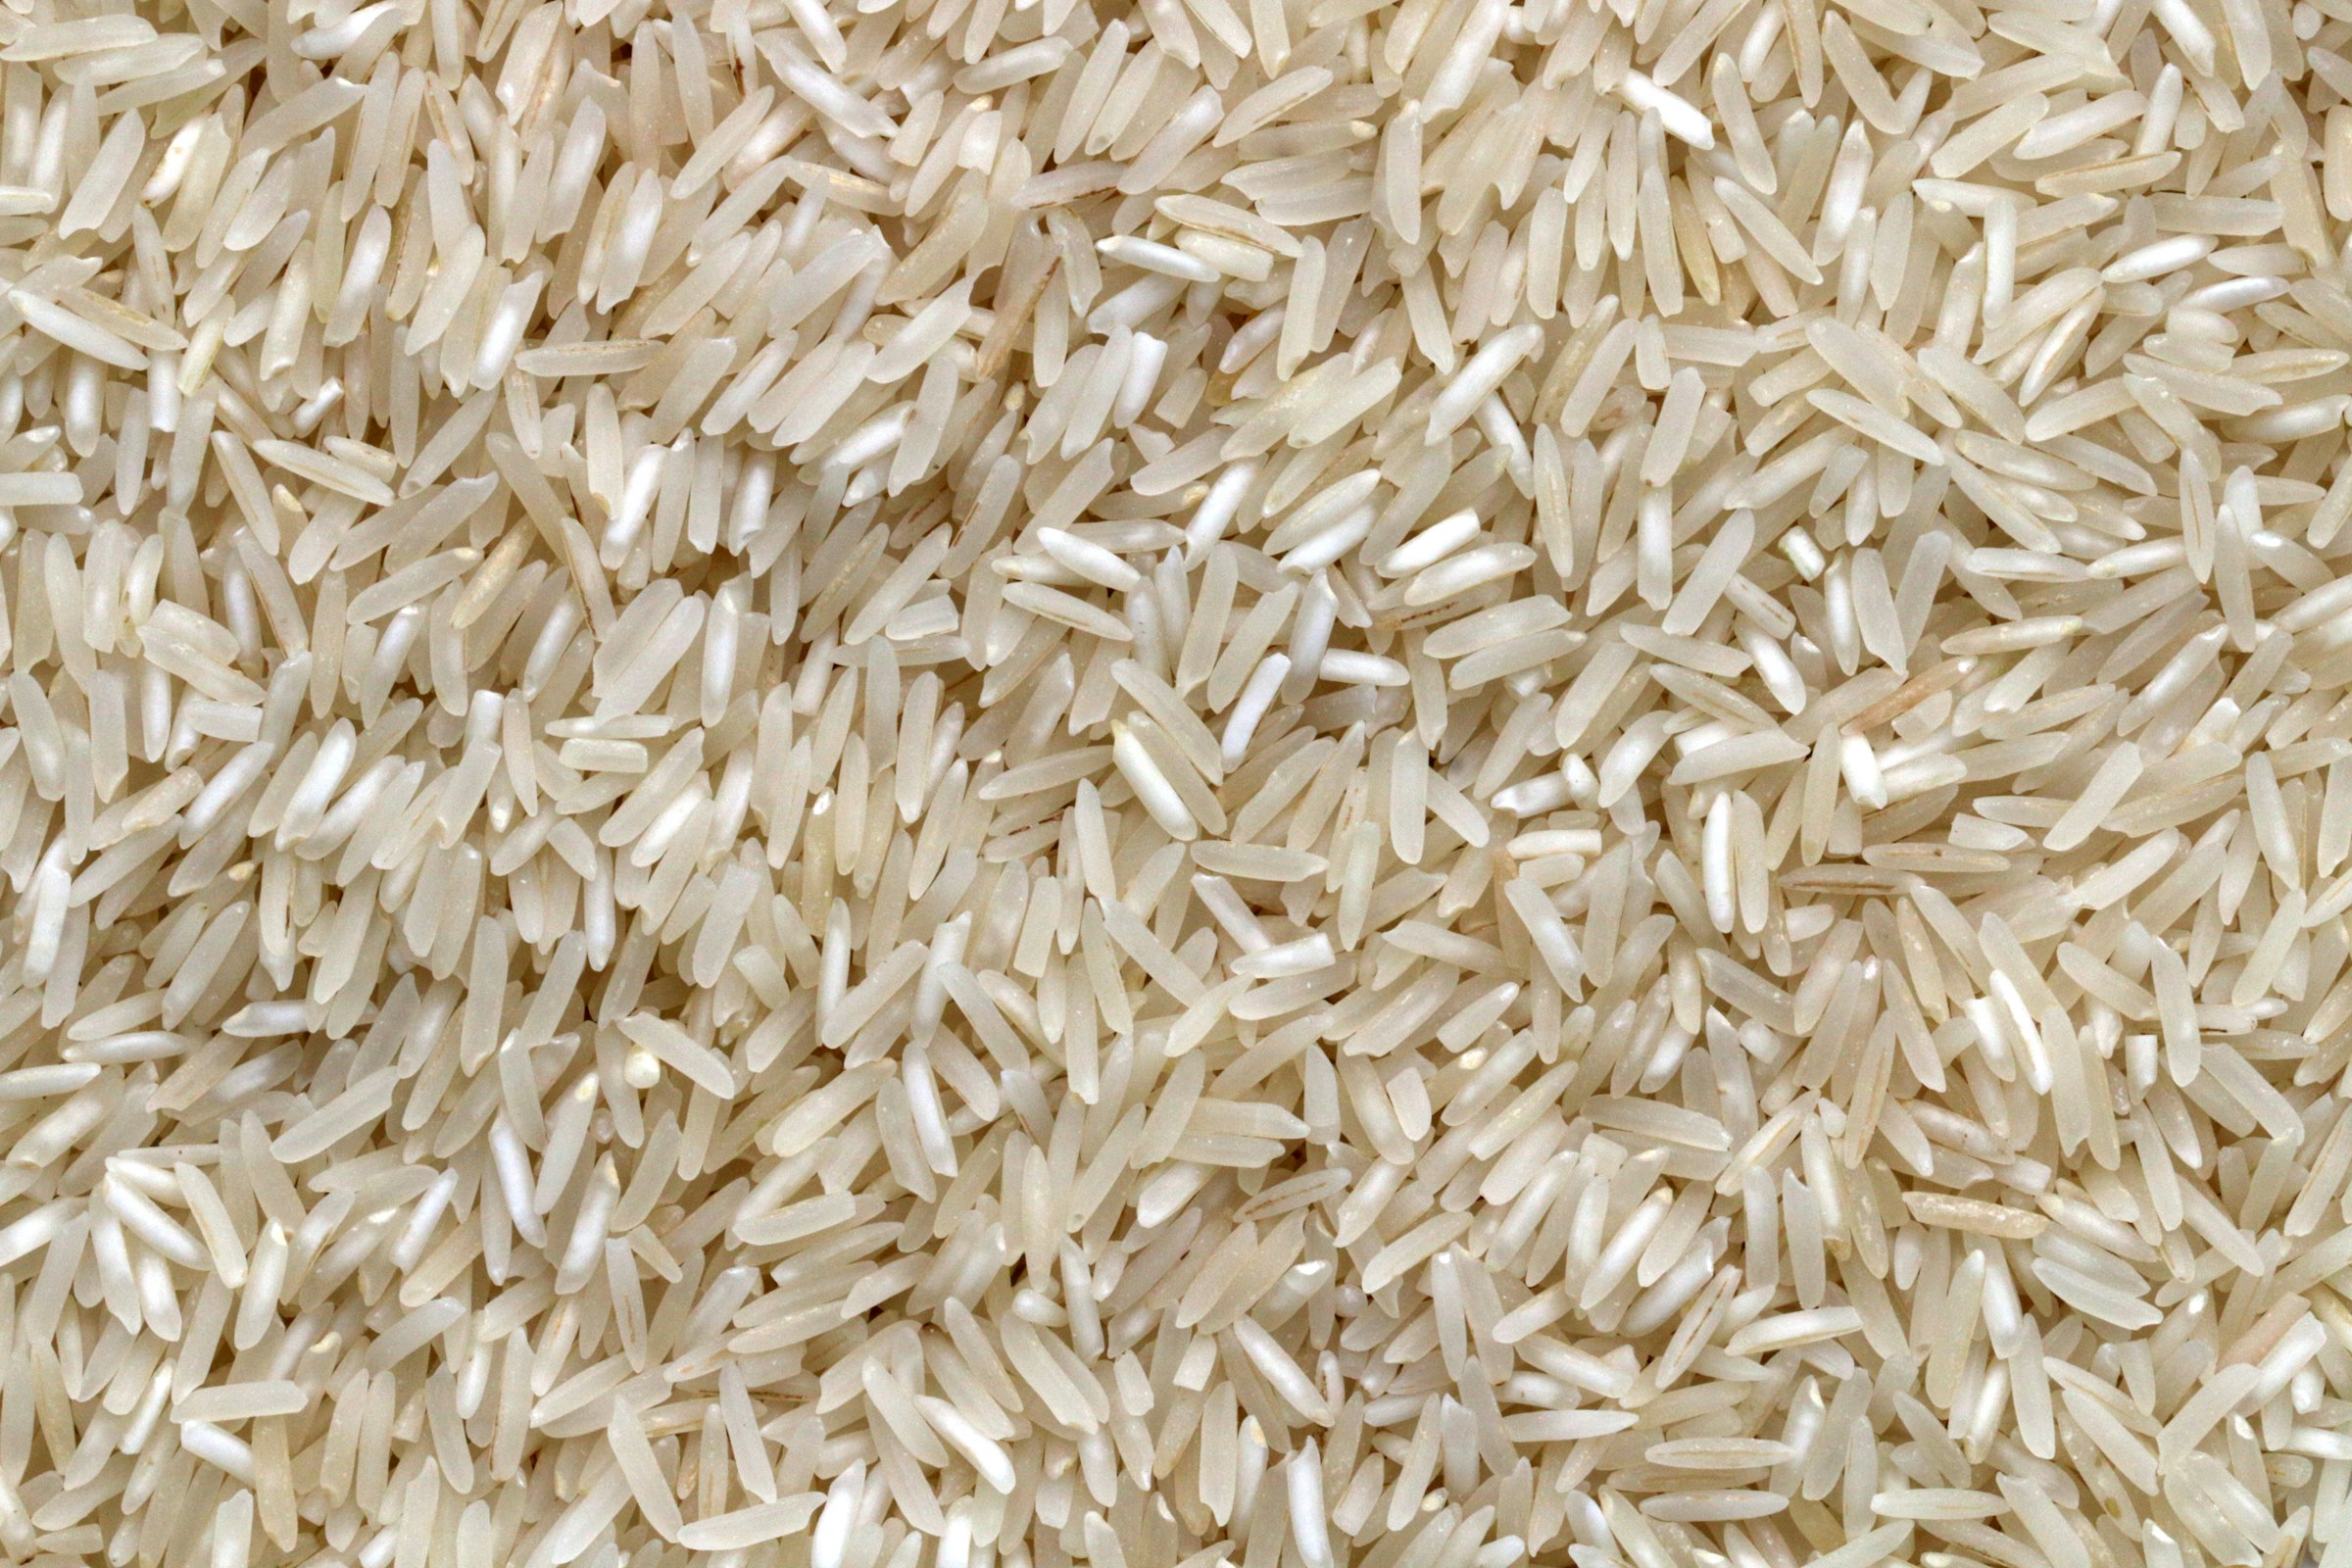
- Short-grain Japanese rice — 600 g (21 oz) Japanese sushi rice or short-grain rice (such as Koshihikari or Calrose) is the authentic base. Long-grain rice will work but produces a thinner result. Wash and soak for 8–12 hours before steaming.
Koji
Koji is the non-negotiable ingredient in doburoku. You have three sourcing options — choose one:
Option A: Pre-made rice koji (easiest) – Dried rice koji (kome koji) — 300 g (10.5 oz) Available from Japanese grocery stores, online Asian food retailers, and some homebrewing suppliers. This is steamed rice that has been inoculated with Aspergillus oryzae and dried. Simply rehydrate and use. Look for “kome koji” (米麹) on the package.
Option B: Fresh koji from a sake supplier – Fresh rice koji from a Japanese sake brewery or specialty supplier — 300 g (10.5 oz) Superior enzymatic activity compared to dried. Contact local sake producers or Japanese restaurant suppliers.
Option C: Make your own koji (advanced) – Koji spores (Aspergillus oryzae) — Koji starter spores — 1–2 g Growing your own koji takes 40–48 hours in a controlled humidity/temperature environment (30°C / 86°F, 90% relative humidity). This option produces the freshest, most active koji but requires a dedicated incubation setup. See our separate koji-making guide for the full process.
Water
- Filtered or spring water — 2 liters (68 fl oz / 0.5 US gallons) for brewing, plus additional for steaming rice Water chemistry matters less in doburoku than in barley brewing because koji enzymes tolerate a wide pH range. Use clean, neutral water without heavy chlorine treatment.
Yeast
Choose one of the following — not both:
- Option 1: Dried sake yeast — Sake yeast (Kyokai No. 7 or equivalent) The most historically appropriate choice. Sake yeast contributes the characteristic fruity, floral esters of authentic doburoku. Rehydrate in 35°C (95°F) water for 15 minutes before pitching.
- Option 2: White Labs WLP705 Sake Yeast — White Labs WLP705 Sake Yeast A liquid sake yeast strain that produces clean, fruity fermentation with high alcohol tolerance. Requires a starter for optimal performance. WLP705 is available through homebrewing retailers seasonally — check the White Labs website for current availability and specs.
Equipment
Doburoku requires minimal specialized equipment beyond a standard homebrewing kit. The most important difference from barley brewing is the need for steaming rather than mashing.
- Rice steamer or bamboo steamer basket — Bamboo steamer set Doburoku rice must be steamed, not boiled. Boiling makes the rice gummy and unsuitable for koji activity. A traditional bamboo steamer over a pot works well; a metal steamer insert is an acceptable substitute.
- Food thermometer — Digital brewing thermometer For monitoring fermentation temperature and rice cooling temperature.
- Wide-mouth fermentation vessel — 5-liter / 1.3-gallon capacity, ceramic crock or food-grade plastic bucket with lid. A glass mason jar or wide-mouth jar works for small batches.
- Fine-mesh straining bag or cheesecloth — Fine mesh straining bag For straining finished doburoku if desired (though minimal straining is traditional — the solids are part of the drink).
- Sanitizer — Star San
How to Brew Doburoku Beer: The Process Step by Step
Step 1 — Wash and Soak the Rice
Rinse 600 g (21 oz) of short-grain Japanese rice under cold running water until the water runs nearly clear — approximately 5–7 rinses. This removes excess surface starch that would create a gluey texture. Soak the washed rice in cold water for 8–12 hours (overnight works well). Drain completely in a colander for 30 minutes before steaming.
Why it matters: Thorough washing and soaking ensures the rice steams evenly to the correct texture: firm on the outside, fully cooked in the center. Under-soaked rice will be crunchy; over-soaked rice will be gummy.
Step 2 — Steam the Rice
Line your steamer basket with cheesecloth or a muslin cloth. Spread the drained rice in an even layer no more than 3 cm (1.2 inches) deep. Steam over vigorously boiling water for 45–55 minutes until the rice is translucent and fully cooked but still retains individual grain structure. It should be sticky but not mushy.
Remove from heat and spread the cooked rice on a clean surface or large tray to cool. Fan it or stir gently to help it cool faster.
Why it matters: Steaming (rather than boiling) preserves the granular structure of the rice. Koji enzymes need physical access to the interior of each rice grain; boiled rice becomes too sticky and gummy to allow good enzyme penetration.
Step 3 — Mix Rice and Koji
Once the steamed rice has cooled to below 35°C (95°F), combine it with your koji in your sanitized fermentation vessel. The ratio is approximately 2:1 cooked rice to koji by weight. Mix thoroughly so the koji is evenly distributed throughout the rice. The mixture will look like damp, lumpy rice.
Add 500 ml (17 fl oz / 2 cups) of filtered water at room temperature. Stir to combine.
Why it matters: Mixing at the right temperature protects the sake yeast you’re about to add. Above 40°C (104°F), you risk killing the yeast and damaging the koji enzymes. The water addition begins the fermentation environment.
Step 4 — Pitch the Yeast
Rehydrate your dried sake yeast in 35°C (95°F) water for 15 minutes (or prepare your WLP705 liquid yeast starter 24–48 hours ahead). Once the rice-koji mixture is below 35°C (95°F), add the rehydrated yeast and stir gently to distribute.
Cover the vessel with a clean cloth secured with a rubber band (not an airtight lid at this stage) and move to a fermentation location at 20–25°C (68–77°F).
Step 5 — Ferment: Days 1–3 (Active Phase)
Stir the fermenting doburoku once or twice daily with a sanitized spoon. During the first 24–72 hours, fermentation begins visibly: the mixture bubbles, the rice breaks down, and the aroma shifts from cooked rice to something funky and alcoholic. Add an additional 500 ml (17 fl oz) of water on Day 2 to thin the mash as fermentation loosens the rice structure.
Why it matters: Daily stirring is essential in the early stages because the rice-koji mixture is very thick. Stirring distributes nutrients, manages CO₂ buildup, and helps the koji enzymes access fresh starch.
Common failure point: If there is no visible fermentation activity within 48 hours at 20–25°C (68–77°F), the yeast may have been killed by heat or the koji may be inactive. Check your temperatures and consider repitching with fresh yeast.
Step 6 — Ferment: Days 4–14 (Extended Fermentation)
Reduce stirring to once daily. The doburoku will progressively become more liquid as the koji enzymes break down the rice. By Day 7–10, it should pour freely. Continue at 20–25°C (68–77°F).
Taste daily from Day 5 onward. You are looking for the balance point that suits your palate: sweeter and less alcoholic at Day 5–7; drier, more alcoholic, and more complex at Day 10–14.
For a fresh, lightly fermented doburoku (8–9% ABV, sweeter): harvest at Day 7–10. For a more developed, drier doburoku (10–12% ABV): ferment to Day 14–21.
Step 7 — Strain and Serve
Doburoku is traditionally served with minimal processing. When you reach your target flavor:
- Refrigerate to halt active fermentation.
- Optionally strain through a coarse-mesh bag or a single layer of cheesecloth to remove the largest rice solids. Do not over-filter — the turbidity and rice particles are integral to the style.
- Transfer to clean, sanitized bottles or serve directly from the vessel. If bottling, use swing-top bottles or pressure-rated bottles, as residual fermentation may generate carbonation.
- Consume within 1–2 weeks. Doburoku is a living product and continues to change (and eventually to over-ferment) in storage.
Why it matters: Refrigeration slows but does not stop fermentation. Keeping doburoku cold between servings extends its drinkable window without dead-ending the natural carbonation that gives it character.
Recipe Summary
| Item | Metric | US |
|---|---|---|
| Short-grain Japanese rice | 600 g | 21 oz |
| Dried rice koji | 300 g | 10.5 oz |
| Water (total) | 2 liters | 68 fl oz / 0.5 gal |
| Sake yeast | 1 packet | 1 packet |
| Soak time | 8–12 hours | 8–12 hours |
| Steam time | 45–55 minutes | 45–55 minutes |
| Fermentation temp | 20–25°C | 68–77°F |
| Fresh harvest time | Day 7–10 | Day 7–10 |
| Full fermentation time | Day 14–21 | Day 14–21 |
| Target ABV | 8–12% | 8–12% |
| Batch size | ~4 liters | ~1.1 US gallons |
Troubleshooting
No fermentation activity after 48 hours: The yeast was likely killed by heat (rice was too warm when pitched) or the koji is inactive. Check that your rice had cooled below 35°C (95°F) before adding yeast. If koji was old or dried improperly, enzymatic activity may be insufficient — source fresh koji and restart.
Too thick to stir or pour: Add warm filtered water in small increments (100–200 ml / 3–7 fl oz at a time) and stir vigorously. Doburoku fermentations vary considerably in consistency. Adding water also modulates ABV — more water produces a lower-alcohol result.
Sour or acidic flavor (too much): Some lactic acid is normal and desirable. Excessive sourness suggests contamination by wild bacteria. Use strict sanitation throughout, cool the rice quickly to below 35°C (95°F) before adding yeast, and pitch an adequate quantity of active sake yeast to establish dominance rapidly.
Bitter or harsh flavor: Aged or improperly stored koji can produce off-flavors. Source fresh koji for best results. Bitterness can also develop in over-fermented batches — harvest earlier on the next batch.
Thin, watery texture: Insufficient koji or over-dilution. Use the full 1:2 koji-to-rice ratio by weight, and add water gradually rather than all at once.
Gummy, undissolved rice chunks: The rice was likely boiled rather than steamed, or under-soaked before steaming. Steaming for the full 45–55 minutes after a proper overnight soak should produce rice with the correct texture.
Variations to Try
Fruit-infused doburoku: Add 200–400 g (7–14 oz) of clean, ripe fruit (yuzu zest, plum, or strawberry) at Day 5, after the primary fermentation is established. The fruit sugars will ferment and the aromatics will integrate into the beer. Remove the fruit solids when straining.
Long-fermented dry doburoku: Extend fermentation to 4–6 weeks at a slightly cooler temperature (15–18°C / 59–64°F), adding a small amount of fresh koji mid-ferment to sustain enzymatic activity. This produces a drier, more complex, wine-like result at 12–14% ABV.
Nigori-style (coarse-filtered): Strain the finished doburoku through a single layer of cheesecloth only, collecting more solids than you would with a mesh bag. This produces a slightly less opaque, more visually refined version — closer to commercial nigori sake but still distinctly doburoku in character.
Low-alcohol (amazake style): Harvest at Day 3–5 before significant alcohol accumulates. The result is very sweet, only 3–5% ABV, and highly perishable — consume within 48 hours. This approximates the amazake tradition of very lightly fermented sweet rice drink.
Spiced doburoku: Add 2–3 g (0.07–0.1 oz) of dried yuzu peel or 1 g (0.035 oz) of dried shiso leaf during the final 2 days of fermentation. The aromatics infuse gently into the living beverage.
Doburoku rewards patience and attention. Each batch will be different — your koji, your rice, your fermentation temperature, and your harvest timing all shape the final result. Begin with the basic recipe, taste as you go, and let the doburoku tell you when it is ready.
Explore more: – What is Doburoku Beer? The Complete Style Guide → – Doburoku Beer Food Pairing Guide →
Brew Cartographer explores the history, geography, and craft of rare and forgotten beer styles. Subscribe to our newsletter for new expeditions every week.