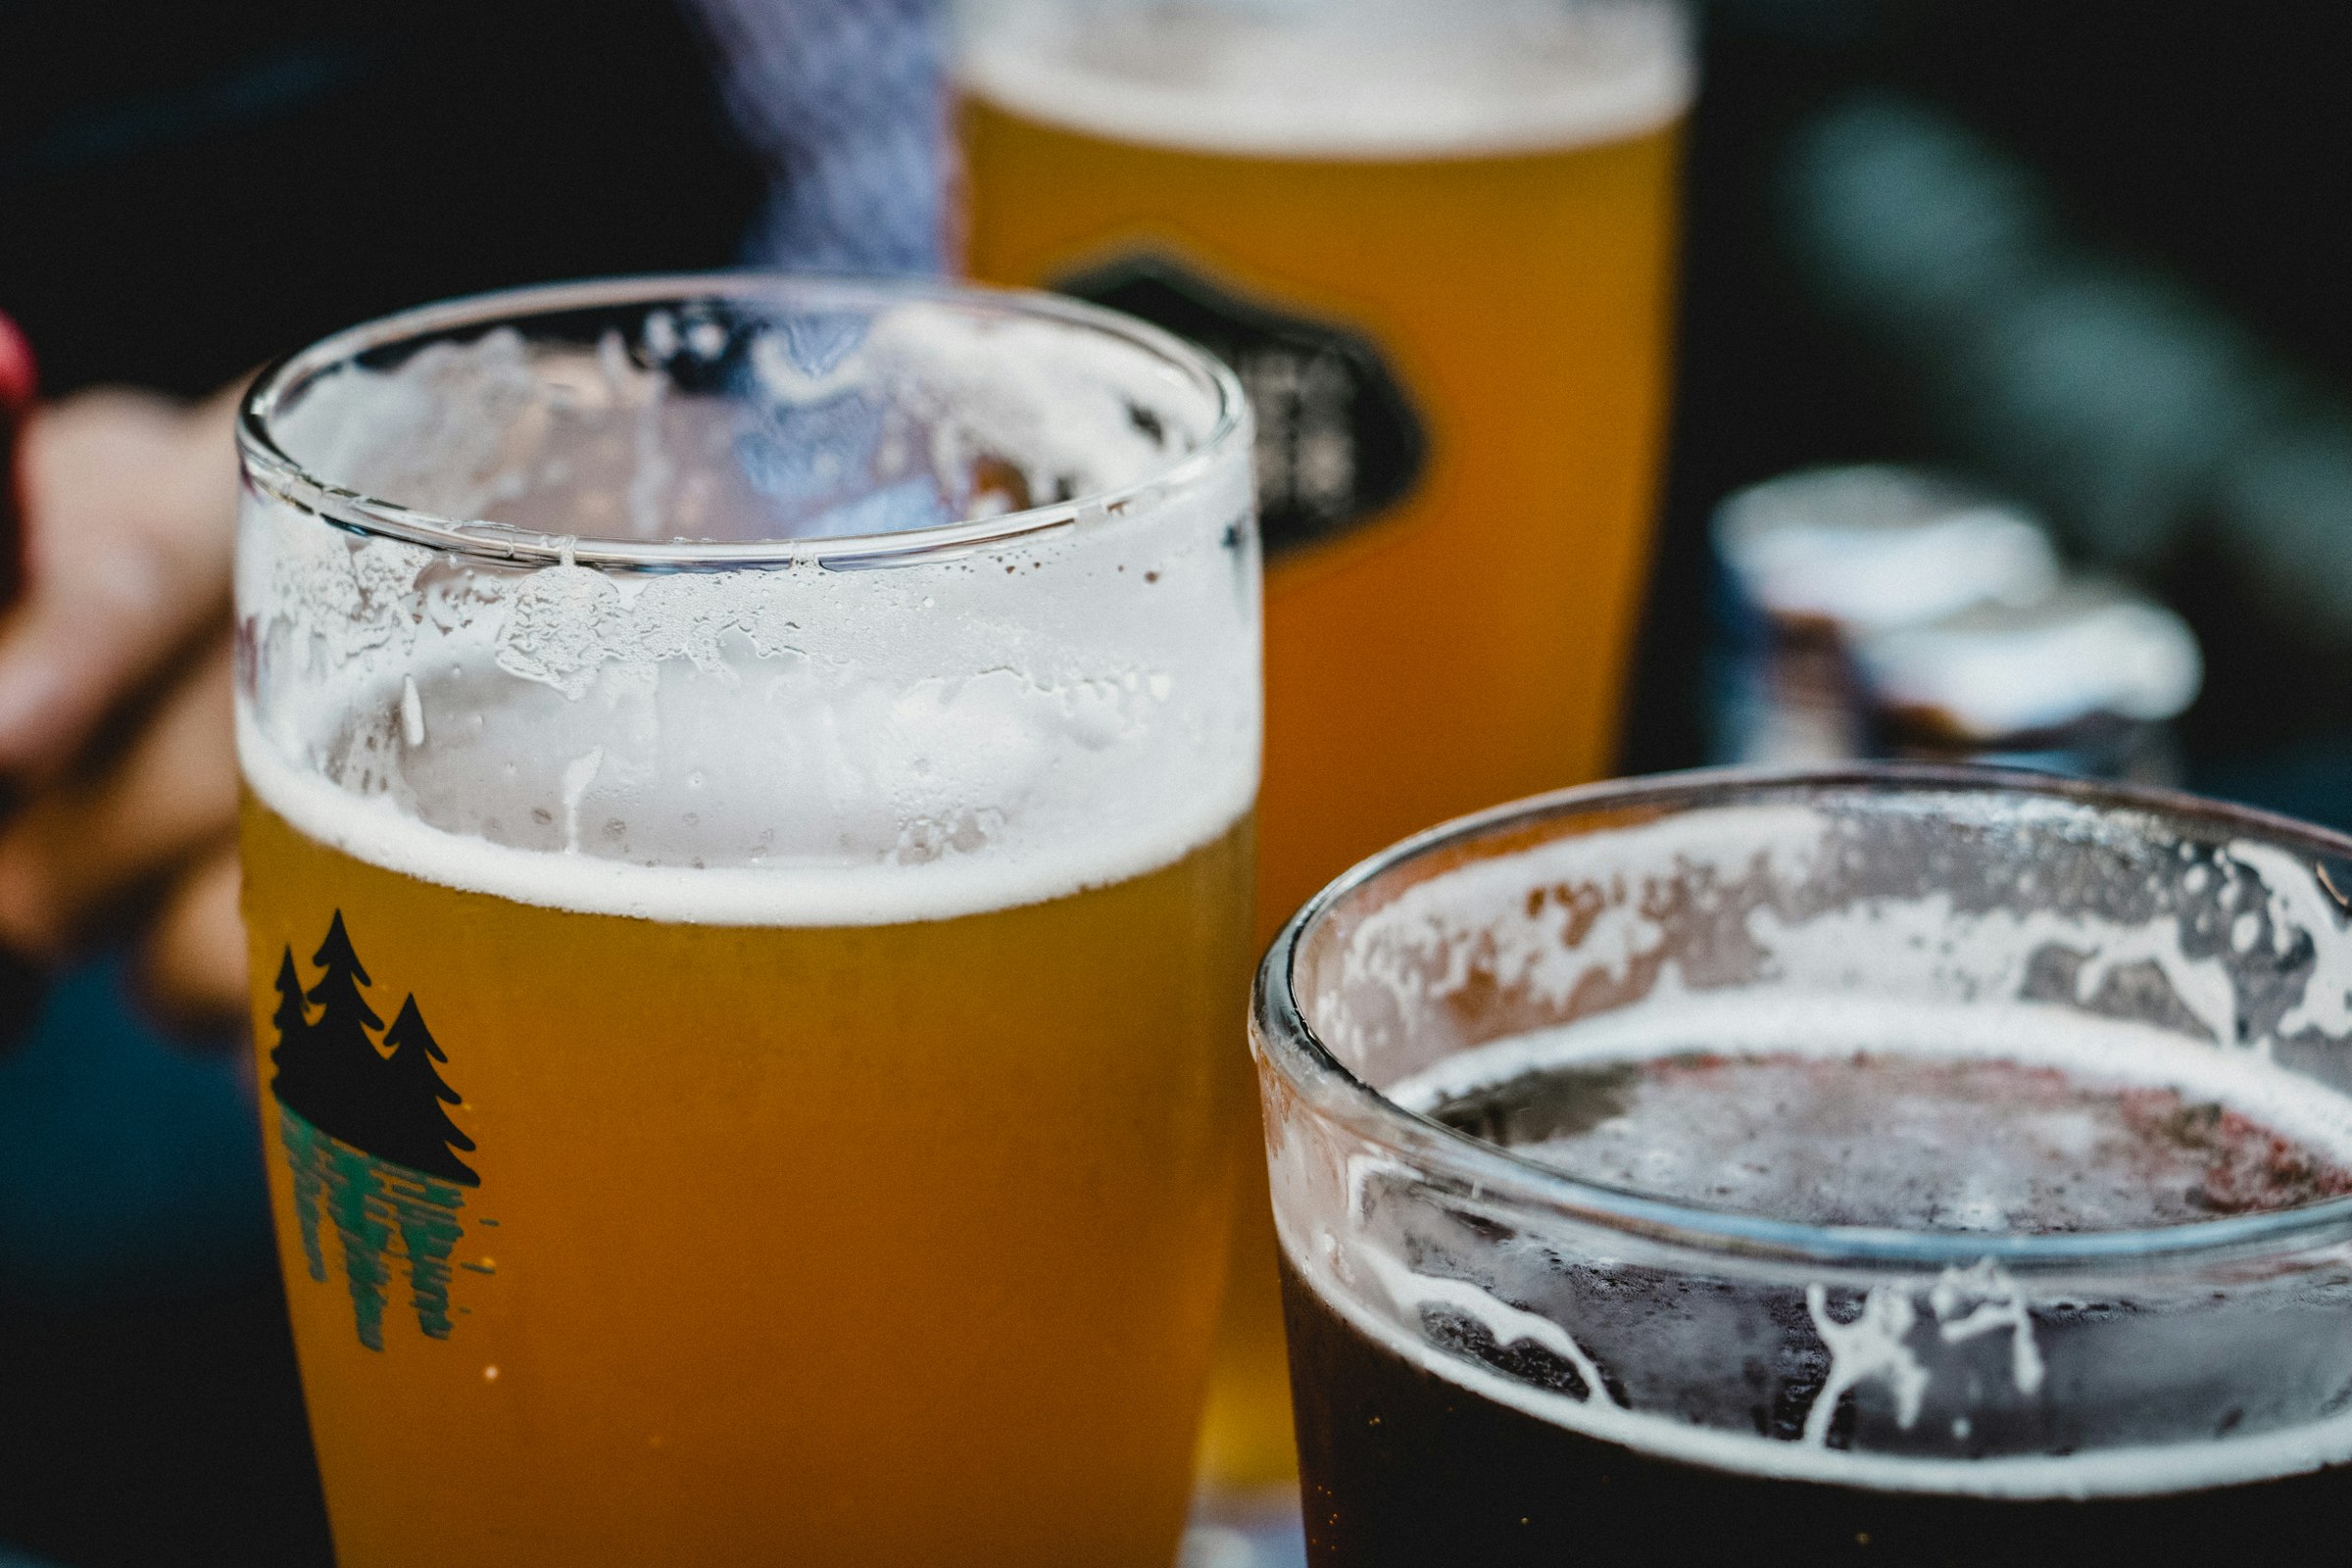
How to brew cauim beer at home is a question that requires honest engagement with a difficult reality: traditional cauim relies on saliva-based saccharification — chewing manioc or corn and spitting it into the fermentation vessel — and while that method works brilliantly for indigenous brewers with generations of practice, it presents practical and social challenges for most homebrewers. This guide offers a faithful homebrewer-friendly adaptation: we explain the traditional method clearly, then provide two practical alternatives (commercial amylase enzymes and malted grain) that achieve the same biochemical outcome. The resulting beer takes 5–7 days from grain to glass, produces a pleasantly tart, mildly alcoholic, cloudy manioc ferment in the 2–4% ABV range, and rewards any brewer curious enough to step outside the European grain tradition.
This guide covers target specifications, a full ingredient list with sourcing notes, the step-by-step process with both traditional and modern saccharification options, a recipe summary table, troubleshooting, and variations. For the history and cultural context of cauim, visit What is Cauim Beer? →. To explore what to eat alongside it, see the Cauim Food Pairing Guide →.
Target Specifications
| Parameter | Target |
|---|---|
| Original Gravity | 1.030–1.040 |
| Final Gravity | 1.006–1.014 (consumed before fully attenuated) |
| ABV | 2–4% (traditionally consumed while still fermenting) |
| IBU | 0 (no hops) |
| SRM | 2–4 (pale straw to very light gold, cloudy) |
| Carbonation | 0.5–1.2 volumes CO₂ (essentially still, natural from active fermentation) |
| Batch size | 10 liters (2.6 US gallons) |
| Timeline | 5–8 days grain to glass |
Ingredients
Manioc (Cassava) Base
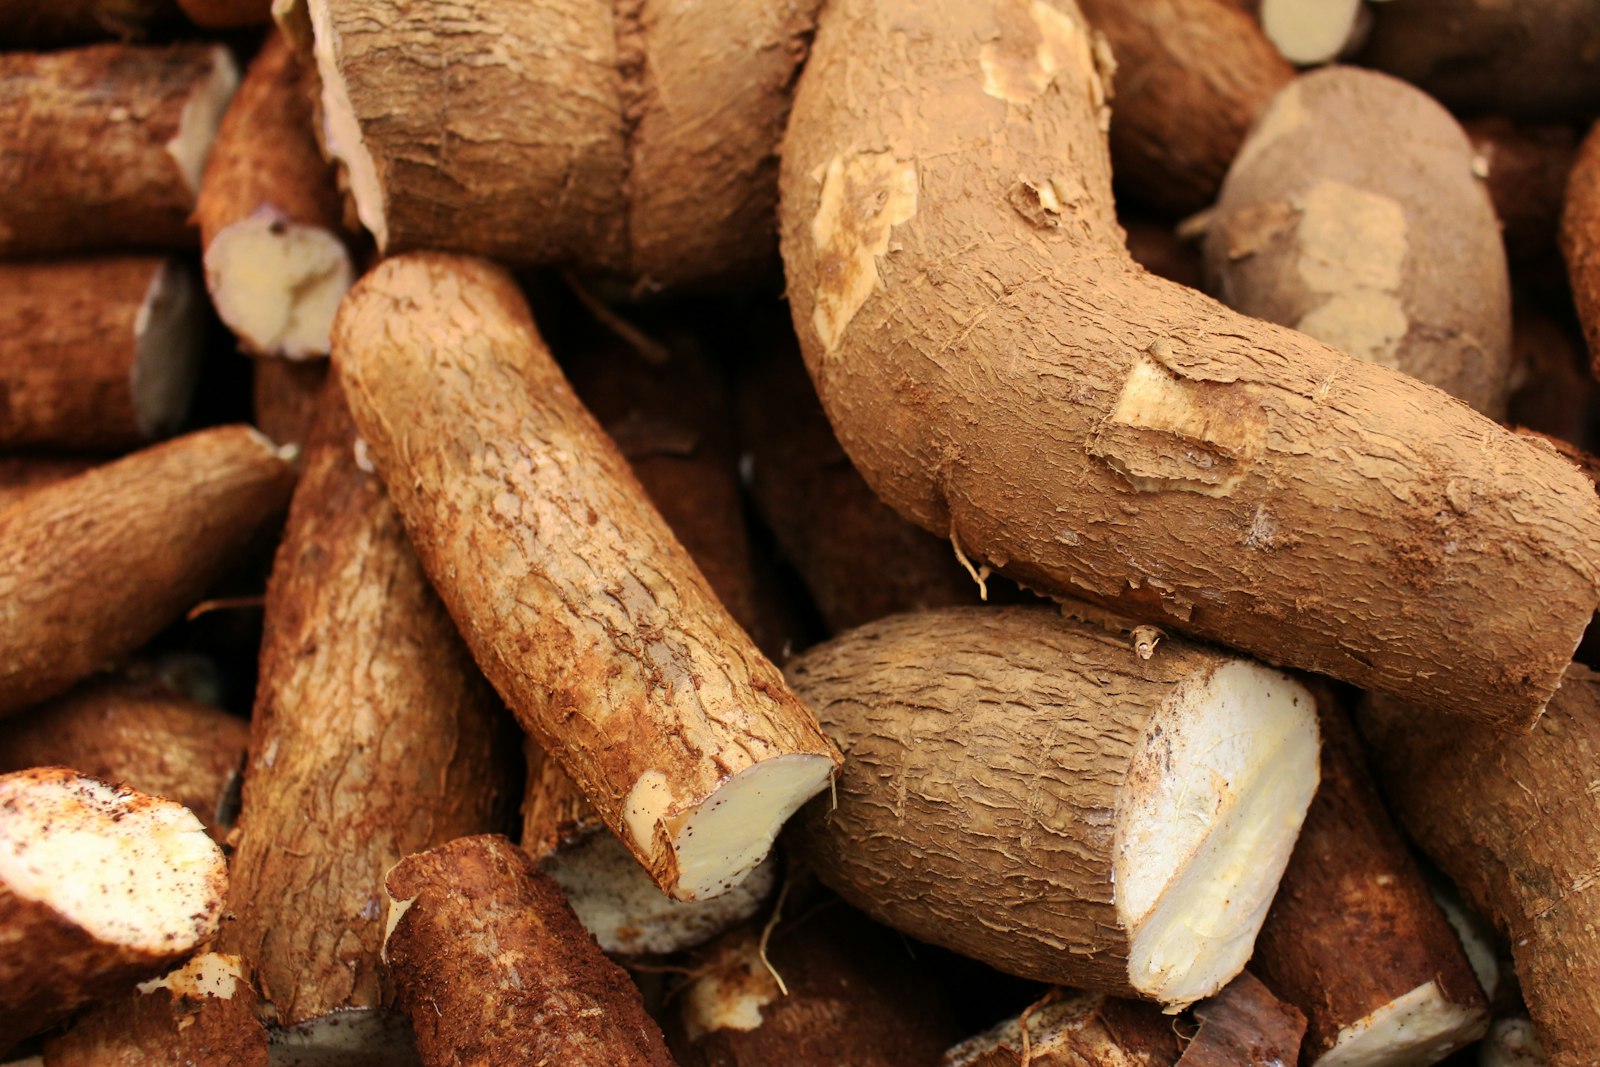
- Fresh cassava / manioc tubers , 2 kg (4.4 lb) — the primary fermentable base. Look for sweet manioc varieties (not bitter). Fresh cassava is widely available in Latin American, Caribbean, and African grocery stores. It should feel firm with no soft spots. Alternatively:
- Cassava flour (not tapioca starch) , 500 g (17.6 oz) — if fresh cassava is unavailable, cassava flour provides a workable substitute. Note: tapioca starch (also labeled tapioca flour) is a more processed product with lower enzyme accessibility — use cassava flour specifically, which retains more of the raw starch structure.
Saccharification Agent — Choose one method, not all three:
Method A — Traditional (saliva-based): No additional ingredient. The brewer or a group of willing participants chews the cooked manioc and spits it back into the fermentation vessel. This is the authentic method and does work — human salivary amylase (alpha-amylase) is highly effective at converting cooked starch to fermentable sugars. For a 10-liter batch, plan for 20–30 minutes of active chewing by multiple people.
Method B — Amylase enzyme (recommended for most homebrewers): – Alpha-amylase enzyme powder (available from homebrew suppliers such as MoreBeer or Northern Brewer ) — 1 teaspoon per 10-liter batch. Alpha-amylase liquefies and converts cooked starch to fermentable sugars and is the appropriate enzyme for this step. Note: Beano and similar OTC enzyme products contain alpha-galactosidase and glucoamylase rather than alpha-amylase, and are not effective for saccharifying a starchy mash — use a dedicated brewing amylase enzyme from a homebrew supplier.
Method C — Malted grain: – Pale two-row malt , 200 g (7 oz), crushed — added to the mash as an enzyme source. This is the least faithful to the original but the most familiar to grain brewers. The malted barley contributes its own alpha- and beta-amylase enzymes to convert the cassava starch, along with a small amount of fermentable extract.
Water
- 12 liters (3.2 US gallons) total (10 liters for mash + 2 liters to adjust). Soft to moderately mineralized water works well. If using municipal water, treat with a Campden tablet (1/2 tablet per 10 liters) to remove chlorine and chloramine.
Yeast
Choose one of the following — not both:
- SafAle US-05 (recommended) — a clean, reliable American ale yeast that ferments manioc sugar without introducing competing flavors. Ferments well at 18–22°C (64–72°F). The neutral profile lets the cassava character come through.
- Lallemand WildBrew Sour Pitch — if you want to emphasize the sour character of traditional cauim, use this Lactobacillus plantarum culture as a souring agent before pitching the primary yeast (US-05). This produces a more tart, authentically sour version. See process Step 4 below for the two-stage process.
Optional Botanical Additions
Some traditional cauim recipes include forest botanicals. These are optional: – Dried chamomile flowers , 5 g (0.2 oz) at flameout — adds a gentle herbal note – Fresh or dried mint , 3 g (0.1 oz) at flameout — brightens the finish – Ground cinnamon, 0.5 g (a pinch) — for versions with spiced complexity
Equipment
Beyond a standard homebrewing kit, cauim requires:
- Large cooking pot, 15+ liters — for cooking and mashing the cassava
- Fermentation vessel with airlock and stopper — a 10–15 liter bucket or carboy
- Mesh straining bag or fine-mesh strainer — for separating cassava solids from liquid
- Thermometer — critical for hitting saccharification and fermentation temperatures
- pH meter or pH strips — to monitor acidity if using the souring method
- Hydrometer — to track fermentation progress and determine when to serve
How to Brew Cauim Beer: The Process Step by Step
Step 1 — Prepare the Manioc: Peel, Cook, and Cool
Peel the manioc tubers thoroughly, removing the outer brown skin and the inner waxy layer. Chop into 3–5 cm (1–2 inch) chunks. Place in a large pot, cover with water, and boil for 30–45 minutes until completely soft — the cassava should be mashable with a fork. Drain and reserve the cooking water.
Why this matters: Cooking fully gelatinizes the cassava starch, making it accessible to enzymatic saccharification. Under-cooked cassava will not convert efficiently regardless of which saccharification method you use.
Common failure point: Bitter manioc varieties left inadequately cooked retain enough cyanogenic compounds to cause off-flavors. Stick to sweet varieties and cook thoroughly.
Allow the cooked manioc to cool to 65°C (149°F) before the next step.
Step 2 — Saccharification (Choose Your Method)
Method A — Traditional chewing: Working while the manioc is still warm (around 50°C / 122°F — hot enough to maintain some enzyme activity but cool enough not to burn the mouth), chew small portions of cooked manioc thoroughly and spit the chewed mass back into a clean vessel. Repeat until all the cooked manioc has been processed. This takes 20–30 minutes for a group and longer working alone. The chewed mass will have a noticeably different texture — softer, more liquefied, with a slightly sweet taste as starch conversion begins.
Method B — Enzyme addition: Mash the cooked manioc in the pot, adding the reserved cooking water to reach a porridge consistency. Add 1 teaspoon of alpha-amylase enzyme powder at 65°C (149°F). Hold at 60–65°C (140–149°F) for 60–90 minutes, stirring every 15 minutes. The mash will gradually thin as starch is liquefied and converted to sugars. Confirm completion with an iodine test — if the iodine no longer turns dark blue-black, saccharification is complete.
Method C — Malted grain mash: Mash the cooked and mashed cassava with 200 g (7 oz) of crushed pale two-row malt in 3 liters (0.8 US gallons) of water at 65°C (149°F) for 60 minutes. The enzymes from the malt will convert both the cassava starch and the malt’s own starch to fermentable sugars.
Step 3 — Strain and Collect the Wort
Pour the saccharified mash through a mesh straining bag or fine-mesh strainer into your fermentation vessel. Press the solids firmly to extract as much liquid as possible. Rinse the solids with an additional 2 liters (0.5 US gallons) of hot water at 70°C (158°F) to recover remaining sugars. Target final wort volume: 10 liters (2.6 US gallons).
You do not need to boil cauim — traditional cauim is not boiled after saccharification, and boiling would kill wild yeast and alter the character. If using commercial yeast (Methods B or C), allow the wort to cool to fermentation temperature without boiling.
Note on the no-boil approach: Because cauim is not boiled and hopped, it relies on rapid fermentation onset and lactic acid development for preservation. Consume within 5–7 days of pitching yeast. This is a short-shelf-life product by design.
Step 4 — Optional Souring (Lactobacillus Phase)
If using WildBrew Sour Pitch for a more acidic version: cool the wort to 38–40°C (100–104°F), pitch the WildBrew Sour Pitch per package instructions, and hold at 35–40°C (95–104°F) for 24–36 hours. Target a pH of 3.4–3.8. Then cool to 20–22°C (68–72°F) before pitching primary yeast (US-05).
Why this matters: L. plantarum is a facultative anaerobe — it tolerates oxygen and does not require strict anaerobic conditions. The main risk in this step is contamination from Clostridium species (which produce butyric acid, a vomit-like off-flavor), not oxygen exposure per se. A brief CO₂ purge of the vessel before closing reduces this risk. If you detect any buttery or vomit-like aromas at the start of the souring phase, the batch has been contaminated and should be discarded — do not proceed to primary fermentation.
Step 5 — Fermentation
Cool the wort to 20–22°C (68–72°F). Pitch your chosen yeast. Cover loosely — traditional cauim is fermented in open or semi-open vessels, so a loose-fitting lid or airlock both work. Fermentation typically begins within 12–24 hours and proceeds vigorously for 2–4 days.
When to serve: Traditional cauim is consumed while still actively fermenting — at day 2–3 when it is lightly effervescent from CO₂ production, still slightly sweet, and mildly sour. At this point, ABV is approximately 1.5–3%. For a drier, more fully fermented version, allow 5–7 days of fermentation. The sour note will intensify as fermentation progresses.
Check gravity daily. Starting gravity for this recipe should be approximately 1.030–1.038. For traditional-style service, pour when gravity is between 1.020 and 1.025. For a drier version, wait until gravity stabilizes below 1.012.
Step 6 — Packaging (Optional)
Traditional cauim is served directly from the fermentation vessel. If you wish to bottle:
- Allow fermentation to reach final gravity below 1.012
- Prime with dextrose at 2 g/L (0.26 oz/US gal) for very light natural carbonation (approximately 1.0–1.2 vol CO₂)
- Bottle in 12 oz / 355 ml bottles and cap with a bottle capper
- Condition at room temperature for 2–3 days, then refrigerate immediately
- Consume within 1–2 weeks
Do not target high carbonation: cauim is a still or lightly sparkling drink. Over-carbonating is at odds with the style and risks over-pressurization of bottles.
Recipe Summary
| Item | Metric | US |
|---|---|---|
| Fresh cassava (manioc) | 2 kg | 4.4 lb |
| Water (total) | 12 liters | 3.2 US gallons |
| Alpha-amylase enzyme (Method B) | 1 tsp powder | 1 tsp powder |
| Pale two-row malt (Method C, optional) | 200 g | 7 oz |
| SafAle US-05 yeast | 11 g (1 packet) | 0.4 oz |
| WildBrew Sour Pitch (optional souring) | per pkg | per pkg |
| Dextrose (if bottling) | 20 g | 0.7 oz |
| Chamomile (optional) | 5 g | 0.2 oz |
| Mint (optional) | 3 g | 0.1 oz |
| Mash temperature | 63–65°C | 145–149°F |
| Saccharification rest | 60–90 min | 60–90 min |
| Fermentation temperature | 20–22°C | 68–72°F |
| Time to first glass (traditional) | 2–3 days | 2–3 days |
| Time to packaged version | 7–10 days | 7–10 days |
| Target OG | 1.030–1.038 | 1.030–1.038 |
| Target FG (if fully fermented) | 1.006–1.012 | 1.006–1.012 |
| ABV (traditional service) | 1.5–3% | 1.5–3% |
| ABV (fully fermented) | 3–4.5% | 3–4.5% |
Troubleshooting
No fermentation after 36 hours: The most likely cause is yeast killed by the wort being too hot at pitching. Cassava retains heat well — verify the wort temperature is below 28°C (82°F) before pitching. Re-pitch with fresh yeast if needed.
Unpleasant sulfur or vomit smell: This indicates Clostridium contamination, typically during the souring phase. Discard the batch. Sanitize all equipment thoroughly before the next attempt. Ensure the souring phase stays between 35°C and 45°C (95–113°F) — outside this range, Lactobacillus is outcompeted by spoilage organisms.
Too sour: You consumed the cauim too late — extended fermentation drives pH lower as lactic acid accumulates. For traditional-style tartness, serve at day 2–3 while actively fermenting. A lower fermentation temperature (18°C / 64°F) also slows souring.
Starchy, unconverted flavor: Saccharification was incomplete. If using Method B, ensure you held the mash at 60–65°C (140–149°F) for the full 60–90 minutes. Test with iodine before proceeding — no dark color means saccharification is complete.
Too thin/watery: You diluted too heavily during straining. Aim for a starting gravity of at least 1.030. Use less sparge water, or add a small amount of cassava flour to boost gravity.
Unpleasant aftertaste from cassava: This can indicate residual cyanogenic compounds from under-processed manioc. Always use sweet manioc varieties, peel thoroughly, and cook until completely soft. Bitter manioc requires additional processing steps and is not recommended for homebrewing.
Variations to Try
Corn-based cauim: Substitute 2 kg (4.4 lb) of plain ground white or yellow corn (cornmeal or corn flour — not masa harina, which is nixtamalized and will affect flavor) for the cassava. Cook into a thick porridge, then apply Method B or C saccharification. The result is slightly sweeter and less earthy than the manioc version, with a more familiar grain note.
Mixed manioc and corn: Use 1 kg (2.2 lb) each of cassava and plain corn flour. This combination was common in some Tupi traditions and provides a balanced flavor profile — the corn adds sweetness and body while the manioc contributes earthiness and the characteristic starchy note.
Botanically enhanced cauim: Add 5 g (0.2 oz) of chamomile and a stick of cinnamon to the wort at the end of saccharification. Cool before pitching yeast. This variation is inspired by documented accounts of regional herb additions in Brazilian Amazonian cauim traditions.
Extended fermentation version: Allow cauim to ferment fully to terminal gravity, then package at 1.5 g/L CO₂. The result is drier, more acidic, and approaching 4–5% ABV — a more stable and longer-lived product that is easier to share and transport, though less faithful to the traditional fresh-consumed style.
Wild fermentation attempt: Omit commercial yeast entirely. After straining the wort, cover loosely with a cloth and leave in a warm spot at 24–28°C (75–82°F). Ambient wild yeasts and lactic acid bacteria will begin fermentation within 24–48 hours in most environments. Results vary dramatically by location and season — this is the closest to traditional cauim, but also the most unpredictable.
Brewing cauim at home means engaging with one of the oldest fermentation traditions in the Americas — a living technology that predates malting, hops, and the entire apparatus of European beer culture. It rewards curiosity and tolerance for the unexpected: batches vary, fermentation timelines shift with temperature, and the drink changes character from day to day. That variability is not a bug but the point.
Explore more: – What is Cauim Beer? The Complete Style Guide → – Cauim Beer Food Pairing Guide →
Brew Cartographer explores the history, geography, and craft of rare and forgotten beer styles. Subscribe to our newsletter for new expeditions every week.