How to brew cerveja preta beer at home is a question more homebrewers should be asking — this Portuguese dark lager from Madeira and the Azores is one of the most approachable dark beer projects a homebrewer can take on. The recipe is straightforward, the ingredients are widely available, and the main investment is time: lager conditioning requires patience, but the process itself demands less active intervention than many ales. Grain to glass runs approximately 8–10 weeks, most of which is hands-off cold conditioning.
This guide covers everything you need: target specifications, a complete grain bill and ingredient list, step-by-step process instructions, and a troubleshooting section for the most common problems. For the history and style background, visit What is Cerveja Preta? →. For food pairing and serving recommendations, see our Cerveja Preta Food Pairing Guide →.
Target Specifications
| Parameter | Target |
|---|---|
| Original Gravity | 1.050–1.056 |
| Final Gravity | 1.011–1.014 |
| ABV | 4.8%–5.2% |
| IBU | 18–25 |
| SRM | 25–35 |
| Carbonation | 2.3–2.6 volumes CO₂ |
| Batch Size | 20 liters (5.3 US gallons) |
| Timeline (grain to glass) | 8–10 weeks |
Ingredients
Grain Bill
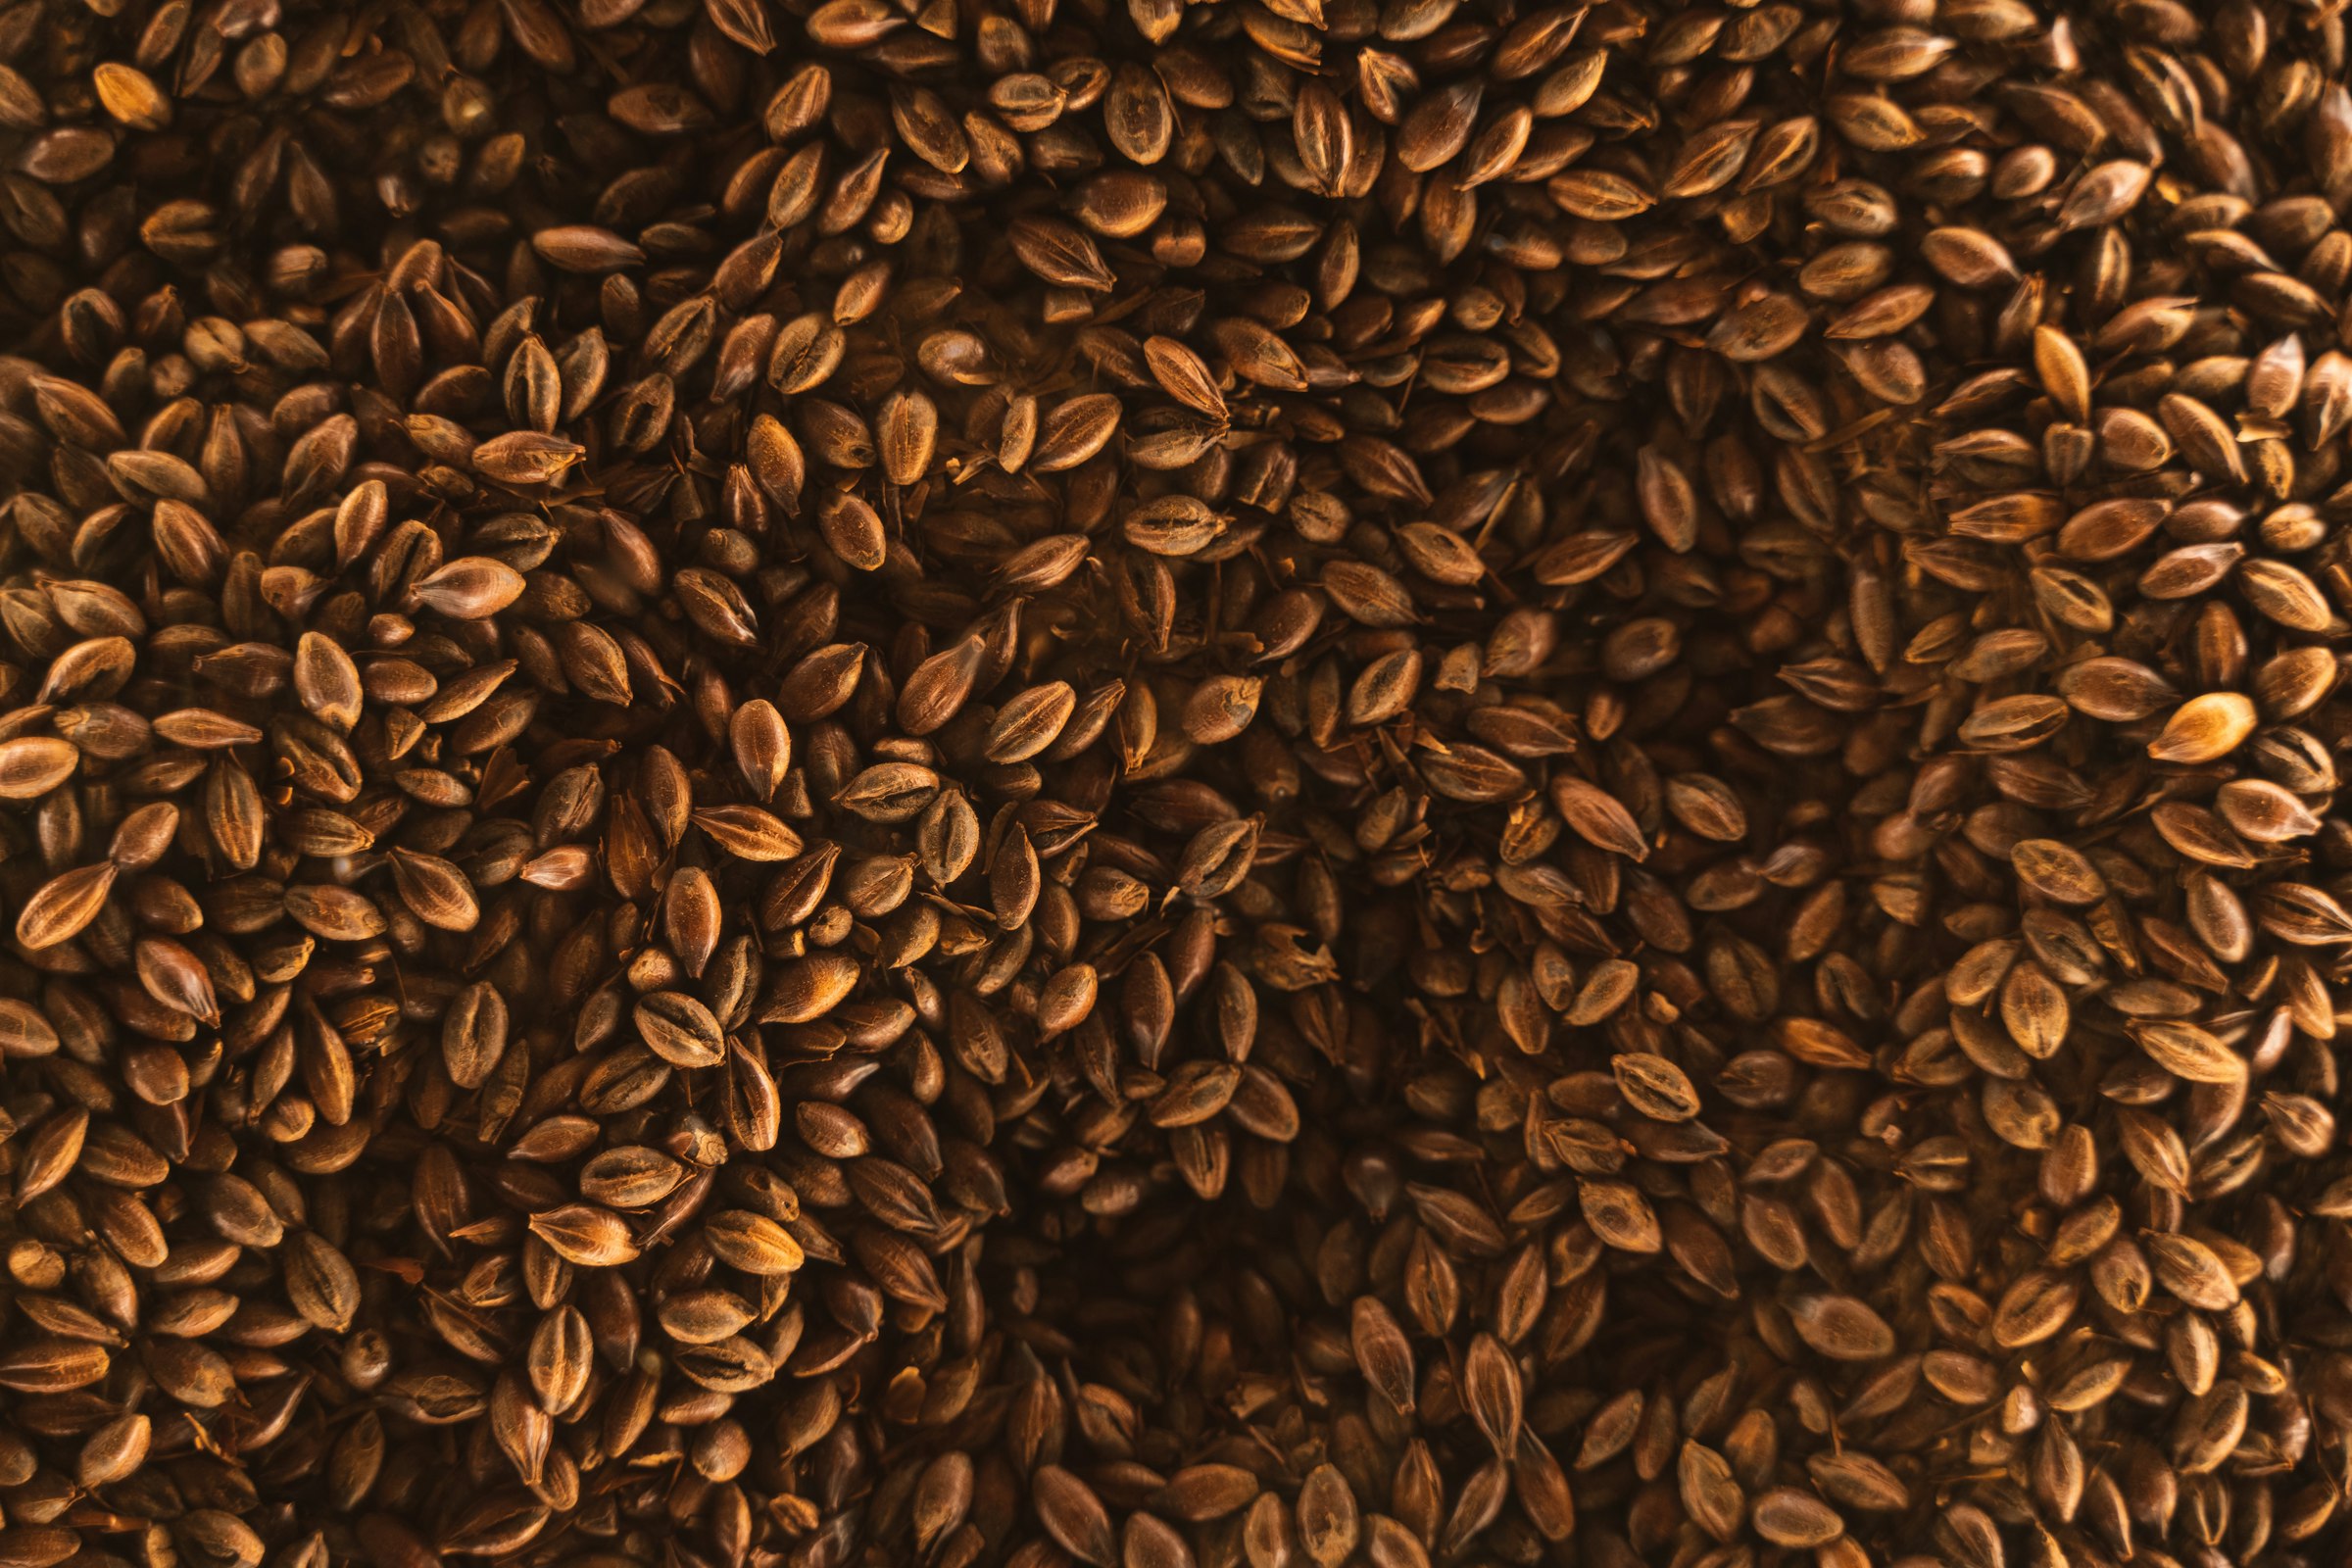
- Pilsner malt — 3.8 kg (8.4 lb): The fermentable backbone of the beer. European Pilsner malt (Weyermann, Best Malz, or equivalent) provides a clean, neutral base that lets the roasted malts shine without adding extraneous flavor. This should make up roughly 75% of the grist.
- Munich malt (dark, 20 EBC) — 600 g (1.3 lb): Adds bready, biscuity depth and a warm amber contribution to the color. Dark Munich bridges the gap between the pale base and the roasted malts, preventing the roast from appearing stark or disconnected from the malt sweetness.
- Carafa Special III (dehusked, 1400 EBC) — 250 g (0.55 lb): The key color and roast contributor. Dehusked Carafa is specifically designed to deliver dark color and a soft chocolate/roast character without the harsh, astringent bitterness that husked roasted malts can introduce at this quantity. This keeps the roast smooth — the defining characteristic of cerveja preta versus a porter or stout.
- Chocolate malt (900 EBC) — 150 g (0.33 lb): Adds milk chocolate and coffee notes on top of the Carafa base. The combination of dehusked Carafa and conventional chocolate malt gives a roast character that is both smooth and complex.
- Caramel/Crystal malt (120 EBC) — 200 g (0.44 lb): Contributes caramel sweetness and body, providing the mid-palate fullness characteristic of island cerveja preta versus the drier German Schwarzbier. Optional — omit for a drier finish closer to the German template.
Sourcing note: Weyermann (Germany) is the recommended supplier for all specialty malts in this recipe. Their Carafa Special III and Bohemian Dark malts are widely available from homebrew retailers globally. Crisp Malt (UK) and Best Malz (Germany) are reliable alternatives.
Hops
- Hallertau Mittelfrüh — 30 g (1.06 oz) at 60 minutes: Bittering addition. Noble hop varieties are traditional for this style. Hallertau Mittelfrüh at ~4% AA contributes approximately 20 IBUs — enough for balance without intruding on the malt character. IBU contribution will vary slightly with AA% of your specific lot; aim for 18–22 IBU total from this addition.
- Saaz — 15 g (0.53 oz) at 15 minutes: Late addition for a gentle herbal, slightly spicy hop presence. Saaz is the classic complement to dark Central European lagers. This addition does not add significant bitterness but does contribute a subtle aroma note that rounds out the malt-forward profile.
Note: Substitute Tettnang or Spalt if Hallertau Mittelfrüh is unavailable. All are noble varieties with similar low-alpha, herbal character appropriate for this style.
Yeast
Choose one of the following — not both:
- Option 1: Wyeast 2124 Bohemian Lager : The classic choice for Central European lagers. Highly attenuative and clean, with medium flocculation. Ferment at 10°C (50°F) for 10–14 days, then diacetyl rest at 16°C (61°F) for 48 hours before cold conditioning. Produces a very clean, crisp beer with good sulfur drive during fermentation (normal — it will off-gas during conditioning).
- Option 2: Fermentis Saflager W-34/70 : The most widely available dry lager yeast globally. Equivalent character to Wyeast 2124 in most homebrew applications. More forgiving of slight temperature fluctuations than liquid yeasts, making it the recommended choice for homebrewers without precise temperature control. Use two packets (23 g / 0.8 oz) for a 20-liter (5.3-gallon) batch — rehydrate in 30–35°C (86–95°F) water for 20 minutes before pitching. Ferment at 9–12°C (48–54°F).
Temperature control is the single most important factor in lager brewing. Fermentation above 14°C (57°F) will produce fruity esters inconsistent with the style. A dedicated fermentation fridge or temperature-controlled space is strongly recommended.
Water Chemistry
Aim for soft to moderately mineralized water: – Calcium: 50–100 ppm – Sulfate: 30–50 ppm (keep low — sulfate emphasizes dryness and hop bitterness, which works against the malt-forward character of this style) – Chloride: 50–80 ppm (chloride enhances malt roundness and fullness) – Bicarbonate: 50–150 ppm (some bicarbonate is beneficial with roasted malts, buffering acidity and preventing pH from dropping too low) – Mash pH target: 5.3–5.5
If starting from distilled or RO water, a simple mineral addition: 1 g calcium chloride per 5 liters (1.3 US gallons) of mash water will get you close.
Equipment
- Temperature-controlled fermentation space (fridge with temperature controller ) — non-negotiable for lager fermentation
- Wort chiller (immersion or counterflow): To cool wort rapidly to lager pitching temperature (9–12°C / 48–54°F)
- Conical fermenter or carboy with airlock: Standard fermentation vessel
- Hydrometer or refractometer: For gravity readings
- pH meter : Recommended for mash pH monitoring; particularly important with roasted malts which can lower mash pH aggressively
How to Brew Cerveja Preta Beer: The Process Step by Step
Step 1 — Prepare your yeast starter (liquid yeast) or rehydrate (dry yeast): If using Wyeast 2124 or another liquid lager yeast, prepare a 1.5 liter (1.6 US quart) starter 24–48 hours before brew day to build sufficient cell count. Lager yeasts require higher pitch rates than ales — underpitching is the most common cause of off-flavors in homebrew lagers. If using W-34/70 dry yeast, two packets for a 20 liter (5.3 gallon) batch is the correct pitch rate; rehydrate in 30–35°C (86–95°F) water 20 minutes before pitching.
Step 2 — Mash at 68°C (154°F) for 60 minutes: Mill your grain and dough in with water at 72°C (162°F) to hit a mash temperature of 68°C (154°F). This mash temperature is slightly higher than many lager recipes specify, producing a fuller-bodied beer with more residual sweetness — appropriate for the island cerveja preta character. For a drier, crisper result closer to a Schwarzbier, mash at 65–66°C (149–151°F). Hold temperature for 60 minutes; the conversion will be complete in this window with well-modified modern malts.
Why the mash temperature matters: Beta-amylase — which breaks starch into highly fermentable maltose — is most active at 60–65°C (140–149°F) and denatures rapidly above this range. Alpha-amylase, which produces longer dextrins that yeast cannot fully ferment, is more thermostable and dominates at 68–72°C (154–162°F). Mashing at 68°C biases the conversion toward alpha-amylase activity, leaving more body-contributing dextrins in the finished wort.
Step 3 — Lauter and sparge: Vorlauf (recirculate) until the runoff is clear, then collect wort to achieve a pre-boil volume of approximately 25 liters (6.6 US gallons). Batch sparge or fly sparge with water at 75–77°C (167–171°F). Avoid exceeding 78°C (172°F) during sparging — above this temperature, tannins from grain husks can be extracted, adding astringency to the finished beer. Check mash pH at the start of the sparge; if below 5.2, the risk of tannin extraction increases.
Step 4 — Boil for 60 minutes: Bring wort to a vigorous rolling boil. Add hops per schedule: – 60 minutes: Hallertau Mittelfrüh 30 g (1.06 oz) – 15 minutes: Saaz 15 g (0.53 oz) – 5 minutes: Irish moss or Whirlfloc tablet (aids clarity — recommended for a lagered beer where appearance matters)
A 60-minute boil is sufficient with modern, well-modified Pilsner malts. Keep the kettle lid fully off during the entire boil to allow DMS (dimethyl sulfide, a cooked corn aroma compound from Pilsner malt precursors) to evaporate with the steam.
Step 5 — Cool to pitching temperature: Chill wort rapidly to 9–12°C (48–54°F) before pitching yeast. A counterflow or immersion wort chiller is the most reliable method. Cold-side oxygen pickup is less of a concern for dark lagers than for delicate pale lagers, but good practice — minimal splashing, closed transfers where possible — is still beneficial.
Step 6 — Pitch yeast and ferment: Pitch prepared yeast starter (or rehydrated dry yeast) into chilled wort. Ferment at 10°C (50°F) for 10–14 days, until gravity has reached or is approaching final gravity. Do not rush this stage — lager yeasts work slowly at cold temperatures, and patience here is what produces the clean, smooth character of the style.
Common failure point: Opening the fermenter frequently or drawing gravity samples too often risks oxygen exposure and contamination. Take a gravity reading at day 7 and again when you believe fermentation is nearing completion.
Step 7 — Diacetyl rest: When final gravity is within 2–3 points (SG) of target, raise the fermentation temperature to 16–18°C (61–64°F) for 48–72 hours. This diacetyl rest allows the yeast to reabsorb diacetyl (a butter-flavored compound produced during fermentation) before cold conditioning. Skipping the diacetyl rest is the single most common cause of buttery off-flavor in homebrew lagers.
Step 8 — Cold conditioning (lagering): Reduce temperature gradually to 0–2°C (32–36°F) over 2–3 days. Hold at this temperature for a minimum of 4 weeks, ideally 6. Cold conditioning causes the beer to clarify naturally as yeast and proteins precipitate, rounds out any residual rough edges, and produces the characteristic smoothness of a well-lagered beer. This is the step that most distinguishes a good homebrew lager from an adequate one.
Step 9 — Package: Transfer cold beer to keg or bottles. For bottles, allow the beer to warm fully to room temperature (20°C / 68°F) before adding priming sugar — the residual CO₂ calculation depends on the beer’s temperature at packaging. Target carbonation: 2.3–2.6 volumes CO₂.
As a rough guide for beer at 20°C (68°F) targeting 2.4 volumes CO₂ in a 20-liter (5.3-gallon) batch: approximately 95–105 g (3.4–3.7 oz) of dextrose (corn sugar). Always verify using a priming calculator rather than relying on a fixed quantity — batch size, target carbonation, and beer temperature all affect the correct amount. Condition bottles at room temperature for 2–3 weeks before refrigerating.
Recipe Summary
| Item | Metric | US |
|---|---|---|
| Pilsner malt | 3.8 kg | 8.4 lb |
| Dark Munich malt | 600 g | 1.3 lb |
| Carafa Special III | 250 g | 0.55 lb |
| Chocolate malt | 150 g | 0.33 lb |
| Crystal malt (120 EBC) | 200 g | 0.44 lb |
| Hallertau Mittelfrüh (60 min) | 30 g | 1.06 oz |
| Saaz (15 min) | 15 g | 0.53 oz |
| Yeast | W-34/70 (2 packets) or Wyeast 2124 starter | — |
| Mash temperature | 68°C | 154°F |
| Mash duration | 60 minutes | 60 minutes |
| Boil duration | 60 minutes | 60 minutes |
| Fermentation temperature | 10°C | 50°F |
| Diacetyl rest | 16–18°C / 48–72 hours | 61–64°F / 48–72 hours |
| Lagering | 0–2°C / 4–6 weeks | 32–36°F / 4–6 weeks |
| Batch size | 20 liters | 5.3 US gallons |
| Original gravity | 1.052 | — |
| Final gravity | 1.012 | — |
| ABV | ~5.2% | ~5.2% |
| IBU | ~22 | ~22 |
| SRM | ~30 | ~30 |
Troubleshooting
Buttery or butterscotch flavor: This is diacetyl, the most common off-flavor in homebrew lagers. Cause: insufficient diacetyl rest, or crashing temperature too quickly before the rest is complete. Prevention: always perform the diacetyl rest at 16–18°C (61–64°F) for at least 48 hours before cold conditioning. If the flavor is present in the finished beer, allow the kegged or bottled beer to warm to room temperature for 48–72 hours, which may help, but prevention is far more effective than cure.
Harsh or astringent roast character: The Carafa Special III is specifically chosen to avoid this problem — dehusking removes the tannin-carrying husk material. If astringency is present, check sparge temperature (should not exceed 78°C / 172°F) and mash pH (should be 5.3–5.5; low pH combined with dark malts intensifies astringency). Also check crush — overly fine crushing of roasted malts can extract more tannins.
Beer too thin or watery: The recipe’s 68°C (154°F) mash temperature is specifically chosen to produce body; if using the lower 65°C option, this result is expected. To increase body, raise mash temperature to 69°C (156°F) on the next batch, or add 150 g (5 oz) of additional caramel malt (120 EBC).
Beer too sweet, lacks crispness: Check final gravity — if higher than 1.014, fermentation may be incomplete. Allow more time at fermentation temperature, or rouse the yeast gently. If gravity has hit target but the beer still tastes unbalanced, it may need more lagering time to round out.
Stuck fermentation: Lager yeasts at cold temperatures can appear to stall — check gravity before assuming fermentation is stuck. If gravity is genuinely not dropping over 4–5 days, try warming the fermenter slightly to 13–14°C (55–57°F) to stimulate yeast activity. Do not add more yeast at this stage unless confident the primary fermentation is truly stuck; fresh yeast pitched into a high-alcohol environment rarely performs well.
DMS (cooked corn) aroma: Caused by insufficient boil vigor or a covered kettle. DMS precursors in Pilsner malt are converted to DMS during the boil but driven off with vigorous evaporation. Ensure a vigorous rolling boil with the lid fully off for the entire 60 minutes. Chilling wort rapidly also minimizes DMS formation post-boil.
Variations to Try
Madeiran-Inspired Smoked Preta: Add 300 g (0.66 lb) of Weyermann Rauchmalz (beechwood-smoked malt) alongside the Pilsner malt base, reducing the Pilsner malt by the same amount. This creates a nod to the wood-fired cooking traditions of Madeira — espetada beef skewers cooked over laurisilva bay wood — while keeping the dark lager profile intact.
Azorean Mineral Profile: The Azores have notably mineral-rich volcanic spring water. Increase calcium and bicarbonate levels significantly: aim for Ca 150 ppm, bicarbonate 200 ppm, sulfate 20 ppm, chloride 50 ppm. The higher mineral content gives the beer a slightly rounder, more substantial character and alters the perceived bitterness of the roasted malts.
Session Preta (Lower ABV): Reduce the Pilsner malt to 3.0 kg (6.6 lb) to achieve an OG of approximately 1.040 and a finished ABV around 3.8–4.0%. The dark malt quantities can remain the same — the roast character will be proportionally more prominent against a lighter base, but the result is a very sessionable dark lager suited to long Atlantic afternoons.
Double Chocolate Preta: Increase the chocolate malt to 250 g (0.55 lb) and add 150 g (0.33 lb) of Midnight Wheat (an American equivalent to Carafa with a rounder character) in place of some of the Carafa Special III. The result is a more chocolatey, dessert-adjacent dark lager — somewhat further from the traditional style but compelling in its own right.
Dry-Hopped Preta: Add 20 g (0.7 oz) of Nelson Sauvin or Motueka hops dry-hopped for 48 hours during cold conditioning. This is a decidedly modern departure that creates an interesting tension between the dark malt character and the tropical/grapefruit hop aroma — not traditional, but thought-provoking.
Brewing a cerveja preta at home is a project that rewards the patience that lager brewing always requires. The technical demands are modest — this is not a sour, not a high-alcohol extreme, and not a style that requires exotic equipment. What it requires is time, temperature control, and the discipline to wait out the lagering period before tasting. The result is a smooth, roasty, eminently drinkable dark lager that connects your home brewery to an island tradition that has outlasted many more celebrated brewing cultures.
Explore more: – What is Cerveja Preta? The Complete Style Guide → – Cerveja Preta Beer Food Pairing Guide →
Brew Cartographer explores the history, geography, and craft of rare and forgotten beer styles. Subscribe to our newsletter for new expeditions every week.