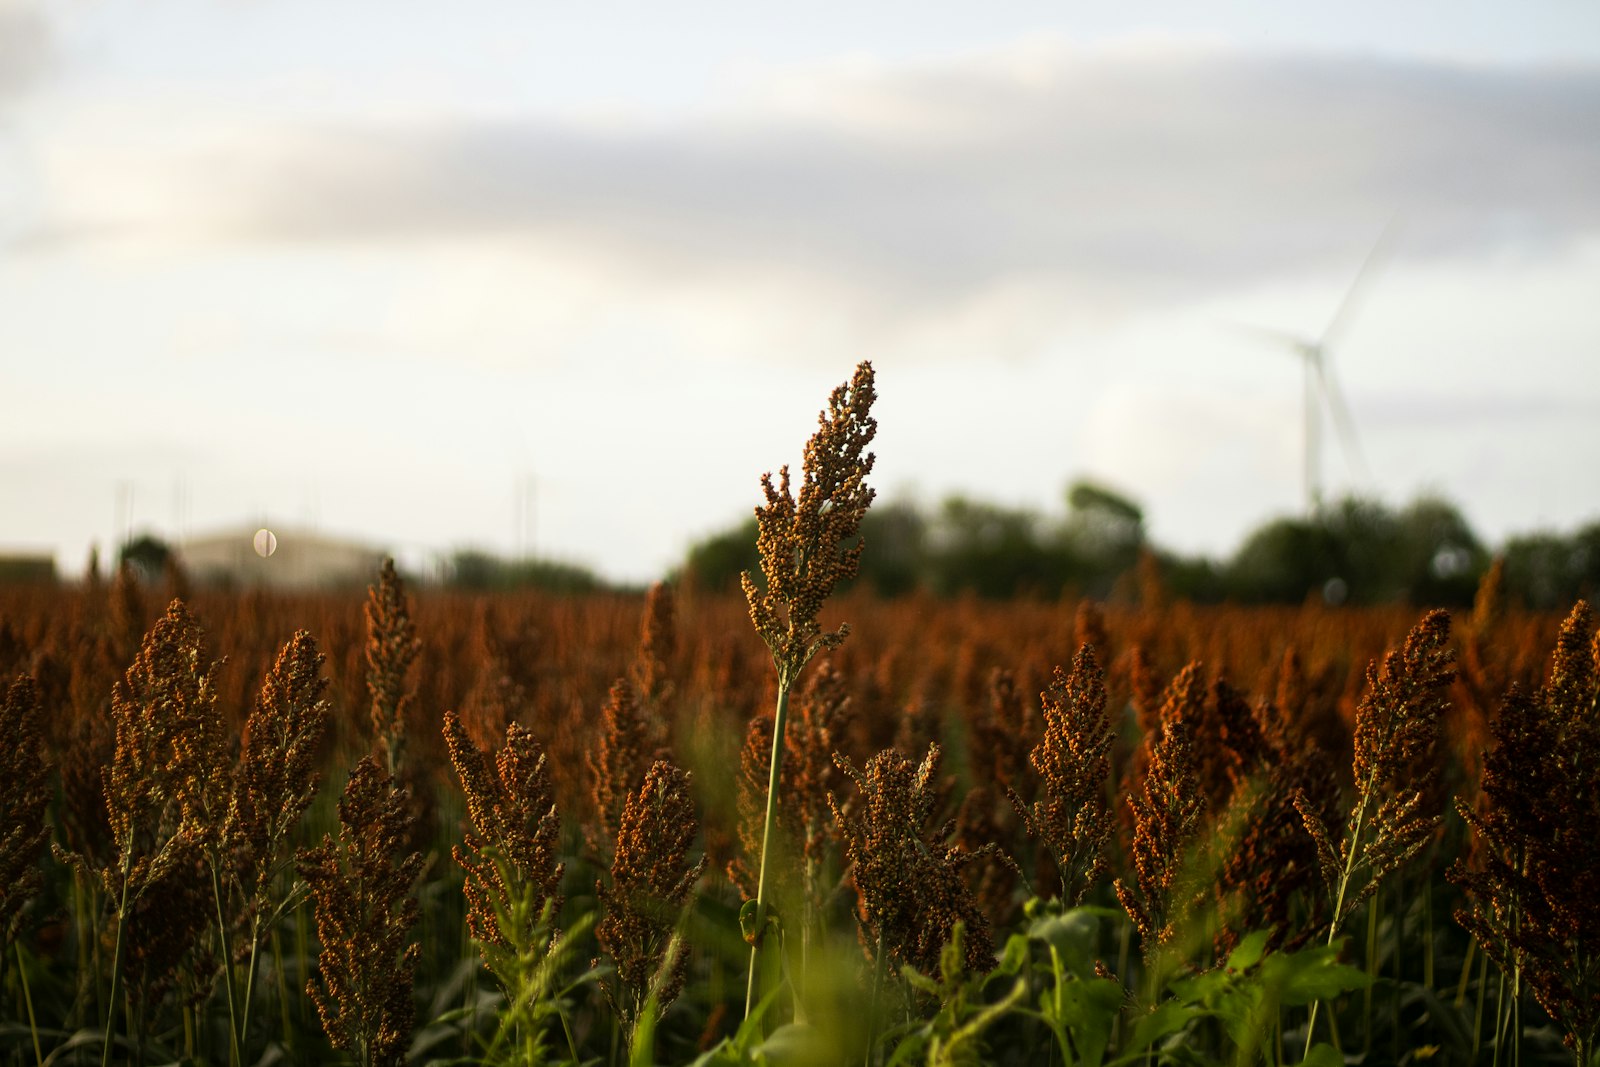
How to brew umqombothi beer at home is a question that opens a door to one of the most distinctive fermentation traditions on earth. This ancient South African sorghum ale requires no hops, no commercial yeast, and no complicated equipment — but it does demand patience, attention, and respect for a process that has been refined over thousands of years. From grain to glass, a batch of umqombothi takes approximately 3–5 days, making it one of the fastest turnarounds in homebrewing.
This guide covers everything you need: target specs, ingredients with sourcing notes, step-by-step process, troubleshooting, and variations. For the style’s history and cultural context, start with What is Umqombothi Beer? →. For food and serving suggestions, see the Umqombothi Food Pairing Guide →.
Target Specifications
| Parameter | Target |
|---|---|
| Original Gravity | 1.030–1.040 |
| Final Gravity | 1.008–1.015 (consumed before full attenuation) |
| ABV | 2.0–3.5% |
| IBU | 0 (no hops) |
| SRM | 4–8 (pale golden to light amber, opaque) |
| Carbonation | Minimal, naturally occurring from active fermentation — no priming step. Drink while fermenting for best results. |
| Batch size | 10 liters (2.6 US gallons) |
| Timeline | 3–5 days, grain to glass |
Note on gravity and attenuation: Umqombothi is traditionally consumed while actively fermenting, which means gravity readings are variable. The beer is drunk fresh, often still bubbling, so “final gravity” is more of a checkpoint than a target. Alcohol content increases over the fermentation period; drink earlier for lower ABV and less acidity, later for more of both.
Ingredients
Grain Bill
- 500 g (1.1 lb) sorghum malt flour — The essential base. Sorghum malt provides the diastatic enzymes needed to convert starch to sugar. If you cannot find pre-malted sorghum flour, the malting instructions below explain how to make your own. Sourcing: specialty African grocery stores, some homebrew suppliers, or online retailers carry sorghum malt flour .
- 500 g (1.1 lb) fine maize meal (corn meal) — Uncooked fine maize meal (mealie meal), not instant or pre-cooked polenta. This is the adjunct starch that gives umqombothi its characteristic body and corn-porridge warmth. Available at African/Caribbean grocery stores or the international aisle of large supermarkets.
Hops
None. Umqombothi contains no hops. Bitterness comes from sorghum tannins; no hop additions are made at any stage.
Adjuncts
- Water: 8–10 liters (2.1–2.6 US gallons) total, divided across mashing and dilution. Soft, low-mineral water is preferred. If your tap water is heavily chlorinated, let it sit overnight or use Campden tablets at 1/8 tablet per 10 liters (2.6 US gallons) — approximately 1/4 tablet per 20 liters (5.3 US gallons) — to neutralize chloramines.
Souring Agent / Fermentation Culture
Umqombothi uses no commercial souring agent by tradition. Wild Lactobacillus bacteria present on the grain, in the vessel, and in the environment are responsible for lactic fermentation. This is not a kettle sour — you are not acidifying a wort before pitching yeast. Instead, the grain mash itself becomes the fermentation medium, and wild microorganisms drive the entire process.
For homebrewers who want a more reliable sour character and are concerned about contamination by undesirable bacteria:
Choose one of the following — do not use more than one:
- Wild/spontaneous fermentation (traditional): No additional culture needed. Use well-rinsed but not sterilized vessels; the goal is to preserve the wild microbial ecosystem. Success depends on your local microflora, season, and environment.
- Lallemand WildBrew Sour Pitch : A commercial Lactobacillus plantarum culture that provides reliable lactic souring within 24–48 hours at 35–40°C (95–104°F). Pitch at 0.2 g per liter of mash. This accelerates souring and reduces the risk of off-flavors from undesirable organisms. Excellent option for European brewers and those wanting consistent results.
- Probiotic capsules (global fallback): 2–3 capsules of an L. plantarum-containing probiotic, crushed and stirred into the warm mash. Look for products with at least 1 billion CFU per capsule and Lactobacillus plantarum as the primary or sole organism — results are less predictable than with a brewing-specific culture, so expect variable acidity. Available globally.
Yeast (for secondary alcohol fermentation)
Wild Saccharomyces yeasts present in the environment drive alcohol fermentation alongside the lactic bacteria. If wild fermentation is unreliable in your setting, you can supplement with a small amount of a neutral dry yeast to ensure adequate alcohol development.
Choose one of the following — not both:
- Wild fermentation (traditional): No commercial yeast pitch. Let the environment work. This produces the most authentic, complex result when conditions are right.
- SafAle US-05 at 0.5 g per liter: A clean, neutral ale yeast that will not overpower the lactic character. Sprinkle directly onto the fermenting mash at the start of Day 2. This guarantees adequate alcohol development and ensures the beer does not stall.
Equipment
Umqombothi requires minimal equipment — one of the reasons it has remained accessible for millennia:
- Large pot: 10–15 liter (2.6–4 US gallon) heavy-bottomed pot for cooking the mash. A stainless steel brew kettle works well; so does a large enamel or aluminium cooking pot.
- Fermentation vessel: A food-grade plastic bucket, clay pot, or food-grade plastic fermentation bucket (10-liter / 2.6-gallon) . The vessel does not need an airlock — umqombothi ferments openly.
- Thermometer : Essential for hitting mash temperatures accurately. A probe or instant-read thermometer is sufficient.
- Long stirring spoon or paddle: For thorough mash stirring. No specialized equipment needed.
- Fine-mesh straining cloth or muslin straining bag : For straining the mash liquid from the grain solids before fermentation.
- Hydrometer : Optional but useful for tracking fermentation progress and estimating ABV.
How to Brew Umqombothi Beer: The Process Step by Step
Step 1 — Malting the Sorghum (if using whole grain; skip if using purchased malt flour)
Why this matters: Malting converts raw sorghum grain into an active, enzyme-rich malt capable of converting starch to sugar. Skip this step if you have pre-malted sorghum flour.
Rinse 500 g (1.1 lb) of whole sorghum grain and soak in cold water for 24 hours. Drain, then spread on a damp cloth or shallow tray and allow to germinate at room temperature (20–25°C / 68–77°F) for 3–5 days, rinsing twice daily to prevent mold. When the rootlets reach approximately the length of the grain (3–5 mm), spread the malted grain in a single layer and sun-dry for 1–2 days until completely dry. Grind to a coarse flour.
Common failure point: Allowing the germinated grain to get too warm or too moist invites mold. Rinse twice daily and ensure good airflow.
Step 2 — Cook the Maize Meal Porridge
Why this matters: Maize starch does not become accessible to amylase enzymes until it is gelatinized — a process that requires heating above approximately 70°C (158°F). Cooking the maize meal into a porridge ensures complete gelatinization before the sorghum malt is added in Step 3, giving the enzymes the best possible substrate to work with.
Bring 3 liters (3.2 US quarts) of water to a boil in your large pot. Slowly whisk in 500 g (1.1 lb) of fine maize meal, stirring constantly to avoid lumps. Cook at a low simmer for 20–25 minutes, stirring regularly, until you have a thick, smooth porridge. Remove from heat and allow to cool to 60–65°C (140–149°F).
Step 3 — Mash (Enzymatic Conversion)
Why this matters: Adding the sorghum malt flour to the cooled maize porridge introduces amylase enzymes that break down both the gelatinized maize and remaining sorghum starches into fermentable sugars.
When the maize porridge has cooled to 60–65°C (140–149°F), stir in the 500 g (1.1 lb) of sorghum malt flour thoroughly. The target mash temperature is 62–65°C (144–149°F). Favor the lower end of this range (62–63°C / 144–145°F) to maximize beta-amylase activity and improve fermentability. Hold at this temperature for 30–45 minutes, stirring every 5–10 minutes. The mash will thin noticeably as the enzymes work — this is correct.
Common failure point: Adding the malt flour when the porridge is still too hot (above 70°C / 158°F) denatures the sorghum amylases before they can convert the starch. Allow the porridge to cool sufficiently before adding the malt.
Step 4 — Strain and Dilute
After mashing, allow the mash to cool to 35–40°C (95–104°F). Strain the liquid through a muslin cloth or fine-mesh bag into your fermentation vessel, squeezing the grain solids firmly to extract as much liquid as possible. The spent grain makes excellent animal feed or compost. Dilute the strained liquid with cold water to achieve a total volume of approximately 8–10 liters (2.1–2.6 US gallons) and a temperature of 30–35°C (86–95°F).
Step 5 — Inoculation and Initial Fermentation (Souring Phase)
Why this matters: This is the heart of umqombothi. Lactic acid bacteria sour the mash before or alongside yeast-driven alcohol fermentation, producing the characteristic tang.
If using wild fermentation: stir the warm mash vigorously with a clean hand or paddle to introduce microorganisms from the environment. Cover loosely with a cloth (not an airtight lid) and leave at room temperature (ideally 28–35°C / 82–95°F) for 24–36 hours.
If using WildBrew Sour Pitch or probiotic capsules: stir in the culture, cover loosely, and hold at 35–40°C (95–104°F) for 18–24 hours to accelerate lactic fermentation.
By the end of this phase, the liquid should smell distinctly sour — like yogurt or mild vinegar — and may show signs of gentle bubbling. This is the lactic fermentation you are looking for.
Note on L. plantarum biology: L. plantarum is a facultative anaerobe — it tolerates oxygen. The purpose of covering the vessel loosely is to minimize contamination by acetobacter (acetic acid bacteria, which produce vinegar), not to protect the lactobacillus from air. A loose cloth cover is ideal.
Common failure point: A butyric (vomit-like) off-aroma indicates Clostridium contamination, which thrives in anaerobic, high-starch environments at warm temperatures. This is most likely if the vessel was sealed airtight, or if undesirable bacteria were present in a poorly cleaned vessel. Discard and start again with thoroughly cleaned equipment and a loose cloth cover.
Step 6 — Active Fermentation (Alcohol Phase)
Why this matters: Wild yeasts (or pitched SafAle US-05 if using) convert the sugars produced in the mash to alcohol, completing the fermentation.
After 24–36 hours, the mash should be actively fermenting — visibly bubbling, slightly increased in volume, and smelling sour-yeasty. If pitching US-05, add it now. Continue fermenting loosely covered at room temperature (20–30°C / 68–86°F) for another 24–48 hours.
Umqombothi is traditionally consumed at this stage — actively fermenting, sweet-sour, with a light alcohol content of approximately 2–2.5%. The longer it ferments, the more sour and alcoholic it becomes.
Step 7 — Serve or Continue Fermentation
Why this matters: Unlike most beers, umqombothi does not have a discrete packaging step — it is consumed from the fermentation vessel or transferred to a serving vessel and drunk immediately.
Stir the fermented mash thoroughly before serving (the solids settle quickly). Strain through a cloth if you prefer a thinner, less chewy texture, or serve unstrained for full traditional character. Consume within 1–2 days; the beer continues to sour and becomes increasingly sharp over time.
Carbonation: Umqombothi is naturally effervescent from residual fermentation activity — there is a gentle, diffuse fizz rather than the lively carbonation of a conditioned bottled beer. No priming step is needed or appropriate.
Recipe Summary
| Item | Metric | US |
|---|---|---|
| Sorghum malt flour | 500 g | 1.1 lb |
| Fine maize meal | 500 g | 1.1 lb |
| Total water | 8–10 liters | 2.1–2.6 gallons |
| Mash temperature | 62–65°C (favor lower end) | 144–149°F |
| Mash time | 30–45 minutes | 30–45 minutes |
| Souring temperature | 30–40°C | 86–104°F |
| Souring time | 18–36 hours | 18–36 hours |
| Fermentation temperature | 20–30°C | 68–86°F |
| Fermentation time | 24–48 hours | 24–48 hours |
| Total timeline | 3–5 days | 3–5 days |
| Batch size | 8–10 liters | 2.1–2.6 gallons |
| Estimated ABV | 2.0–3.5% | 2.0–3.5% |
| Hops | None | None |
Troubleshooting
Not sour enough: Increase the souring temperature (target 35–38°C / 95–100°F) and extend the souring time. Alternatively, add a commercial Lactobacillus culture (WildBrew Sour Pitch) or probiotic capsules to ensure reliable lactic fermentation. Wild fermentation in cooler climates may be insufficient without supplemental culture.
Too sour: The beer has fermented too long or at too high a temperature. Consume earlier in the fermentation cycle (Day 2–3 rather than Day 4–5). For future batches, reduce souring time and/or cool the vessel to slow lactic activity.
Butyric / vomit smell: Clostridium contamination. Discard this batch. For the next batch, ensure thorough cleaning of all equipment, avoid sealing the vessel (use a loose cloth cover), and add the souring culture at the correct temperature (below 45°C / 113°F).
Thin, watery body: The maize porridge was undercooked or too dilute, or too much water was added during dilution. Next batch, cook the porridge longer (25–30 minutes) until thick, and reduce the total water volume slightly.
No fermentation activity: The mash temperature may have been too hot when the culture was added, or the environment may be too cool. Check that mash temperature was below 65°C (149°F) when the malt was added. Move the vessel to a warmer location (28–32°C / 82–90°F) to encourage fermentation. As a backup, pitch a small amount of US-05 (0.5 g/L) to ensure alcohol fermentation proceeds.
Bitter or astringent: Excessive extraction from the grain solids during straining. Apply firm but not excessive pressure when squeezing the mash bag. Over-extended mashing at too high a temperature can also increase tannin extraction from sorghum husks.
Variations to Try
Finger millet umqombothi: Replace 50% of the sorghum malt with malted finger millet (Eleusine coracana), widely used in East African fermentation traditions. It adds a distinct earthier, slightly nutty character. Note that finger millet malt has a different amylase profile from sorghum — you may need to extend the mash time to 45–60 minutes. Process otherwise identically.
Ginger and wild herb infusion: Traditional brewers in some regions add fresh ginger or indigenous herbs to the fermenting mash. Add 10–15 g (0.35–0.5 oz) of freshly crushed ginger at the start of fermentation for warmth and added antimicrobial properties.
Extended fermentation (higher ABV version): Allow fermentation to continue for 5–7 days at controlled room temperature. ABV can reach 4–5% in fully attenuated batches, with a sharper, more vinous sourness. This is a departure from the traditional style but an interesting exploration of the beer’s potential.
Malted sorghum-only (no maize): For the most historically grounded version, omit the maize meal entirely and use 1 kg (2.2 lb) of sorghum malt flour total. Maize is a post-Columbian addition to the recipe; this all-sorghum version is closer to pre-1500 CE umqombothi. The result is heavier, earthier, and more intensely grainy.
Small-batch experimental (2 liters / 0.5 US gallon): Scale all ingredients by 20% for a proof-of-concept batch. Ideal for testing wild fermentation in your environment before committing to a full batch.
Explore more: – What is Umqombothi Beer? The Complete Style Guide → – Umqombothi Beer Food Pairing Guide →
Brew Cartographer explores the history, geography, and craft of rare and forgotten beer styles. Subscribe to our newsletter for new expeditions every week.