How to brew Australian Sparkling Ale at home is a question that rewards careful attention to yeast selection and bottle-conditioning technique — this is a style where the fermentation process itself is the signature, producing the fruity esters and live yeast carbonation that define every pour. Unlike most ales, which are finished and packaged as static products, Australian Sparkling Ale is a living beer right up to the moment it hits the glass, and the brewer’s job is to set up the conditions for that final act of fermentation to succeed.
This guide covers everything you need to brew a full-flavored, bottle-conditioned Australian Sparkling Ale at home, from grain bill to glass. Expect grain-to-glass in roughly five to six weeks. For the history and style background, see What is Australian Sparkling Ale? →. For serving and food pairing, see the Australian Sparkling Ale Food Pairing Guide →.
Target Specifications
| Parameter | Target |
|---|---|
| Original Gravity | 1.048–1.056 |
| Final Gravity | 1.004–1.010 |
| ABV | 4.5–6.0% |
| IBU | 20–35 |
| SRM | 4–7 (pale gold to light amber) |
| Carbonation | 2.5–3.0 volumes CO₂ |
| Batch size | 20 liters (5.3 US gallons) |
| Timeline | 5–6 weeks grain to glass |
Ingredients
Grain Bill
- Australian Pale Ale Malt — 4.0 kg (8.8 lb): The backbone of the recipe. Australian two-row pale ale malt is clean and slightly bready, without the pronounced biscuit character of British malts. Substitute with any quality pale ale malt — Maris Otter will shift the profile toward biscuit; a European Pilsner malt will produce a crisper, lighter result.
- Flaked Corn (Maize) — 250 g (0.55 lb): Optional adjunct addition to lighten the body and improve clarity, reflecting the historical use of adjuncts in Australian brewing. Can be omitted without significantly altering the recipe.
- Brewing Sugar (Dextrose) — 250 g (0.55 lb): Added to the boil to boost gravity, aid attenuation, and produce the dry finish characteristic of the style. Do not substitute with malt extract — the point of the sugar is to ferment out completely without leaving residual body.
Hops
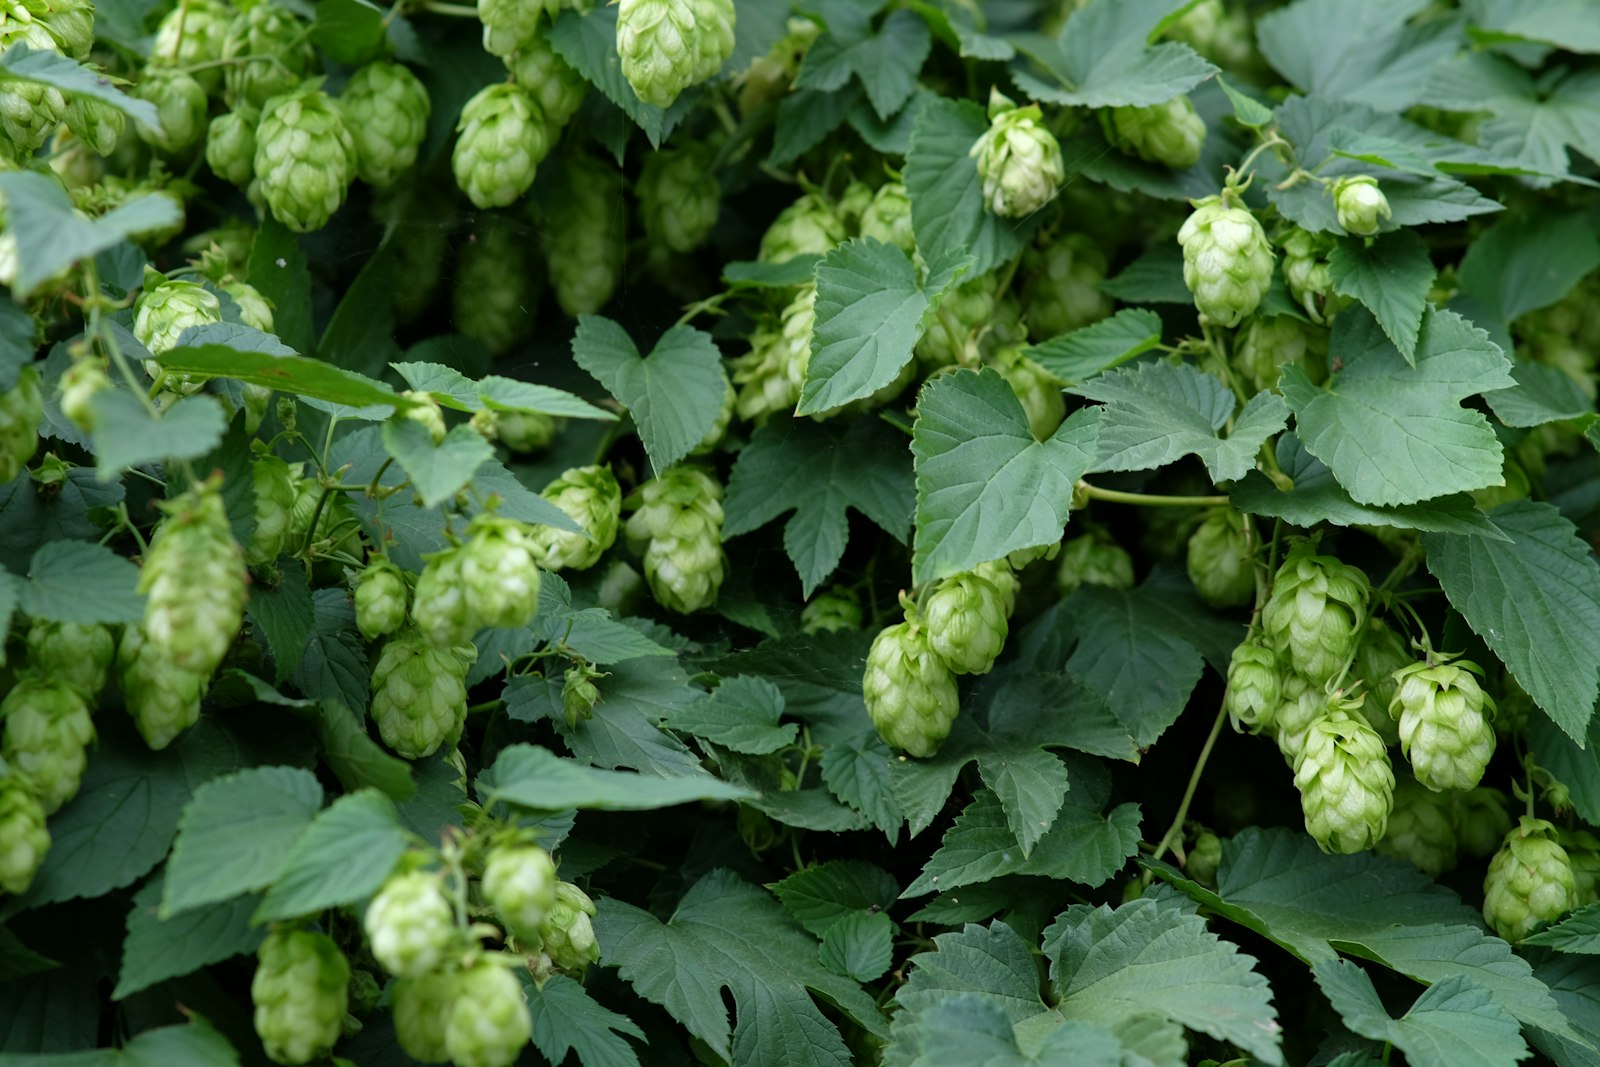
- Pride of Ringwood pellets (10% AA) — 25 g (0.88 oz) at 60 minutes: The historically authentic Australian hop variety. Provides the earthy, slightly coarse bitterness that is central to the style’s character. Pride of Ringwood can be hard to source outside Australia; substitute with Centennial (10% AA) or Magnum (13% AA) for a cleaner bitterness, adjusting for alpha acid content.
- Pride of Ringwood pellets (10% AA) — 10 g (0.35 oz) at 15 minutes: Late addition for a mild aroma contribution. Optional — Australian Sparkling Ale is not a hop-forward style, and this addition can be omitted for a more restrained hop profile.
Yeast
Choose one of the following — not both:
- White Labs WLP009 Australian Ale Yeast (Recommended): The closest commercially available approximation to Coopers’ proprietary yeast strain. Highly flocculent, produces noticeable fruity esters (apple, pear), and attenuates aggressively to a dry finish. Ferment at 18–20°C (64–68°F). This is the yeast that will produce the most authentic result.
- Wyeast 1318 London Ale III (Alternative): Another highly flocculent, fruity English ale yeast that produces a good approximation of the Coopers character. Note that Wyeast 1318 tends toward peach and tropical fruit esters rather than the apple and pear character of WLP009 — the beer will be distinctly different in ester character while remaining within the broad style parameters. Ferment at 18–20°C (64–68°F).
Priming Sugar (for bottle conditioning)
- Dextrose (priming sugar) : The target carbonation is 2.5–3.0 volumes CO₂ — higher than most ales. Always use a priming calculator to calculate the exact amount based on your actual fermentation temperature and final beer volume. As a rough reference, at a conditioning temperature of approximately 20°C (68°F), expect to use around 6–7 g/L (0.8–0.9 oz/gal). Do not use fixed-weight estimates without the calculator — Australian Sparkling Ale’s high carbonation demands precision, and bottles conditioned to 3.0+ volumes at warm temperatures can be dangerous.
Equipment
Beyond a standard homebrew kit, the following are recommended or required:
- pH meter or pH strips : Monitoring mash pH is important for a pale, clean beer. Target 5.2–5.4.
- Digital brewing thermometer : Precision matters during mash and fermentation.
- Crown caps and bottle capper : Standard 500 ml / 16.9 oz brown glass bottles are ideal. The high carbonation means clear glass bottles are not recommended (light-strike risk) and plastic bottles are not suitable for long conditioning periods.
- Priming sugar calculator: Use this rather than fixed-weight formulas — your fermentation temperature affects residual CO₂ in the beer.
How to Brew Australian Sparkling Ale: The Process Step by Step
Step 1 — Mash: Mash at 66°C (151°F) for 60 minutes. This temperature produces a moderately fermentable wort — low enough to support good attenuation, high enough to leave some residual body. Australian Sparkling Ale should finish dry but not thin; if your mash runs hot, attenuation may suffer and the beer will be sweeter than intended. Strike water temperature will typically be around 71°C (160°F) to achieve this mash temperature with standard equipment — measure and adjust. Target mash pH of 5.2–5.4.
Step 2 — Lauter and Sparge: Sparge with water at 76°C (169°F) to collect your full pre-boil volume. For a 20 liter (5.3 US gallon) batch, expect to collect around 25 liters (6.6 US gallons) pre-boil depending on your system’s efficiency. Adjust your target OG for your system’s efficiency.
Step 3 — Boil: 60-minute boil. Add the 60-minute hop addition at the start of the boil. Add the Dextrose with 15 minutes remaining (after the 60-minute hop addition, before the 15-minute hop addition) to ensure it dissolves and pasteurizes fully. Add the 15-minute hop addition at the 15-minute mark. A 60-minute boil is sufficient for this style — extended boiling increases color and Maillard character, which should be kept minimal for a pale, clean ale.
Step 4 — Chill and Pitch: Chill rapidly to 18°C (64°F). Rapid chilling produces better cold break and clearer wort. Pitch the yeast according to the manufacturer’s recommended rate — for a beer of this gravity, a single liquid yeast pack with a 1-liter starter (or a very fresh pack without a starter) is appropriate. Do not over-pitch a yeast known for fruity ester production; part of the style’s character comes from a moderate ester load generated during fermentation.
Step 5 — Primary Fermentation: Ferment at 18–20°C (64–68°F) for 10–14 days. WLP009 and similar strains are vigorous fermenters — expect active fermentation within 12–24 hours of pitching. The fermentation temperature matters significantly for ester production: at 20°C (68°F) you will get more apple and pear character; at 18°C (64°F) the beer will be cleaner and more neutral. Authentic Australian Sparkling Ale tends toward the warmer end. Monitor gravity toward the end of fermentation; the beer is done when gravity is stable across two readings taken 24 hours apart. Expect FG in the range of 1.004–1.010 — if gravity stalls above 1.012, check fermentation temperature and yeast health.
Step 6 — Conditioning (Optional): After primary fermentation is complete, you can transfer to a secondary vessel and condition at cellar temperature (10–15°C / 50–59°F) for 3–5 days to allow yeast to settle and flavors to clean up. This step is optional — many brewers proceed directly to bottling. Avoid extended conditioning periods with this yeast, as the flocculent nature of WLP009 means the beer will drop bright quickly and you risk losing the yeast health needed for bottle conditioning.
Step 7 — Bottle Conditioning: Bottle condition at 20–22°C (68–72°F) for at least 2 weeks, then move to cooler storage. The high carbonation target (2.5–3.0 volumes) means you should:
- Calculate priming sugar using a priming calculator based on your actual fermentation temperature and final beer volume.
- Use only sturdy, proper homebrew bottles rated for carbonation. Swing-top Grolsch-style bottles or crown-capped brown glass bottles are both suitable.
- Check one bottle at 2 weeks by opening it carefully in the sink — if it vents gas normally, the carbonation is developing. Wait a full 3 weeks before refrigerating.
- After carbonation is complete, store cold to slow yeast activity. The beer will continue to condition and improve for several months.
The yeast sediment in the bottle is a feature, not a flaw — it is what makes this an authentic bottle-conditioned ale. Serve cloudy (roll the bottle) or clear (careful pour leaving the sediment behind) according to preference.
Recipe Summary
| Item | Metric | US |
|---|---|---|
| Australian Pale Ale Malt | 4.0 kg | 8.8 lb |
| Flaked Corn (Maize) | 250 g | 0.55 lb |
| Brewing Sugar (Dextrose) | 250 g | 0.55 lb |
| Pride of Ringwood (60 min) | 25 g | 0.88 oz |
| Pride of Ringwood (15 min) | 10 g | 0.35 oz |
| White Labs WLP009 Australian Ale | 1 vial | 1 vial |
| Mash temperature | 66°C | 151°F |
| Fermentation temperature | 18–20°C | 64–68°F |
| Priming sugar (dextrose) | ~6–7 g/L at 20°C | ~0.8–0.9 oz/gal at 68°F |
| Batch size | 20 liters | 5.3 US gallons |
| Target OG | 1.048–1.056 | — |
| Target FG | 1.004–1.010 | — |
| Target ABV | ~5.5% | — |
| Target IBU | ~28 | — |
Troubleshooting
Too sweet, not dry enough: If your FG is above 1.012, the yeast has under-attenuated. Check that fermentation temperature was maintained — WLP009 can stall below 16°C (61°F). Rousing the fermenter gently and raising temperature to 20–22°C (68–72°F) for 24 hours can restart stalled fermentation. Alternatively, ensure you pitched enough healthy yeast.
Not enough apple/pear ester character: This style depends on ester production at warm fermentation temperatures. If your beer is tasting cleaner and more neutral than desired, try fermenting the next batch at 20–22°C (68–72°F) rather than 18°C (64°F). Also check that you are not over-pitching, as high pitch rates suppress ester production.
Bottles over-carbonated or gushing: This is the most common problem with high-carbonation bottle-conditioned beers. Causes include: bottling before primary fermentation was fully complete (residual fermentable sugar), too much priming sugar, or bottles stored too warm for too long. Always take two gravity readings 24 hours apart to confirm FG stability before bottling. Always use a priming calculator.
Flat or under-carbonated bottles: The yeast did not perform secondary fermentation in the bottle. Causes include: beer was chilled immediately after bottling (yeast needs warmth to condition), yeast was too old or underpitched, or bottles were sealed poorly. Ensure bottles condition at 20–22°C (68–72°F) for at least 14 days before refrigerating.
Sulfur aroma in finished beer: A faint sulfurous note is normal and expected with Australian ale strains and disappears with conditioning. If the sulfur persists beyond 2–3 weeks of cold storage, it indicates a fermentation problem — check yeast health, fermentation temperature, and sanitation.
Hazy appearance in the crystal pour: The “crystal pour” (leaving yeast in the bottle) should produce a relatively clear beer, but some haze is normal and acceptable for this style. If haze is excessive even in a careful pour, it may be chill haze from protein — adjusting your water chemistry or adding Irish Moss or Whirlfloc to the boil at 15 minutes will help.
Variations to Try
Classic “Coopers Clone”: Replace the Flaked Corn with an additional 200 g of Dextrose in the boil to push the adjunct percentage toward the Coopers recipe profile. This produces a lighter body, a higher apparent attenuation, and a slightly drier, more refreshing result.
New World Sparkling Ale: Substitute the Pride of Ringwood with Galaxy (14% AA) or Vic Secret , two modern Australian hop varieties with tropical and passionfruit character. Same malt bill and process, but with a contemporary Australian hop profile that showcases how the country’s hop industry has evolved since Pride of Ringwood’s dominance.
Session Sparkling Ale: Reduce the pale ale malt to 3.0 kg (6.6 lb) and increase the dextrose to 400 g (14 oz) to bring ABV down to around 4.0–4.2% while maintaining the dry finish and high carbonation. This approximates the Coopers Pale Ale approach.
Spiced Summer Ale: Add 10 g (0.35 oz) of dried lemon myrtle leaves at flameout for a subtle native Australian botanical note. Lemon myrtle pairs naturally with the estery yeast character and produces an interesting, regionally distinctive variation.
Amber Sparkling Ale: Add 200 g (7 oz) of Crystal 40L Malt to the grain bill and increase the total pale malt to 4.2 kg (9.3 lb). This deepens the color to the amber end of the style range and adds a touch of caramel sweetness that balances the high carbonation.
Once you’ve mastered the base recipe, Australian Sparkling Ale becomes one of the most rewarding bottle-conditioned styles in the homebrew repertoire — a beer that genuinely improves in the bottle, develops complexity with age, and rewards patience.
Explore more: – What is Australian Sparkling Ale? The Complete Style Guide → – Australian Sparkling Ale Food Pairing Guide →
Brew Cartographer explores the history, geography, and craft of rare and forgotten beer styles. Subscribe to our newsletter for new expeditions every week.