How to brew chicha de jora beer at home starts with understanding one fundamental difference from conventional homebrewing: this is a grain-forward, naturally fermented ale with no bittering hops and a fermentation timeline that moves dramatically faster than most styles. Chicha de jora is approachable for intermediate homebrewers willing to embrace traditional techniques, though success depends on managing wild yeast populations and unexpected sourness carefully. The entire process—from preparation to packaging—takes roughly 5–7 days with active fermentation, making it one of the quickest beer styles you can produce.
This guide covers everything you need to brew an authentic batch of chicha de jora: sourcing specialty jora corn, building and executing a unique mashing protocol, managing fermentation with either wild yeast or cultured strains, and troubleshooting the specific challenges this style presents. Whether you’re brewing 20 liters (5.3 US gallons) for a celebration or experimenting with Andean fermentation traditions, you’ll find the recipe, step-by-step process, and variations below.
Explore more: – What is Chicha de Jora Beer? The Complete Style Guide → – Chicha de Jora Beer Food Pairing Guide →
Target Specifications
| Parameter | Target |
|---|---|
| Original Gravity (OG) | 1.040–1.050 |
| Final Gravity (FG) | 1.005–1.010 |
| Alcohol by Volume (ABV) | 4.5–5.5% |
| International Bitterness Units (IBU) | 0–5 |
| Standard Reference Method (SRM) | 8–12 |
| Carbonation (volumes CO₂) | 1.5–2.0 |
| Batch Size | 20 liters (5.3 US gallons) |
| Timeline | 5–7 days active fermentation + 2–3 days conditioning |
Ingredients
Grain Bill
Jora (dried, sprouted maize) — 3.5 kg (7.7 lb) Jora Corn Jora is the heart of chicha de jora. This is maize that has been allowed to sprout (malting) and then dried, developing enzymatic power and a subtle honey-like sweetness. The sprouting breaks down the corn’s dense cell walls and generates natural enzymes—amylase and protease—that will convert starches into fermentable sugars during your mash. Unlike conventional malts, jora retains the full corn kernel structure, which gives chicha its distinctive grainy, slightly earthy character. Jora is difficult to source in most North American homebrew shops; specialty suppliers, Latin American grocery stores, and online retailers focused on traditional foods are your best bet.
Adjunct Maize (whole kernel or flaked) — 0.5 kg (1.1 lb) Maize Flakes Optional but recommended for fuller body and slightly higher gravity. Unmalted maize adds starch and protein, supporting head retention and mouthfeel. Use this only if you want a thicker, more robust chicha; traditional recipes sometimes omit this entirely for a lighter, more quaffable result.
Adjuncts & Spices
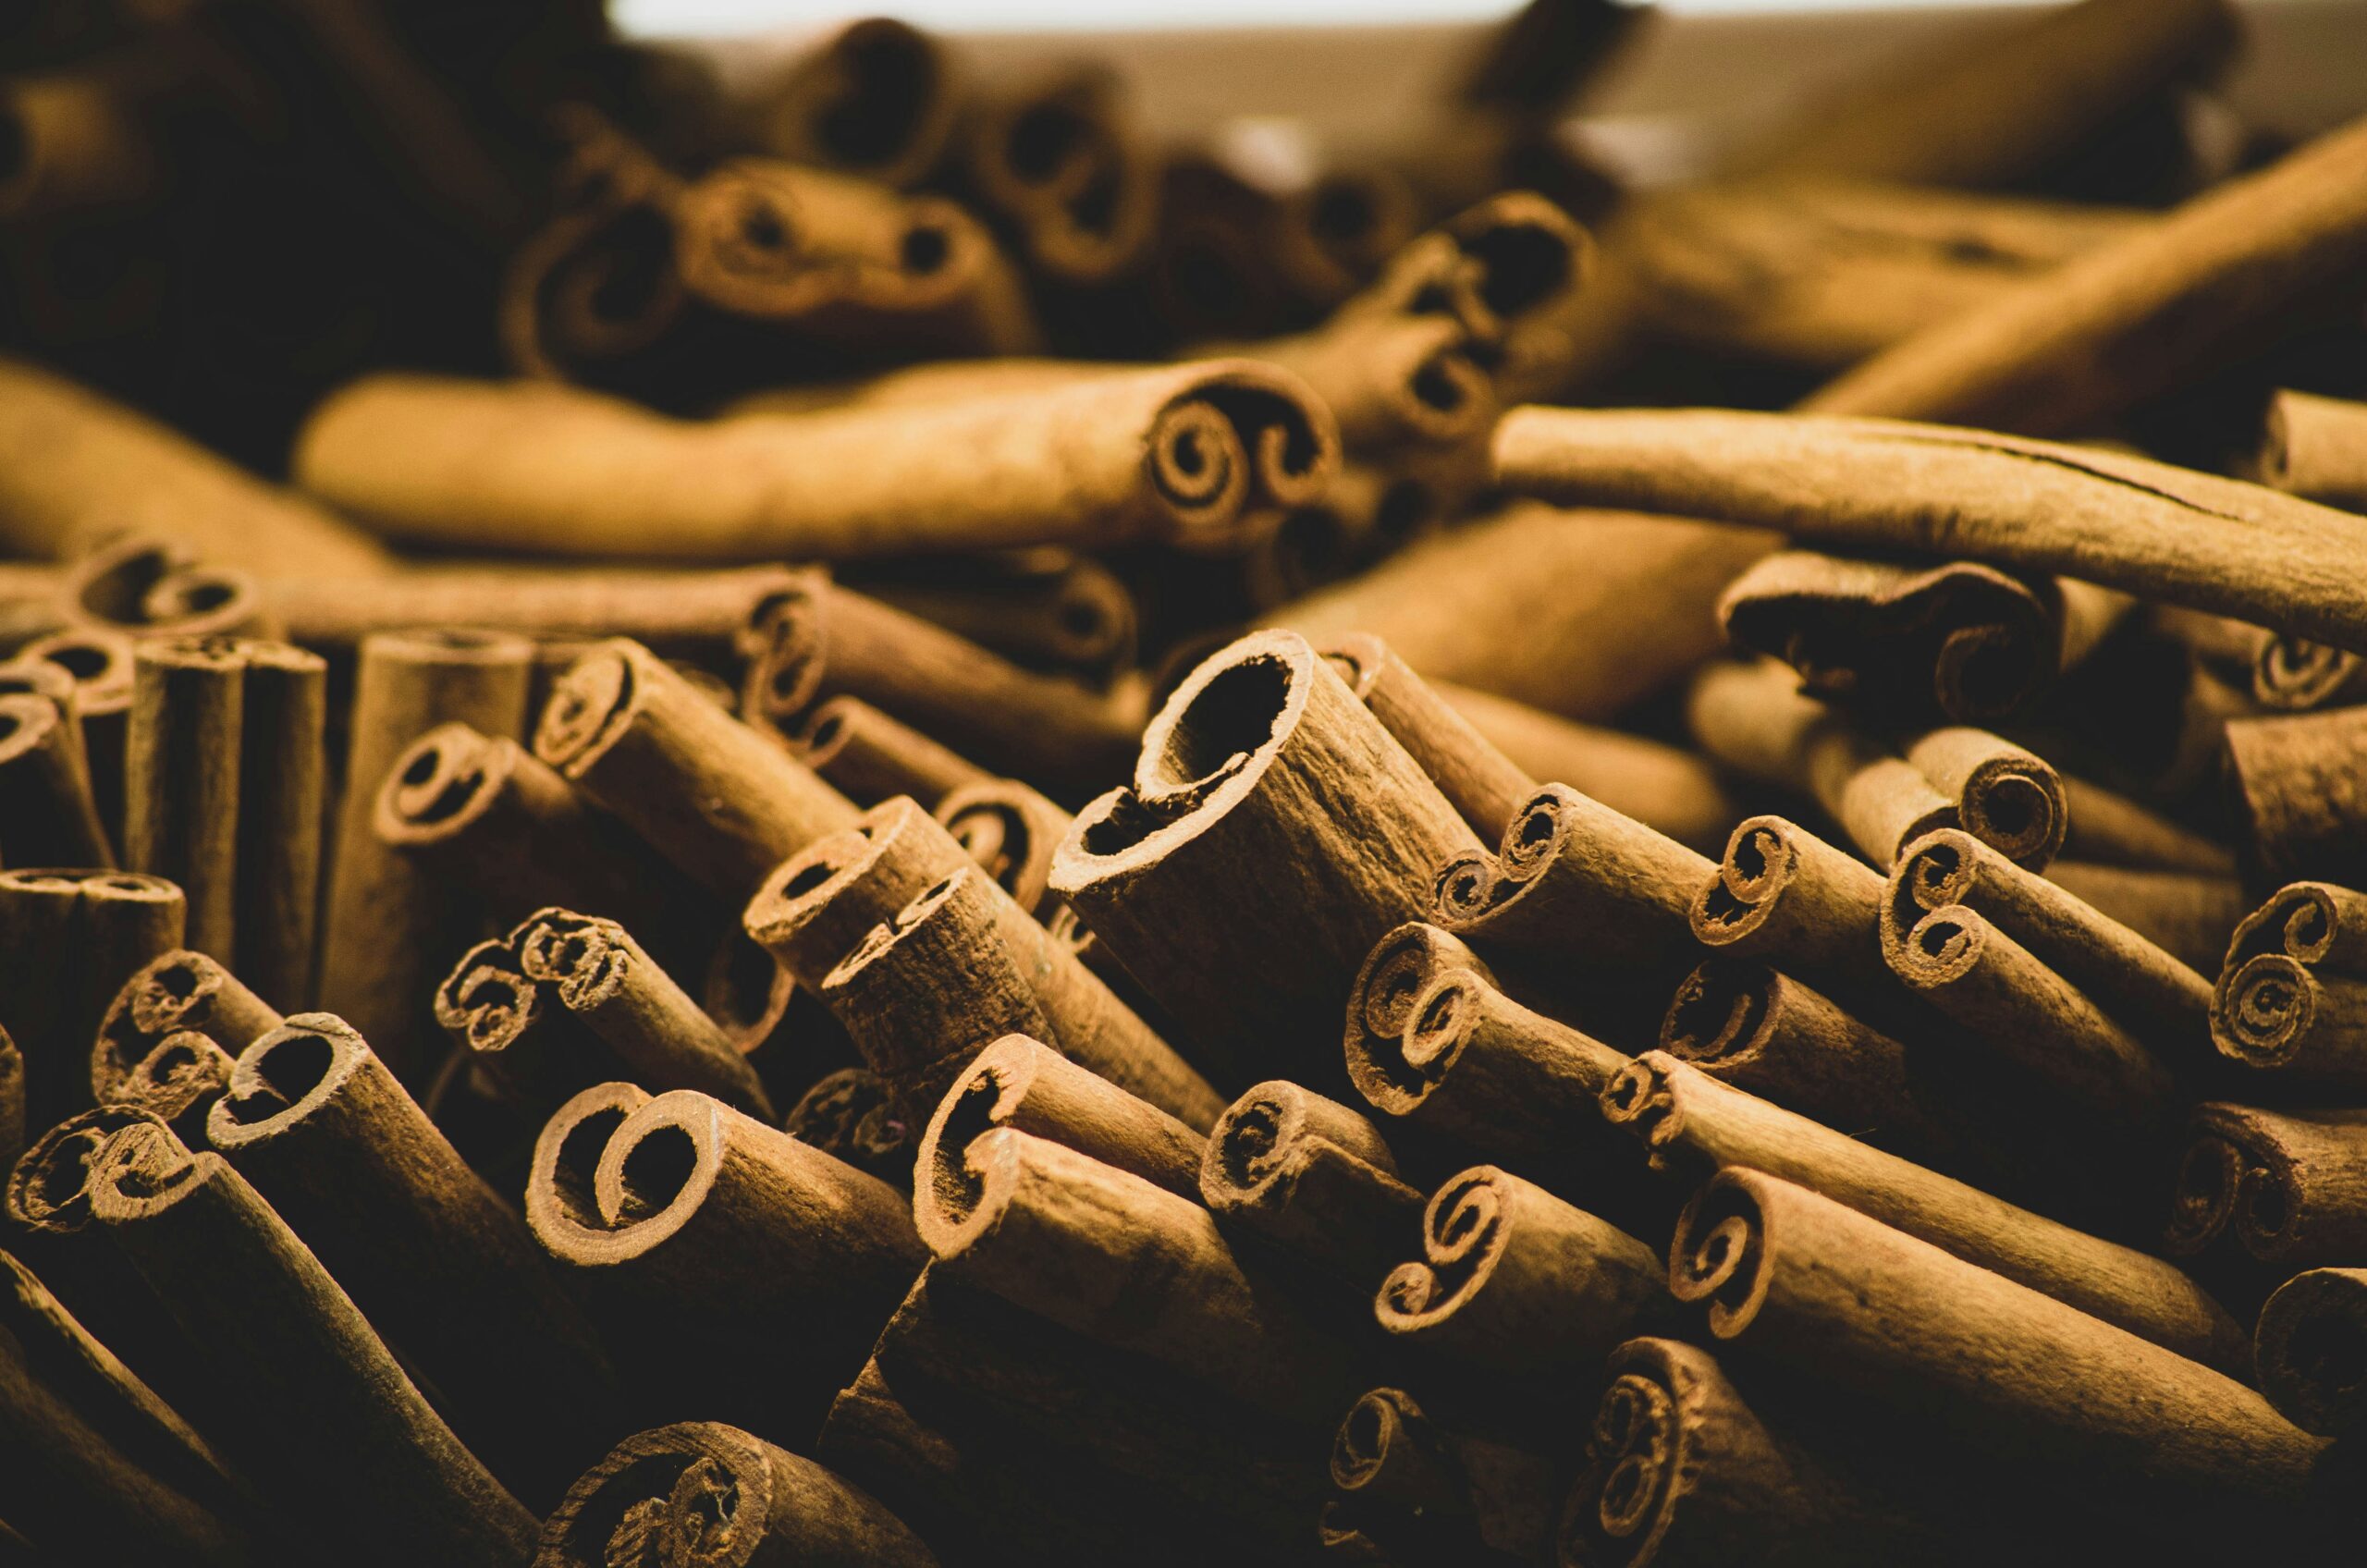
Dried Cinnamon Stick — 3–4 pieces (approx. 10 g / 0.35 oz) Ceylon Cinnamon Cinnamon is traditional in many regional variants of chicha. It adds warmth and subtle spice without overpowering the corn. Add during the boil (see Step 3 below) for 15 minutes.
Ground Clove — 0.5 g (pinch) Ground Clove Use sparingly—clove is potent. A tiny pinch adds complexity; too much creates a medicinal character. If using whole cloves, add 2–3 pieces during the boil’s final 5 minutes.
Quinoa Leaves (optional, dried) — 5–10 leaves or 2.5 g (0.09 oz) Dried Quinoa Leaves Some traditional recipes incorporate these for subtle herbal notes and mild antimicrobial properties. Omit if unavailable; the beer is complete without them.
Yeast
Choose one of the following — not both:
Wild/Ambient Fermentation (Traditional Method) Allow the wort to ferment using naturally occurring yeast and bacteria from your environment. This is the historical approach and produces authentic results—though results are less predictable. You’ll capture whatever microbes are present in your kitchen, grains, or fermentation vessel. This method typically yields higher acidity (lactic acid from bacteria) and a more funky, complex character. Fermentation is often faster (3–5 days) because wild populations are vigorous. The downside: you risk vinegar-like esters, off-flavors, or stalling fermentation if the microbial population is weak or imbalanced.
Saccharomyces cerevisiae Ale Yeast (Modern Method) Use a standard homebrewing ale yeast strain: Wyeast 1056 American Ale or White Labs WLP001 California Ale are excellent choices. These produce clean fermentation in 5–7 days at 20–23°C (68–73°F) with a dry finish (FG 1.005–1.008) and minimal off-flavors. Wyeast 1056 performs best toward the cooler end of its range, 18–20°C (64–68°F), for the cleanest results. Alternatively, use SafAle US-05 dry yeast (11.5 g / 0.4 oz per batch) for simplicity and consistency. Cultured yeast gives you control and reliability but produces a less traditional, more “beer-like” result—less funky complexity, more balanced sweetness.
Equipment
Beyond standard homebrewing gear (fermenter, hydrometer, thermometer), chicha de jora benefits from a few specialty items:
Large Stainless Steel Pot or Kettle — 30+ liters (8+ US gallons) Stainless Steel Brew Kettle You’ll need substantial volume for the mash and boil without spillover.
Grain Bag or Cheesecloth — Mesh Grain Bag Jora is whole kernel and won’t pack as tightly as crushed malt. A fine mesh bag keeps kernels contained during sparging and prevents haze.
Wide-Mouth Fermentation Vessel — Glass Carboy or PET Plastic Chicha ferments vigorously and produces heavy krausen (foam). A wide mouth makes cleaning easier and reduces the risk of overflow. A 25-liter (6.6 US gallon) vessel is ideal.
Airlock and Bung — Universal Airlock Kit Standard equipment for sealing your fermenter while allowing CO₂ to escape.
Thermometer — Digital Brewing Thermometer or Adhesive Strip Thermometer Temperature management is critical for mash conversion and fermentation control.
pH Test Strips or Meter — pH Test Strip Kit Useful for monitoring acidity during fermentation and troubleshooting sour character.
How to Brew Chicha de Jora Beer: The Process Step by Step
Step 1 — Prepare Your Jora:
If you’ve sourced pre-made jora (dried and sprouted), skip to Step 2. If you’re sprouting your own maize kernels, this takes 3–5 days ahead of brew day. Soak whole corn kernels in water for 12 hours, drain, and spread on a clean cloth in a warm (18–24°C / 64–75°F), humid environment. Rinse twice daily. When tiny rootlets emerge (2–3 mm / 0.08–0.12 inches) and the grain smells sweet and grain-like, spread the sprouted kernels on a baking sheet and dry in an oven at 50°C (122°F) for 8–12 hours until completely dry. Store in a sealed container until brew day. This sprouting step mimics traditional malting and generates the enzymes you need for conversion.
Step 2 — Mash the Jora:
Heat 18 liters (4.8 US gallons) of water to 65°C (149°F) in your brew kettle. Coarsely crush your jora (a rolling pin works; avoid pulverizing) and add it along with any adjunct maize to the hot water. Stir thoroughly to prevent dough balls. Hold this mash at 65°C (149°F) for 90 minutes, stirring every 20 minutes. This temperature is critical: it’s warm enough to activate the amylase enzymes (which break starch into sugar) but not so hot that it denatures them. Unlike conventional all-grain brewing, there’s no iodine test for conversion here—trust the 90-minute timer and the grain’s enzymatic power. After 90 minutes, slowly raise the temperature to 72°C (162°F) over 10 minutes (a mash-out step that stops enzyme activity and improves lautering). Hold at 72°C (162°F) for 10 minutes.
Step 3 — Sparge and Boil:
Run off the wort into a separate vessel, keeping the grain bed intact. Slowly sparge (rinse) the grain bed with 10 liters (2.6 US gallons) of 72°C (162°F) water, collecting roughly 20 liters (5.3 US gallons) of total wort. This wort will be slightly hazy—that’s normal. Bring the wort to a boil and add your cinnamon pieces (if using). After 15 minutes at a rolling boil, add ground clove and quinoa leaves (if using). Boil for another 10–15 minutes, aiming for a 25-minute total boil. This short boil is very different from traditional beer—it sanitizes the wort without stripping the corn’s delicate character or creating harsh tannins. Watch carefully for boil-over: jora wort foams more aggressively than barley wort. If foam threatens to overflow, reduce heat slightly or add a small drop of cooking oil to break the surface tension.
Step 4 — Cool and Pitch:
Cool the wort to 20–22°C (68–72°F) as quickly as possible using an immersion chiller or ice bath. Slow cooling risks contamination, especially if you’re using wild fermentation. Once cooled, transfer the wort to your sanitized fermenter. Take a gravity reading with your hydrometer (you should see OG around 1.040–1.050). Aerate the wort by splashing or using an aquarium pump for 5 minutes—yeast needs oxygen for healthy cell reproduction.
For wild fermentation: Leave the fermenter loosely covered with clean cheesecloth for 12 hours in a warm (20–24°C / 68–75°F), quiet location. After 12 hours, seal with an airlock. Fermentation should begin visibly within 24 hours; if not, suspect a weak wild population and pitch commercial yeast as backup.
For cultured yeast: Pitch your prepared yeast starter (or rehydrate dry yeast per package directions) directly into the cooled wort. Seal the fermenter with an airlock.
Step 5 — Fermentation:
Maintain a temperature of 18–22°C (64–72°F) if using cultured yeast, or 20–24°C (68–75°F) if relying on wild fermentation (the warmer range encourages wild microbes). Expect vigorous fermentation within 12–24 hours: heavy foam, rapid airlock bubbling, and a sweet-to-slightly-sour aroma. This is normal. After 3–4 days, fermentation should noticeably slow. Check the gravity: you’re aiming for FG 1.005–1.010. Chicha ferments fast and dry because the yeast population is large and the wort is simple (no complex grain character to slow things down). By day 5–7, gravity should be stable (same reading on two consecutive days, 12 hours apart), and the beer should smell pleasantly sour and funky (not vinegary). If it smells like vinegar, suspect acetic acid bacteria and consider stopping fermentation early by cooling to 10°C (50°F) and packaging immediately.
Step 6 — Optional Second Fermentation / Conditioning:
Some brewers transfer chicha to a secondary vessel for 2–3 days to allow remaining solids to settle and flavors to integrate. This step is optional but improves clarity. If you skip it, proceed directly to packaging.
Step 7 — Packaging:
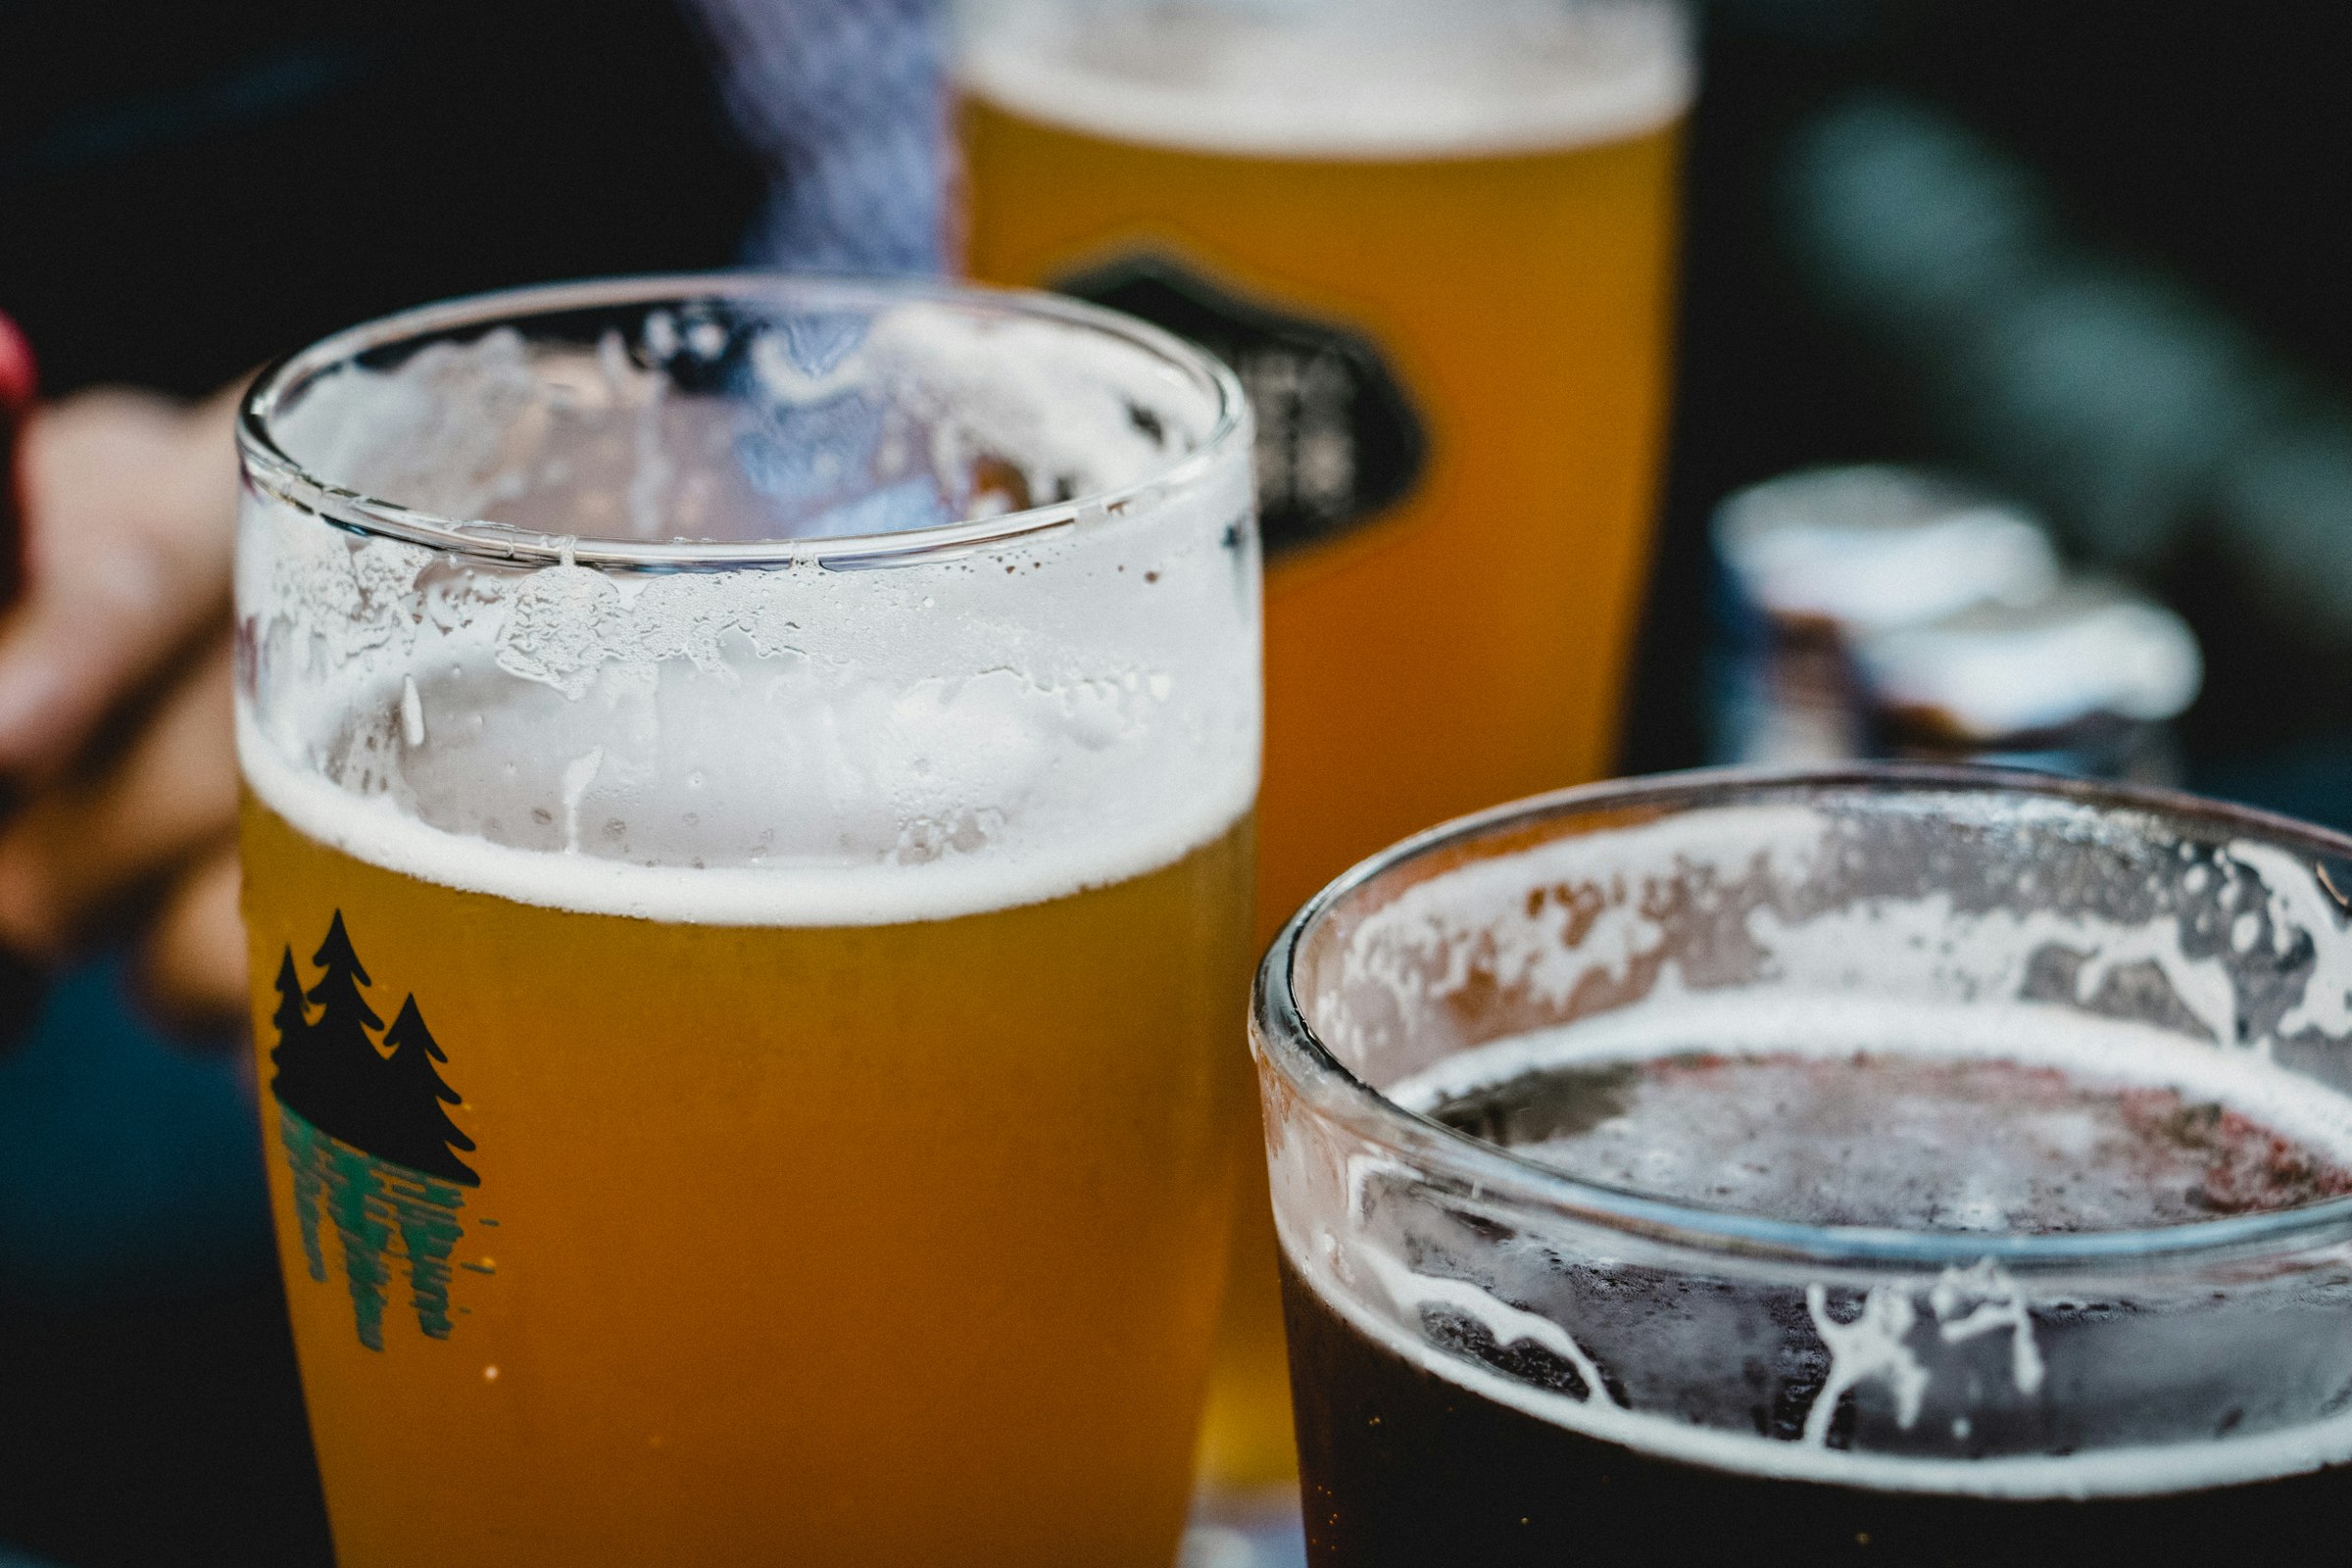
Chicha is naturally low in carbonation and relatively fragile. Bottle in 12 oz / 355 ml bottles using priming sugar (dextrose) : add 5–6 g (0.18–0.21 oz) of dextrose per 355 ml (12 oz) bottle to reach 1.5–2.0 volumes of CO₂. For precision, use an online priming calculator (such as Brewer’s Friend Priming Calculator) with your specific beer temperature and residual carbonation. Alternatively, use a force-carbonator if you prefer kegs. Carbonation takes 7–10 days at 18–20°C (64–68°F). Serve chilled, around 10–12°C (50–54°F), in a glass that shows off the golden-amber color. Chicha is best consumed fresh; carbonation and flavor fade after 2–3 weeks. Traditional service includes sipping communally from a large clay vessel, though bottles work fine for home use.
Recipe Summary
| Item | Metric | US |
|---|---|---|
| Grain & Adjuncts | ||
| Jora (dried, sprouted maize) | 3.5 kg | 7.7 lb |
| Adjunct Maize (optional) | 0.5 kg | 1.1 lb |
| Cinnamon Stick | 10 g | 0.35 oz |
| Ground Clove | 0.5 g | pinch |
| Dried Quinoa Leaves (optional) | 2.5 g | 0.09 oz |
| Yeast | ||
| Cultured Ale Yeast (e.g., WLP001) or 11.5 g dry yeast | 1 package | 0.4 oz (dry) |
| Water & Process | ||
| Mash Water | 18 L | 4.8 US gal |
| Sparge Water | 10 L | 2.6 US gal |
| Targets | ||
| Original Gravity | 1.040–1.050 | — |
| Final Gravity | 1.005–1.010 | — |
| Alcohol by Volume | 4.5–5.5% | — |
| IBU | 0–5 | — |
| SRM | 8–12 | — |
| Carbonation | 1.5–2.0 vol CO₂ | — |
| Timeline | 5–7 days | 5–7 days |
Troubleshooting
Too Sour / Vinegary Character: Chicha should taste pleasantly tart and funky, not like vinegar. If your beer smells or tastes aggressively acidic by day 4–5, acetic acid bacteria (vinegar bacteria) has colonized the batch. This happens when sanitation is poor, fermentation temperature is too warm (>24°C / 75°F), or exposure to oxygen after fermentation is prolonged. To prevent: sanitize all equipment thoroughly, keep fermentation temperature stable, and minimize oxygen contact once fermentation begins. To remedy: stop fermentation immediately by cooling to 10°C (50°F), then package and consume quickly. Note that cooling halts further vinegar production but cannot reverse acetic acid already present in the beer—the batch will retain its existing character. The batch is safe but unpleasant.
Not Sour Enough: If you’re using cultured yeast and want more complexity, you underestimated the power of Saccharomyces cerevisiae—it simply doesn’t produce much acidity on its own. Next batch, try wild fermentation or consider adding lactobacillus culture (see Variations). Alternatively, accept that cultured yeast produces a cleaner, less funky chicha, and enjoy it for what it is.
Off-Flavors (Barnyard, Solvent, Fusel Alcohols): Barnyard (horse blanket, leather) aromas suggest wild yeast presence; this is normal in low amounts and adds authenticity. If the flavor is unpleasantly strong, suspect poor sanitation or a wild fermentation that got out of hand. Solvent or nail-polish-remover aromas (acetone) indicate high fermentation temperature or yeast stress; next batch, keep temperature below 22°C (72°F). Fusel alcohols (hot, burning throat) mean high gravity and/or high fermentation temperature; reduce OG if possible, or lower temperature.
Too Sweet / Underfermented: If your FG is stuck at 1.015 or higher, fermentation has stalled. Check temperature: is the fermenter warmer than 18°C (64°F)? Is it colder than 15°C (59°F)? Move it to 20–22°C (68–72°F). Check the yeast: did you pitch enough? (a starter helps.) Gently rouse the fermenter by swirling to resuspend yeast. If using wild fermentation, your microbial population may have been weak; add a pitch of cultured yeast to restart. Wait another 3 days and check gravity again. If FG remains high after 7 days, accept the residual sweetness (sometimes attractive) and package as is.
Haze / Chill Haze: Chicha wort is often slightly hazy before and after fermentation due to unmalted corn’s protein and starch content. Some haze clears over days or weeks; if it persists, it’s harmless. To reduce: use a grain bag during mashing, sparge slowly, boil for the full 25 minutes, cool quickly, and allow the beer to settle for 2–3 days before packaging. If you’re sensitive to chill haze, serve slightly warmer (12–14°C / 54–57°F instead of ice-cold) and consume within a few weeks.
Thin Mouthfeel / Watery Character: If your chicha feels thin on the palate, next batch add the full 0.5 kg (1.1 lb) of adjunct maize (unmalted), which contributes body-building proteins. Alternatively, increase jora to 4 kg (8.8 lb) for a richer mash. Ensure you’re hitting OG 1.050 or slightly higher—if gravity is below 1.040, the beer will naturally feel light.
Variations to Try
Smoky Chicha (Chicha de Jora Ahumada): During the mash, substitute 0.5 kg (1.1 lb) of jora with smoked corn (wood-smoked at low temperature). Add 1–2 dried ancho chiles during the boil’s final 10 minutes for subtle heat and complexity. This produces a more savory, campfire-like chicha with mild spice—excellent as a winter sipper.
Chicha with Lactobacillus (Sour Chicha): If you prefer intentional sourness without vinegar risk, add lactobacillus souring culture directly to the cooled wort (per culture instructions, typically 0.5–1 g / 0.02–0.04 oz). Let it develop at 20–24°C (68–75°F) for 2–3 days before pitching ale yeast. This produces a cleanly sour, lightly funky chicha without the vinegar character of acetic fermentation.
Honey & Jora Chicha: Add 250 g (8.8 oz) of raw honey during the boil’s final 5 minutes (after cooling slightly to preserve delicate floral notes). This produces a rounder, slightly floral chicha with an OG closer to 1.055 and ABV around 6%. The honey ferments completely, leaving a clean, elegant finish.
Herb & Flower Chicha (Chicha Medicinal): Include 5 g (0.18 oz) each of dried chamomile and mint during the boil’s final 10 minutes, along with a stick of cinnamon. This produces a more herbal, almost medicinal chicha—reflective of traditional preparations that valued chicha for health. Serve slightly warmer, 12–14°C (54–57°F).
Stone-Fruit Chicha (Chicha de Frutas): After fermentation (day 5–6), add 500 g (1.1 lb) of fresh or frozen apricots or peaches, crushed, to the fermenter. Allow a secondary fermentation of 2–3 days, then package. The fruit adds natural acidity, subtle sweetness, and a lovely golden-amber hue. Strain carefully to avoid pulp in bottles.
Brewing chicha de jora is an act of cultural connection and culinary exploration. The result—a quick, alive, slightly funky beer—rewards attention to temperature and sanitation while forgiving minor variations with grace. Start with wild fermentation if you’re adventurous, or use cultured yeast if you prefer consistency. Either way, you’re engaging with one of the world’s oldest brewing traditions and creating something genuinely unique.
Explore more: – What is Chicha de Jora Beer? The Complete Style Guide → – Chicha de Jora Beer Food Pairing Guide →
Brew Cartographer explores the history, geography, and craft of rare and forgotten beer styles. Subscribe to our newsletter for new expeditions every week.