How to brew Cascadian Dark Ale beer at home is a question that rewards anyone willing to tackle it — this Pacific Northwest icon is approachable for intermediate brewers, requires no special fermentation technique, and delivers one of the most striking contrasts in homebrewing: a beer that pours jet black but hits your palate like a citrus-and-pine-forward IPA. The grain-to-glass timeline is around 4–5 weeks, making it a satisfying project without the long wait of a lager or sour ale.
Affiliate disclosure: This article contains affiliate links. If you purchase through these links, Brew Cartographer earns a small commission at no extra cost to you.
This guide covers everything from target specifications and grain bill to step-by-step process, troubleshooting, and variations. Before you start, you might want to read What is Cascadian Dark Ale Beer? → for context on the style, or bookmark the Cascadian Dark Ale Beer Food Pairing Guide → for when you’re ready to serve it.
Target Specifications
| Parameter | Target |
|---|---|
| Original Gravity | 1.064–1.070 |
| Final Gravity | 1.012–1.016 |
| ABV | 6.5–7.5% |
| IBU | 60–75 |
| SRM | 30–40 (black) |
| Carbonation | 2.3–2.6 volumes CO₂ |
| Batch size | 20 liters (5.3 US gallons) |
| Timeline | 4–5 weeks grain to glass |
Ingredients
Grain Bill
- Pale Two-Row Malt (affiliate link) — 4.5 kg (9.9 lb) — The backbone of the beer. American two-row gives a clean, fermentable base that lets the hops and roasted malts shine without adding biscuit character that would muddy the profile.
- Crystal 60L Malt (affiliate link) — 300 g (10.6 oz) — Adds a restrained caramel sweetness that balances the high bitterness and provides a hint of body. Keep this addition modest — too much and the beer reads as porter rather than CDA.
- Weyermann Carafa Special Type II (dehusked) (affiliate link) — 400 g (14.1 oz) — This is the key ingredient that sets CDA apart from stout. Dehusking removes the harsh, astringent compounds from the husk while preserving the deep black color and dry cocoa character. Do not substitute with regular Carafa or black patent malt without adjusting — husked roasted malts will introduce a harshness that overwhelms the hop character.
- Munich Malt Type I (affiliate link) — 300 g (10.6 oz) — Optional but recommended. Adds a gentle malt depth and bread-crust sweetness that fills out the mid-palate without competing with hops.
Sourcing note: Weyermann malts are widely available through US homebrew suppliers including MoreBeer (affiliate link) and Northern Brewer (affiliate link). UK and European brewers can source from The Malt Miller.
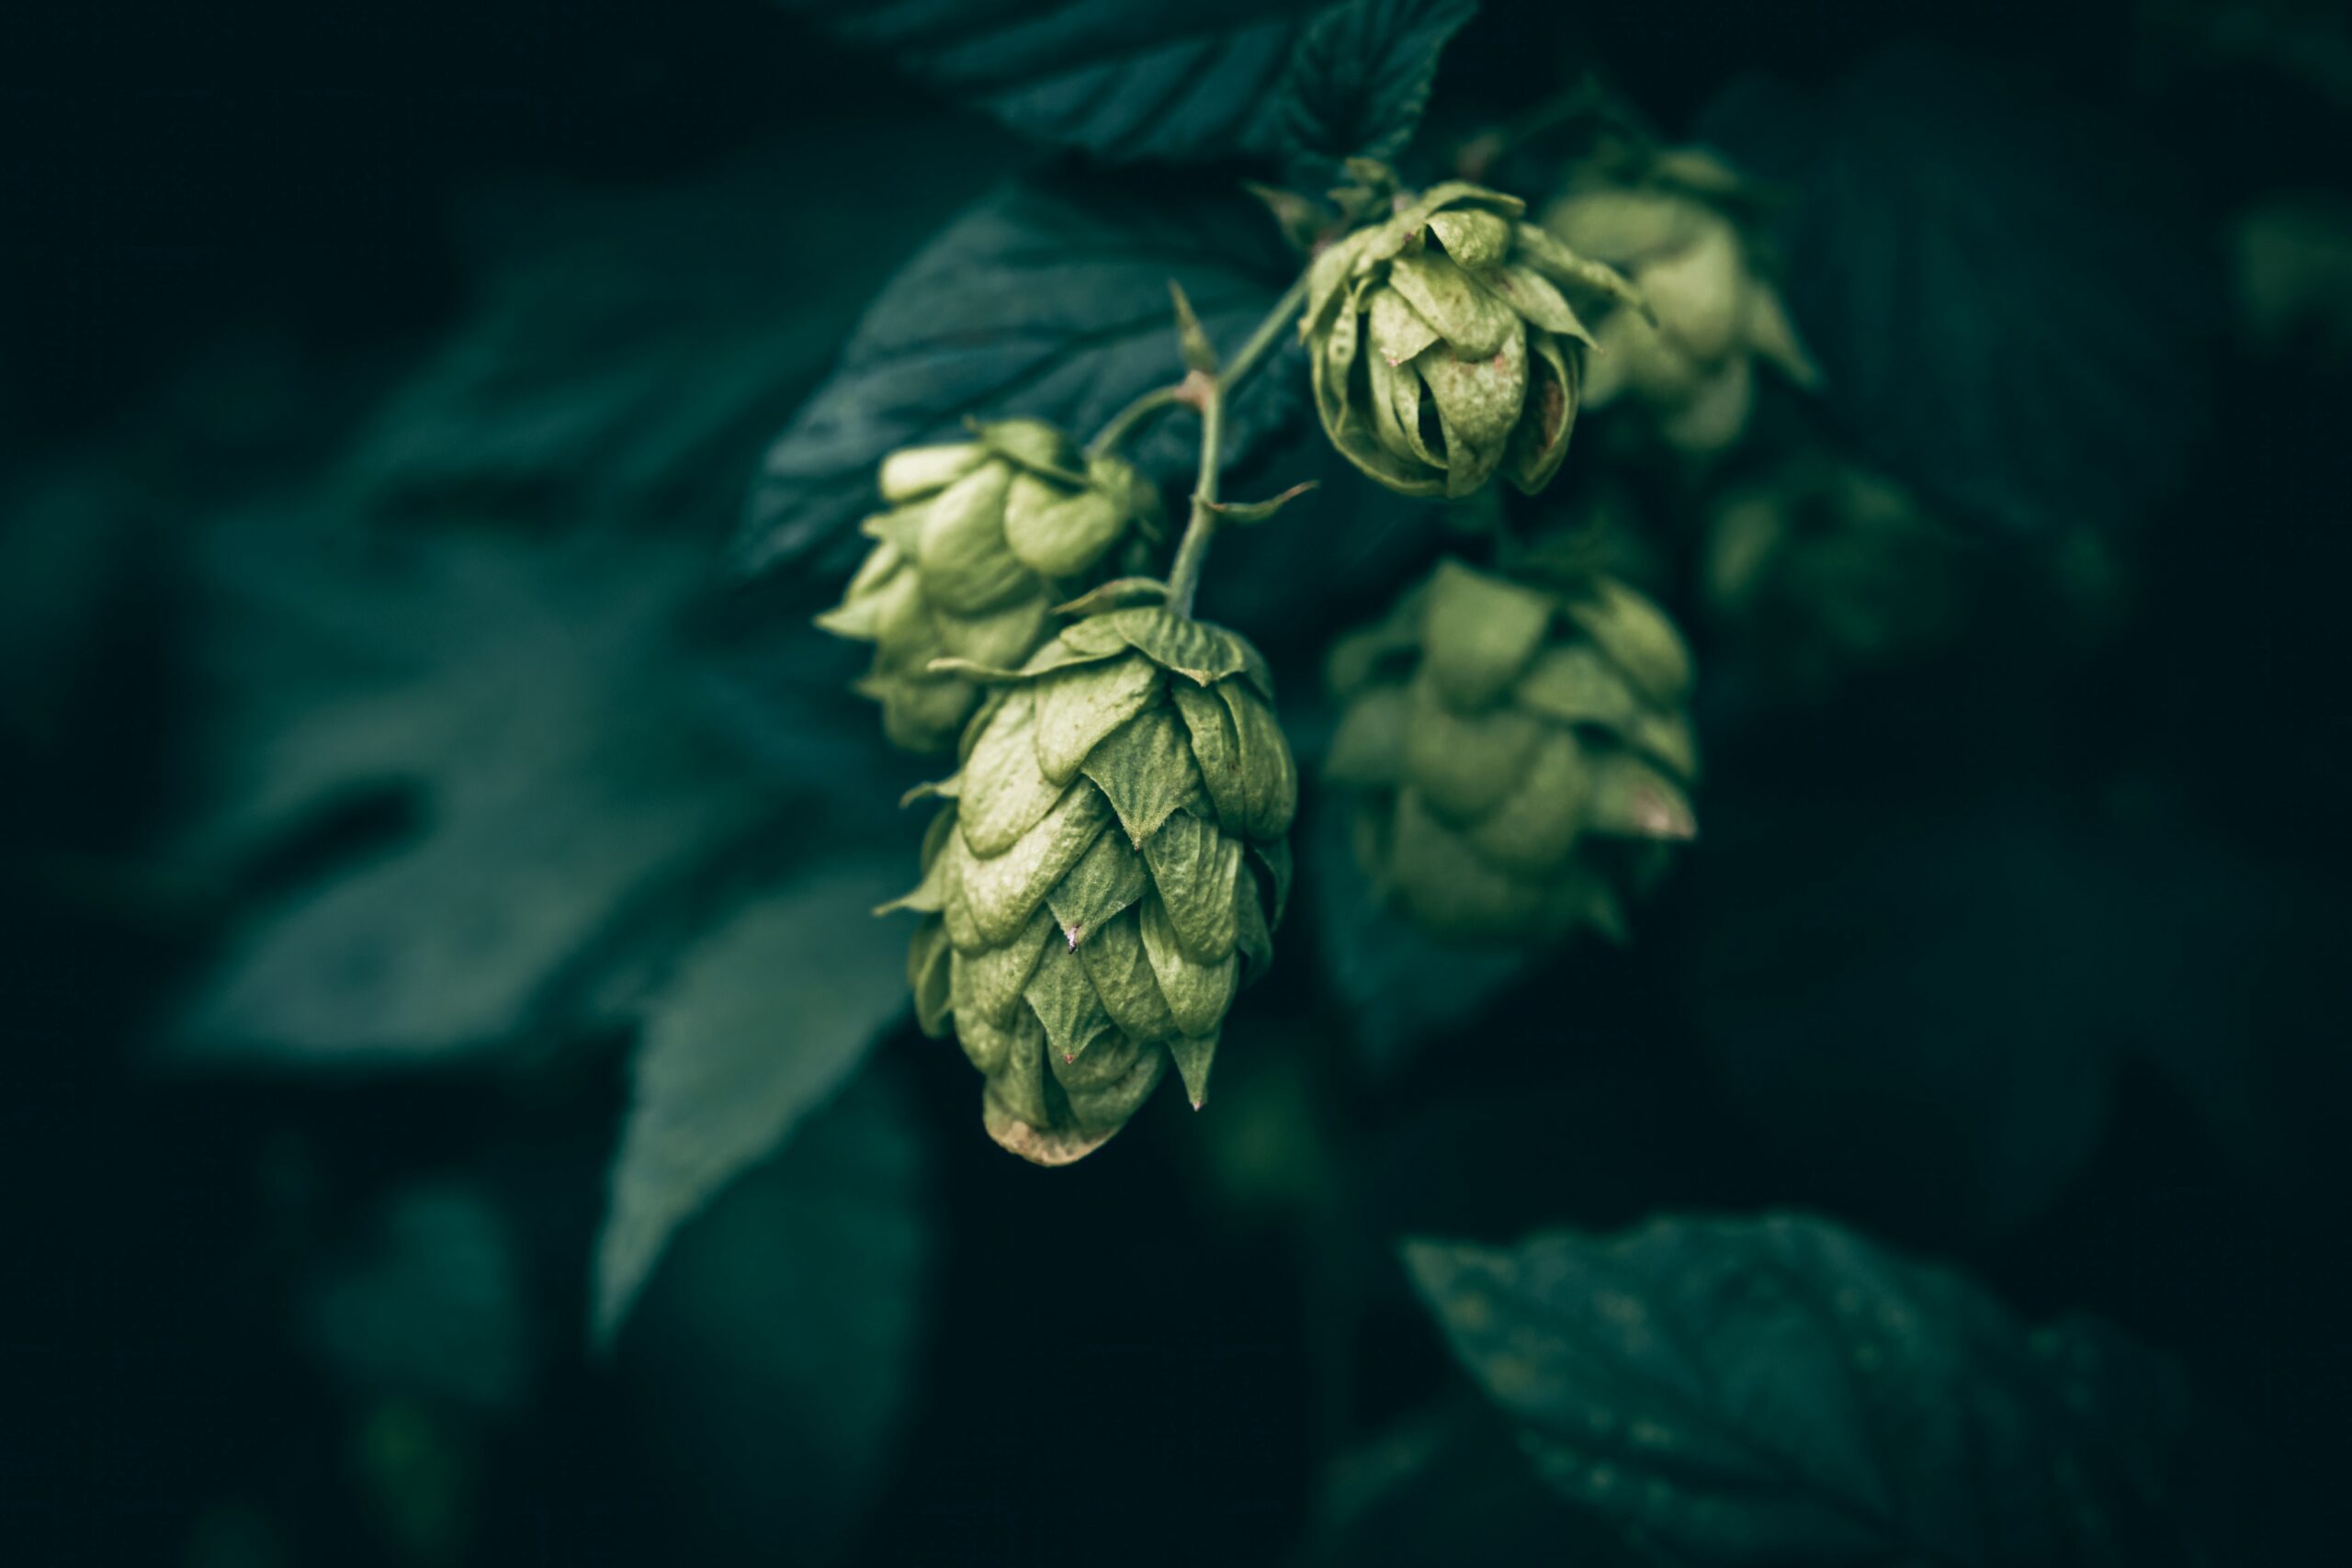
Hops
This recipe leans into classic Pacific Northwest varieties. Use pellets for ease.
- Magnum (13% AA) (affiliate link) — 45 g (1.6 oz) — 60 min boil addition. Clean bittering hop that provides the IBU backbone without adding aroma compounds that will be volatilized in the boil. Contributes approximately 50 IBU.
- Centennial (10% AA) (affiliate link) — 20 g (0.7 oz) — 10 min boil addition. Centennial brings floral, citrus, and slightly piney notes. This late addition preserves volatile aroma compounds. Contributes approximately 8 IBU.
- Simcoe (12.5% AA) (affiliate link) — 20 g (0.7 oz) — Whirlpool/flameout addition, steeped 20 min at 80°C (176°F). Simcoe’s dank, tropical, and pine-forward character is classic Pacific Northwest. Contributes approximately 5–7 IBU.
- Cascade (5.5% AA) (affiliate link) — 40 g (1.4 oz) — Dry hop, added to fermenter after primary fermentation is complete. The original Pacific Northwest hop. Grapefruit, floral, and resinous — this is the aroma that defines the style.
- Centennial (10% AA) (affiliate link) — 20 g (0.7 oz) — Dry hop alongside Cascade.
Dry hop both additions simultaneously for 3–5 days at fermentation temperature before cold crashing.
Yeast
Choose one of the following — not both:
Option 1 — SafAle US-05 (affiliate link): The most widely available choice. A clean, neutral American ale yeast that ferments out fully, leaving the hops and dark malt center stage without adding fruity esters. Ferment at 18–20°C (64–68°F). Highly recommended for first-time CDA brewers.
Option 2 — White Labs WLP001 California Ale (affiliate link): Liquid yeast equivalent to US-05, slightly more flocculent. Produces a very clean, dry finish. Ferment at 18–20°C (64–68°F). Choose this if you have a stir plate and prefer liquid yeast, or want to pitch at the higher end of the temperature range for a fraction more ester character.
US-05 is the simpler and more forgiving option for most homebrewers.
Equipment
Beyond a standard homebrewing kit, no specialist equipment is required for this style. The following are useful additions:
- Milwaukee or Hanna digital pH meter (affiliate link) — Check mash pH at 5.2–5.4. Dark malts lower mash pH significantly; you may need to adjust water chemistry accordingly.
- Wort chiller (immersion or counterflow) (affiliate link) — Important for a rapid chill after the whirlpool hop addition to lock in Simcoe aromatics.
- Inkbird temperature controller (affiliate link) — For maintaining consistent ale fermentation temperature. CDAs fermented too warm develop fusel alcohols that clash with the dark malt.
How to Brew Cascadian Dark Ale Beer: The Process Step by Step
Step 1 — Mash: Heat 17 liters (4.5 US gallons) of water to 73–74°C (163–165°F) to achieve a strike temperature of 66°C (151°F) once the grain is added — always measure your actual mash temperature and adjust, as equipment varies. Mash for 60 minutes at 66°C (151°F). This temperature produces a moderately fermentable wort — a lower mash temperature would thin the body too much, while a higher one leaves residual sweetness that competes with the dry hop character. Check pH at 10 minutes: target 5.2–5.4. The Carafa Special will lower pH naturally, which is helpful.
Step 2 — Lauter and Sparge: Lauter slowly to avoid compacting the grain bed, then sparge with water at 76°C (169°F) to collect approximately 24 liters (6.3 US gallons) of pre-boil wort. A slow lauter is especially important with dark malts, which can contribute astringency if you over-sparge or sparge too hot.
Step 3 — Boil: Bring to a rolling boil. Total boil time: 60 minutes. Add Magnum at 60 minutes, Centennial at 10 minutes. At flameout, chill briefly to approximately 80°C (176°F), then add Simcoe and steep for 20 minutes before chilling further. This whirlpool method extracts flavor and aroma compounds from Simcoe without isomerizing significant alpha acids. A wort chiller is invaluable here.
Step 4 — Chill and Transfer: Chill the wort to 18°C (64°F), transfer to your fermenter, and pitch rehydrated US-05 or well-prepared WLP001. Oxygenate or aerate the wort before pitching — this is especially important for higher-gravity worts to ensure a healthy fermentation start.
Step 5 — Primary Fermentation: Ferment at 18–20°C (64–68°F) for 7–10 days. The dark malts and high hop bitterness can mask fermentation signs in a simple visual check — use a Hydrometer or refractometer (affiliate link) to confirm the gravity has stabilized before dry hopping. A stalled fermentation in a CDA can easily be missed.
Step 6 — Dry Hopping: Once primary fermentation is complete and gravity is stable, add the Cascade and Centennial dry hops directly to the fermenter. Keep at fermentation temperature (18–20°C / 64–68°F) for 3–5 days. Longer dry hop contact can introduce vegetal or grassy notes; shorter contact may leave the aroma underdeveloped. Adding dry hops to still-active primary fermentation allows CO₂ to scrub aroma compounds out of solution before they integrate — wait for gravity to stabilize.
Step 7 — Cold Crash and Package: Cold crash at 2–4°C (36–39°F) for 24–48 hours to drop yeast and hop material. Package as desired. For bottle conditioning, use priming sugar (dextrose) (affiliate link) at approximately 6 g/L (0.8 oz/US gallon), which targets approximately 2.5 volumes CO₂ at a beer temperature of 20°C (68°F) — always use a priming sugar calculator since the correct rate depends on your beer’s actual temperature. Condition at room temperature for 2 weeks before refrigerating.
Recipe Summary
| Item | Metric | US |
|---|---|---|
| Pale Two-Row Malt | 4.5 kg | 9.9 lb |
| Crystal 60L | 300 g | 10.6 oz |
| Carafa Special Type II (dehusked) | 400 g | 14.1 oz |
| Munich Malt Type I | 300 g | 10.6 oz |
| Magnum (60 min) | 45 g | 1.6 oz |
| Centennial (10 min) | 20 g | 0.7 oz |
| Simcoe (whirlpool) | 20 g | 0.7 oz |
| Cascade (dry hop) | 40 g | 1.4 oz |
| Centennial (dry hop) | 20 g | 0.7 oz |
| Yeast | US-05 or WLP001 | — |
| Mash temp | 66°C | 151°F |
| Mash duration | 60 min | 60 min |
| Boil duration | 60 min | 60 min |
| Fermentation temp | 18–20°C | 64–68°F |
| Batch size | 20 L | 5.3 US gal |
| OG | 1.064–1.070 | — |
| FG | 1.012–1.016 | — |
| ABV | 6.5–7.5% | — |
| IBU | ~63 | — |
Troubleshooting
Harsh, astringent roast character: The most common mistake in CDA brewing is using husked roasted malts (black patent, roasted barley) instead of dehusked Carafa Special. If your beer tastes like a stout with an aggressive, acrid edge, the grain bill is the culprit. In future batches, switch to Carafa Special Type II or III (dehusked). You can also try cold steeping the dark malts overnight and adding the liquid to the boil — this technique extracts color while significantly reducing the extraction of harsh phenolics compared to mashing.
Beer tastes like a stout, not an IPA: The roast is overwhelming the hops. Reduce the Carafa Special by 50–100 g (1.8–3.5 oz), increase the dry hop rate, or add an additional late addition during the boil. Also verify your dry hop contact time — if you dry hopped during active fermentation, the CO₂ may have scrubbed the aroma.
Low hop aroma after packaging: CDA is highly perishable in terms of dry hop character. Serve within 4–6 weeks of packaging for maximum aroma. Beyond that window, the resinous, citrus notes fade and the roast becomes more prominent. Brew fresh and drink fresh.
Mash pH too low: If your water is already acidic, the Carafa Special may push mash pH below 5.0, leading to a thin, harsh wort. Add a small amount of calcium carbonate (chalk) to raise pH — target 5.2–5.4. Check with your Milwaukee or Hanna digital pH meter (affiliate link) at 10 minutes into the mash.
Thin body: If the beer lacks mouthfeel, raise the mash temperature to 67–68°C (152–154°F) in future batches to leave more unfermentable dextrins. You can also increase the Crystal 60L addition slightly, though this risks adding sweetness that competes with the dry hop character.
Slow fermentation start: Ensure the wort is well-oxygenated before pitching, and verify that US-05 was properly rehydrated in water at 27°C (81°F) for 15 minutes before pitching. Under-pitching in a 6.5–7.5% ABV beer can lead to a prolonged lag phase and off-flavor development.
Variations to Try
Pacific Northwest Single Hop: Brew the recipe as written but replace all bittering, flavor, and dry hops with a single Pacific Northwest variety — Mosaic, Amarillo, or Citra. This is a great exercise in understanding how different American hops express themselves against a dark malt backdrop.
West Coast Black IPA: Dial up the IBU to 80–90 by increasing the Magnum addition and adding a second flameout addition. Raise the dry hop rate to 80–100 g (2.8–3.5 oz) of Simcoe and Mosaic. This pushes the style toward its most aggressive interpretation and pairs exceptionally well with strong cheese.
Session CDA (4.5–5% ABV): Reduce the base malt to 3.2 kg (7.1 lb) and the Carafa Special to 250 g (8.8 oz). Keep the dry hop rate the same. The lower gravity makes for a more drinkable beer at session strength while preserving the essential CDA character.
Rye CDA: Replace 500 g (17.6 oz) of the two-row with Rye Malt (affiliate link). Rye adds a spicy, earthy quality that complements the piney hop character and dark malt dryness in an interesting way.
Cold IPA-inspired CDA: Ferment with a clean lager strain at 10–12°C (50–54°F) instead of an ale yeast. The resulting beer will be crisper and drier, with the hop aroma more cleanly expressed without the ale ester contribution.
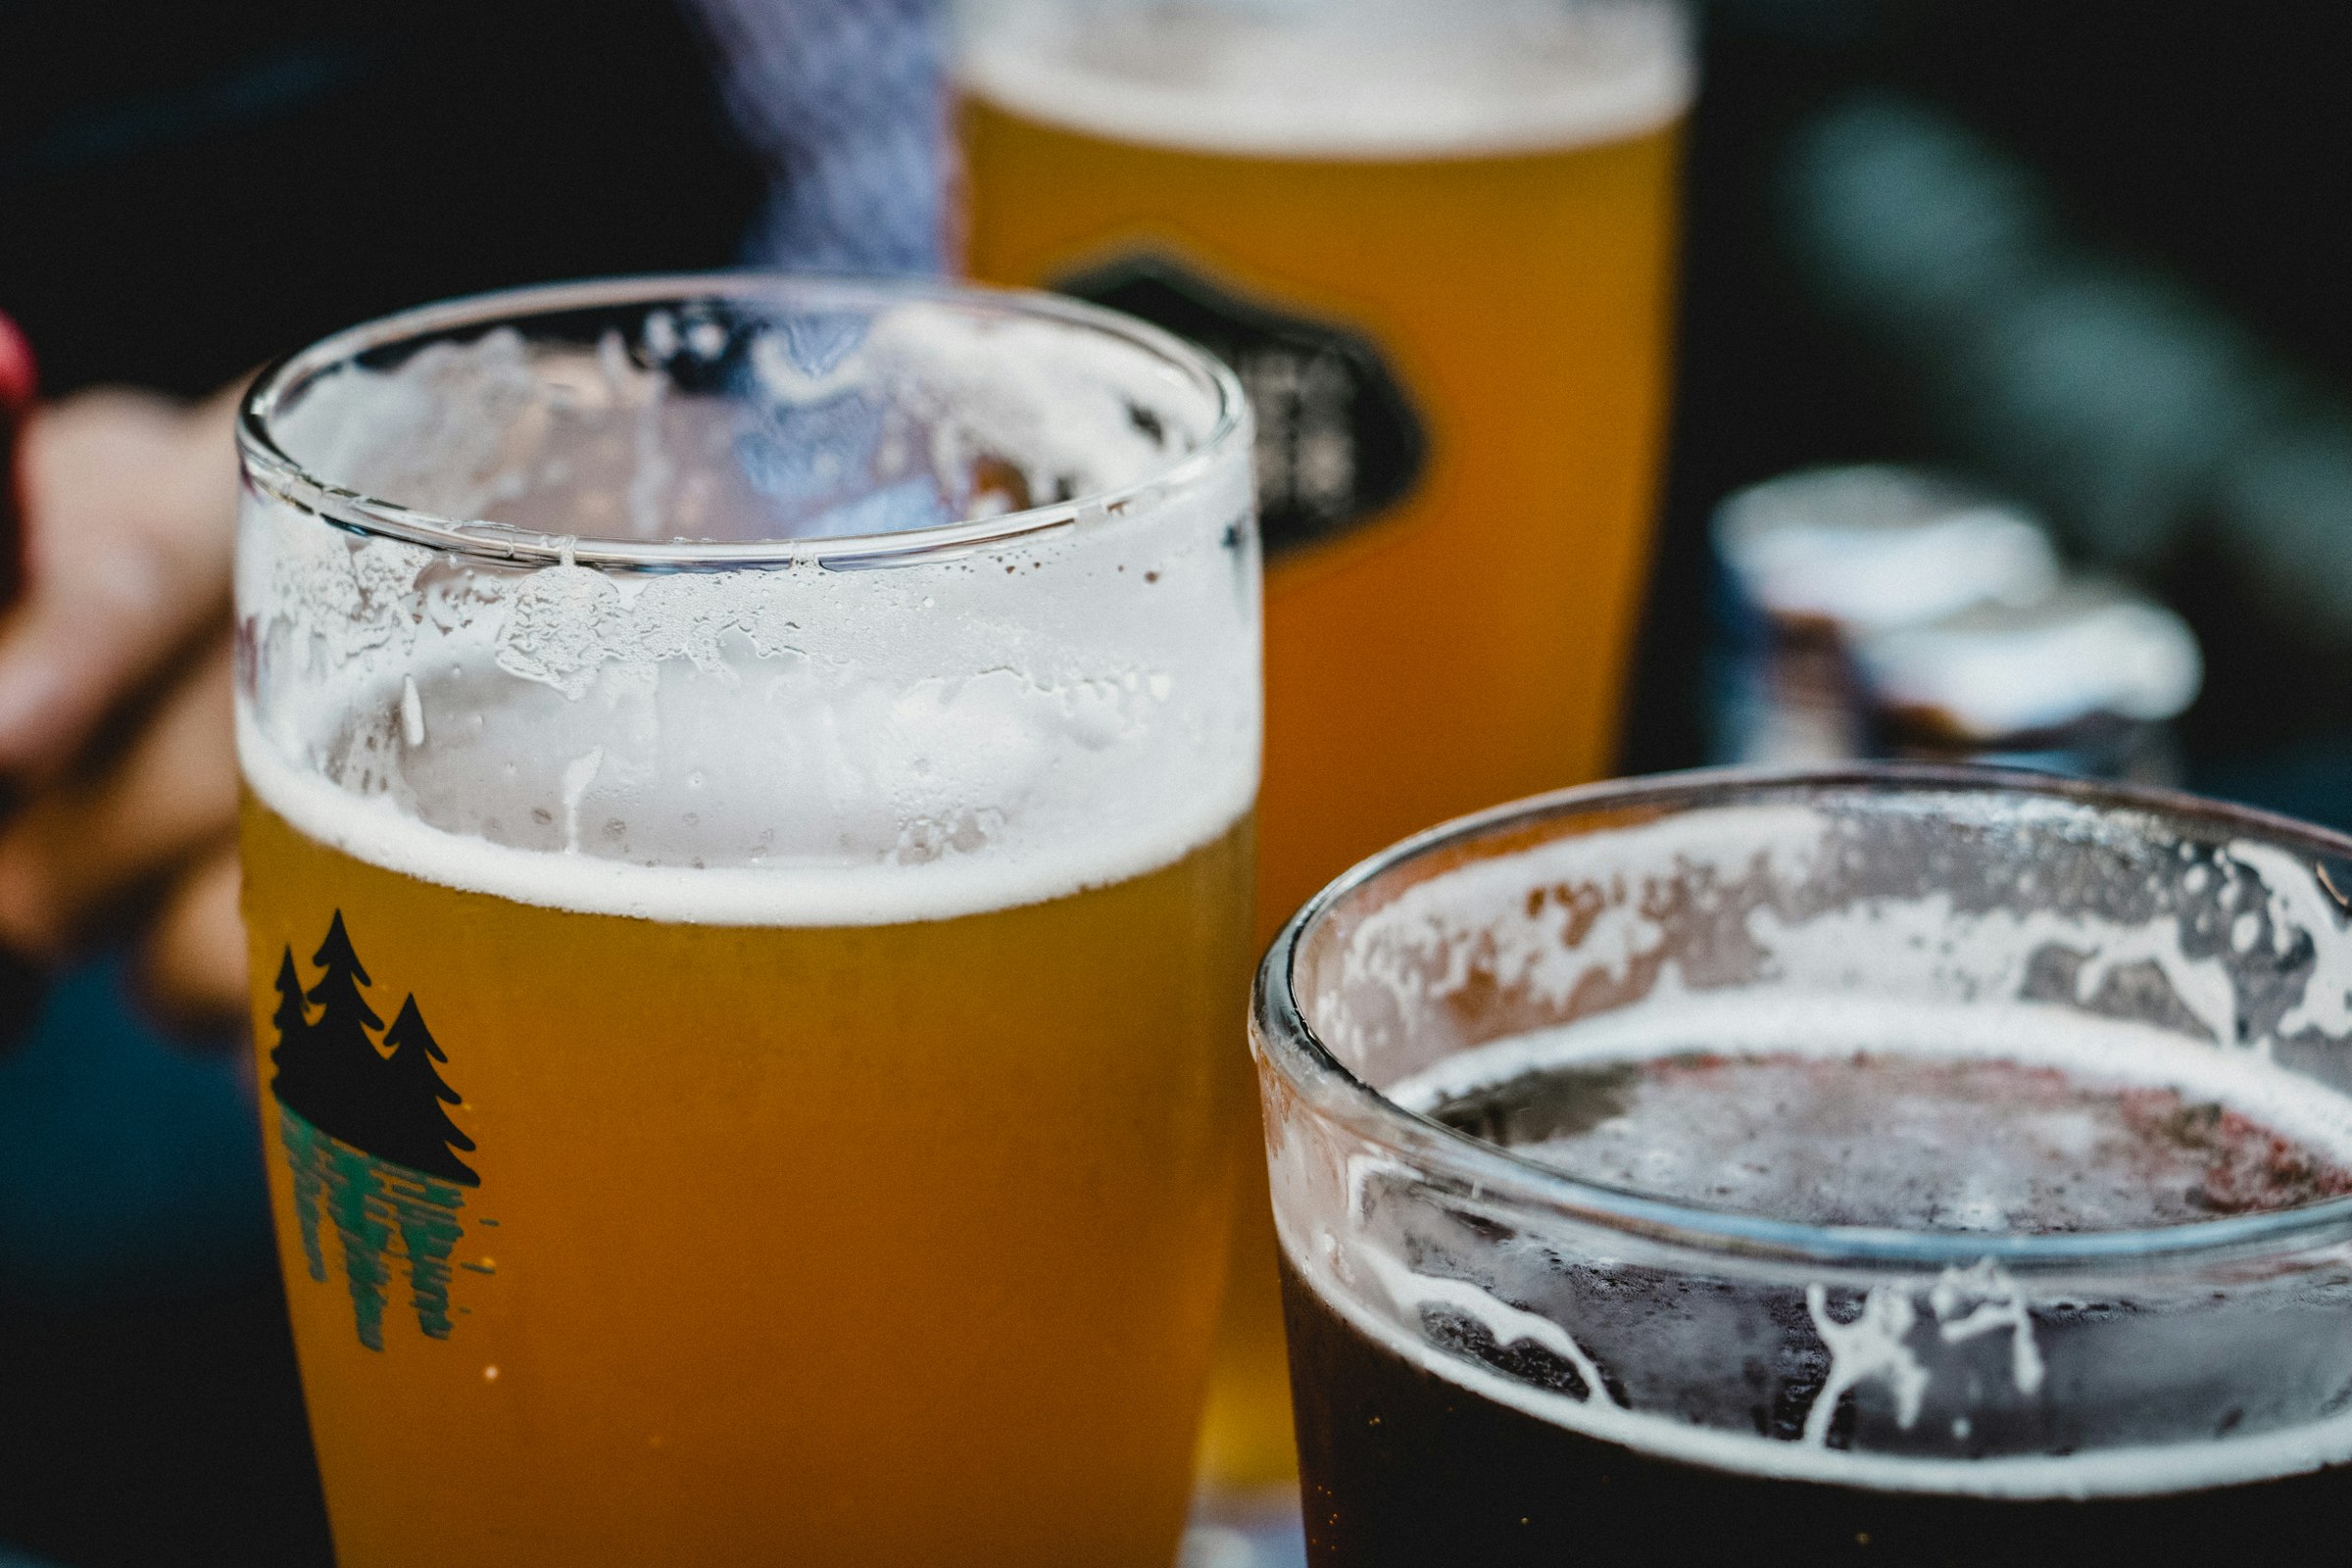
The first time you pour a homebrew CDA and watch jet-black beer flow into the glass while your nose picks up pine and grapefruit, you’ll understand why this style has such loyal defenders in the Pacific Northwest. It’s a beer that surprises every time.
Explore more: – What is Cascadian Dark Ale Beer? The Complete Style Guide → – Cascadian Dark Ale Beer Food Pairing Guide →
Brew Cartographer explores the history, geography, and craft of rare and forgotten beer styles. Subscribe to our newsletter for new expeditions every week.
Join The Dispatches — new expeditions, brew guides, and food pairings delivered when something worth reading goes live. No noise, no frequency targets. Sign up here →
Brew Cartographer explores the history, geography, and craft of rare and forgotten beer styles.